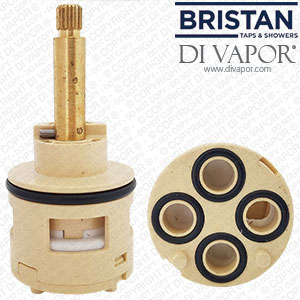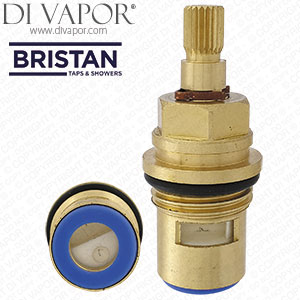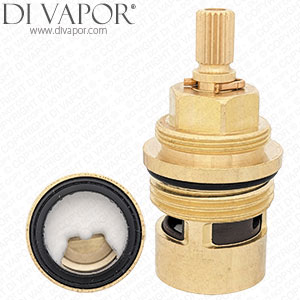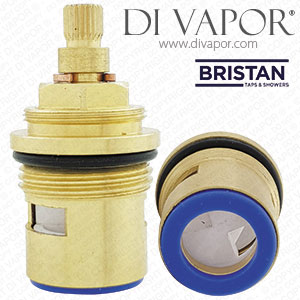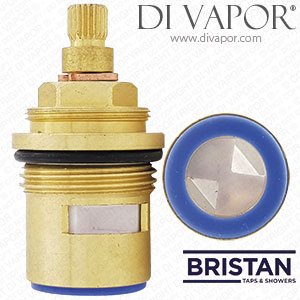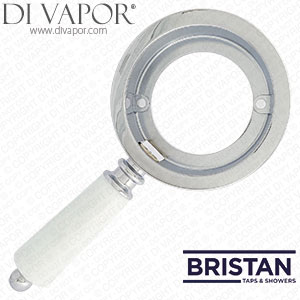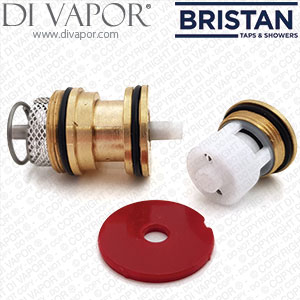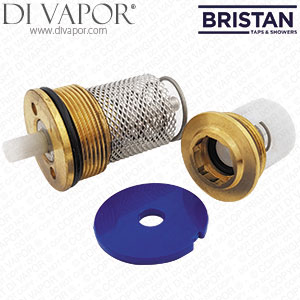
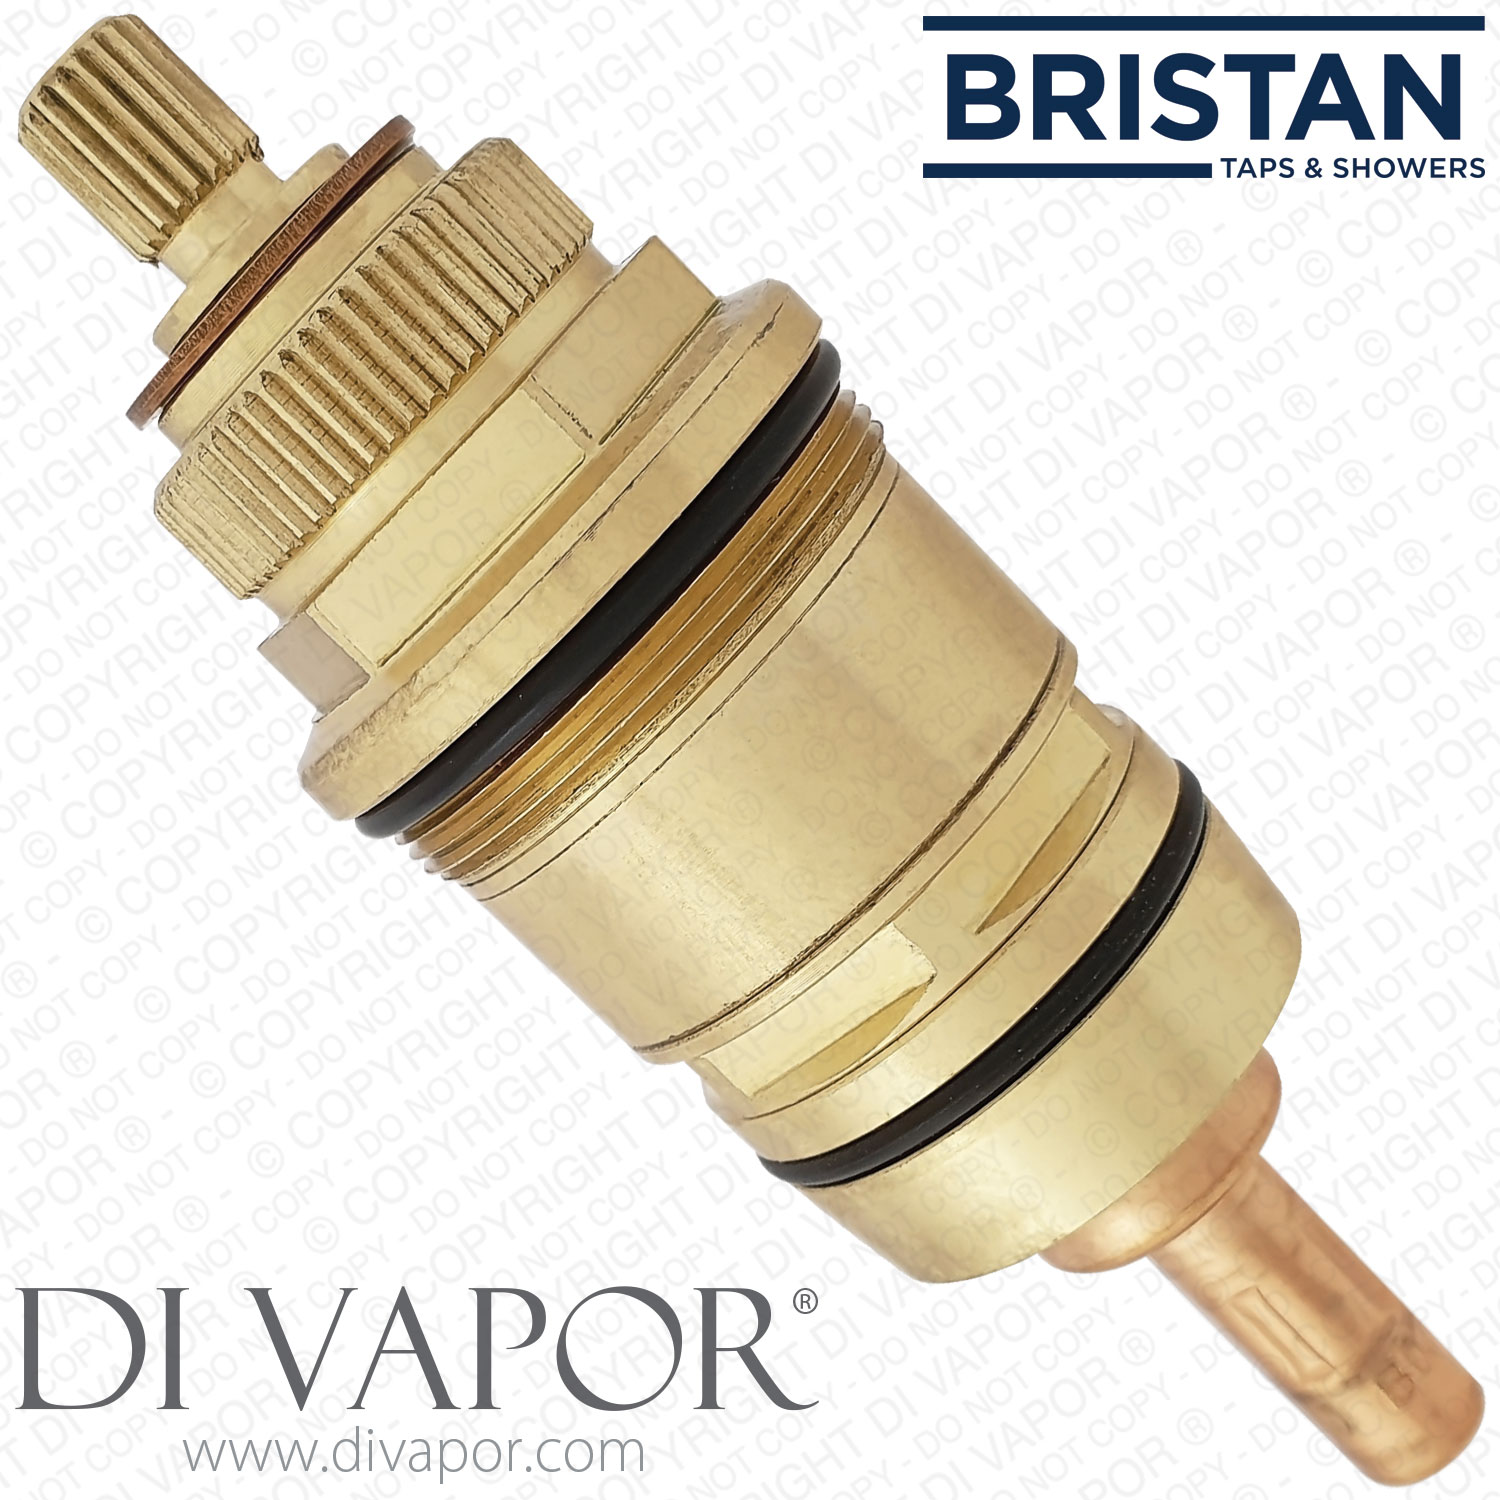
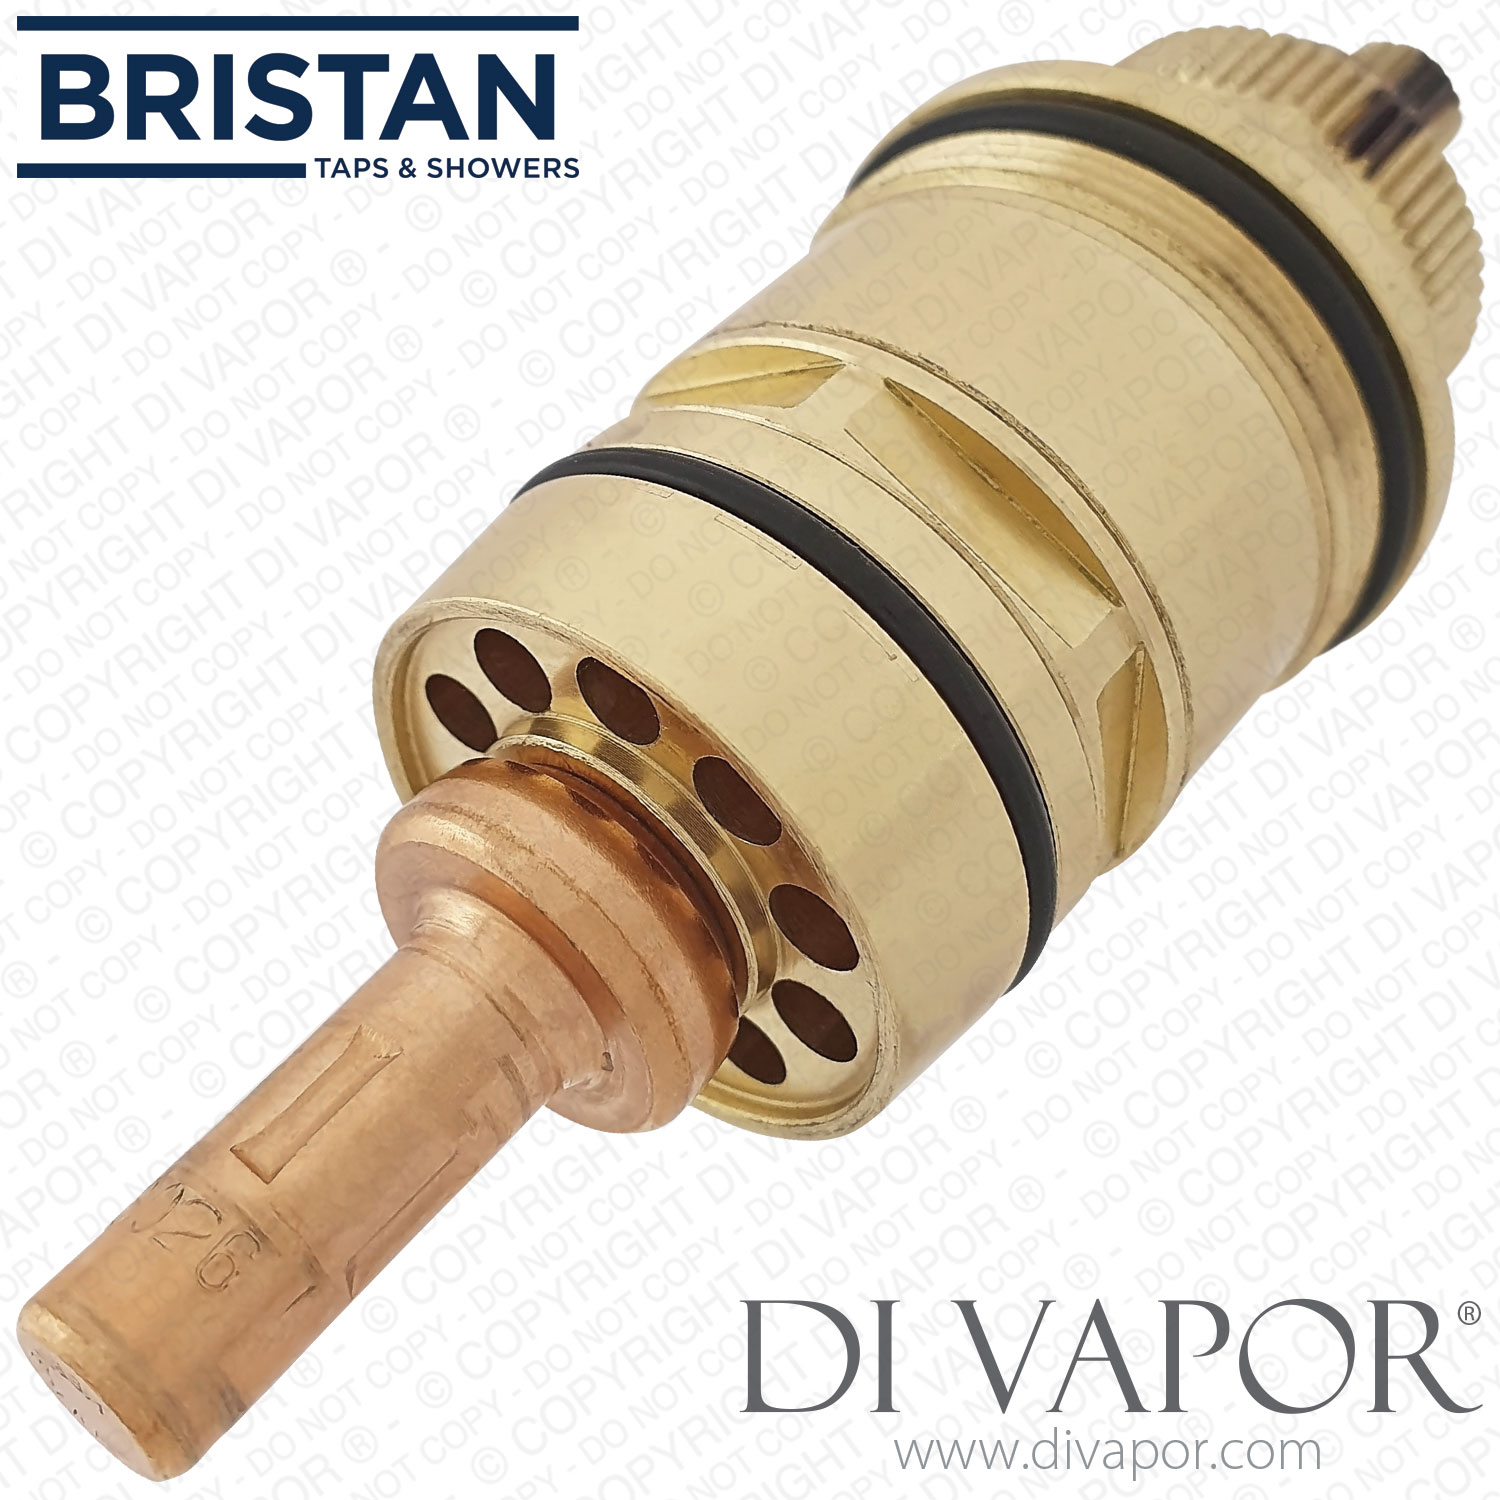
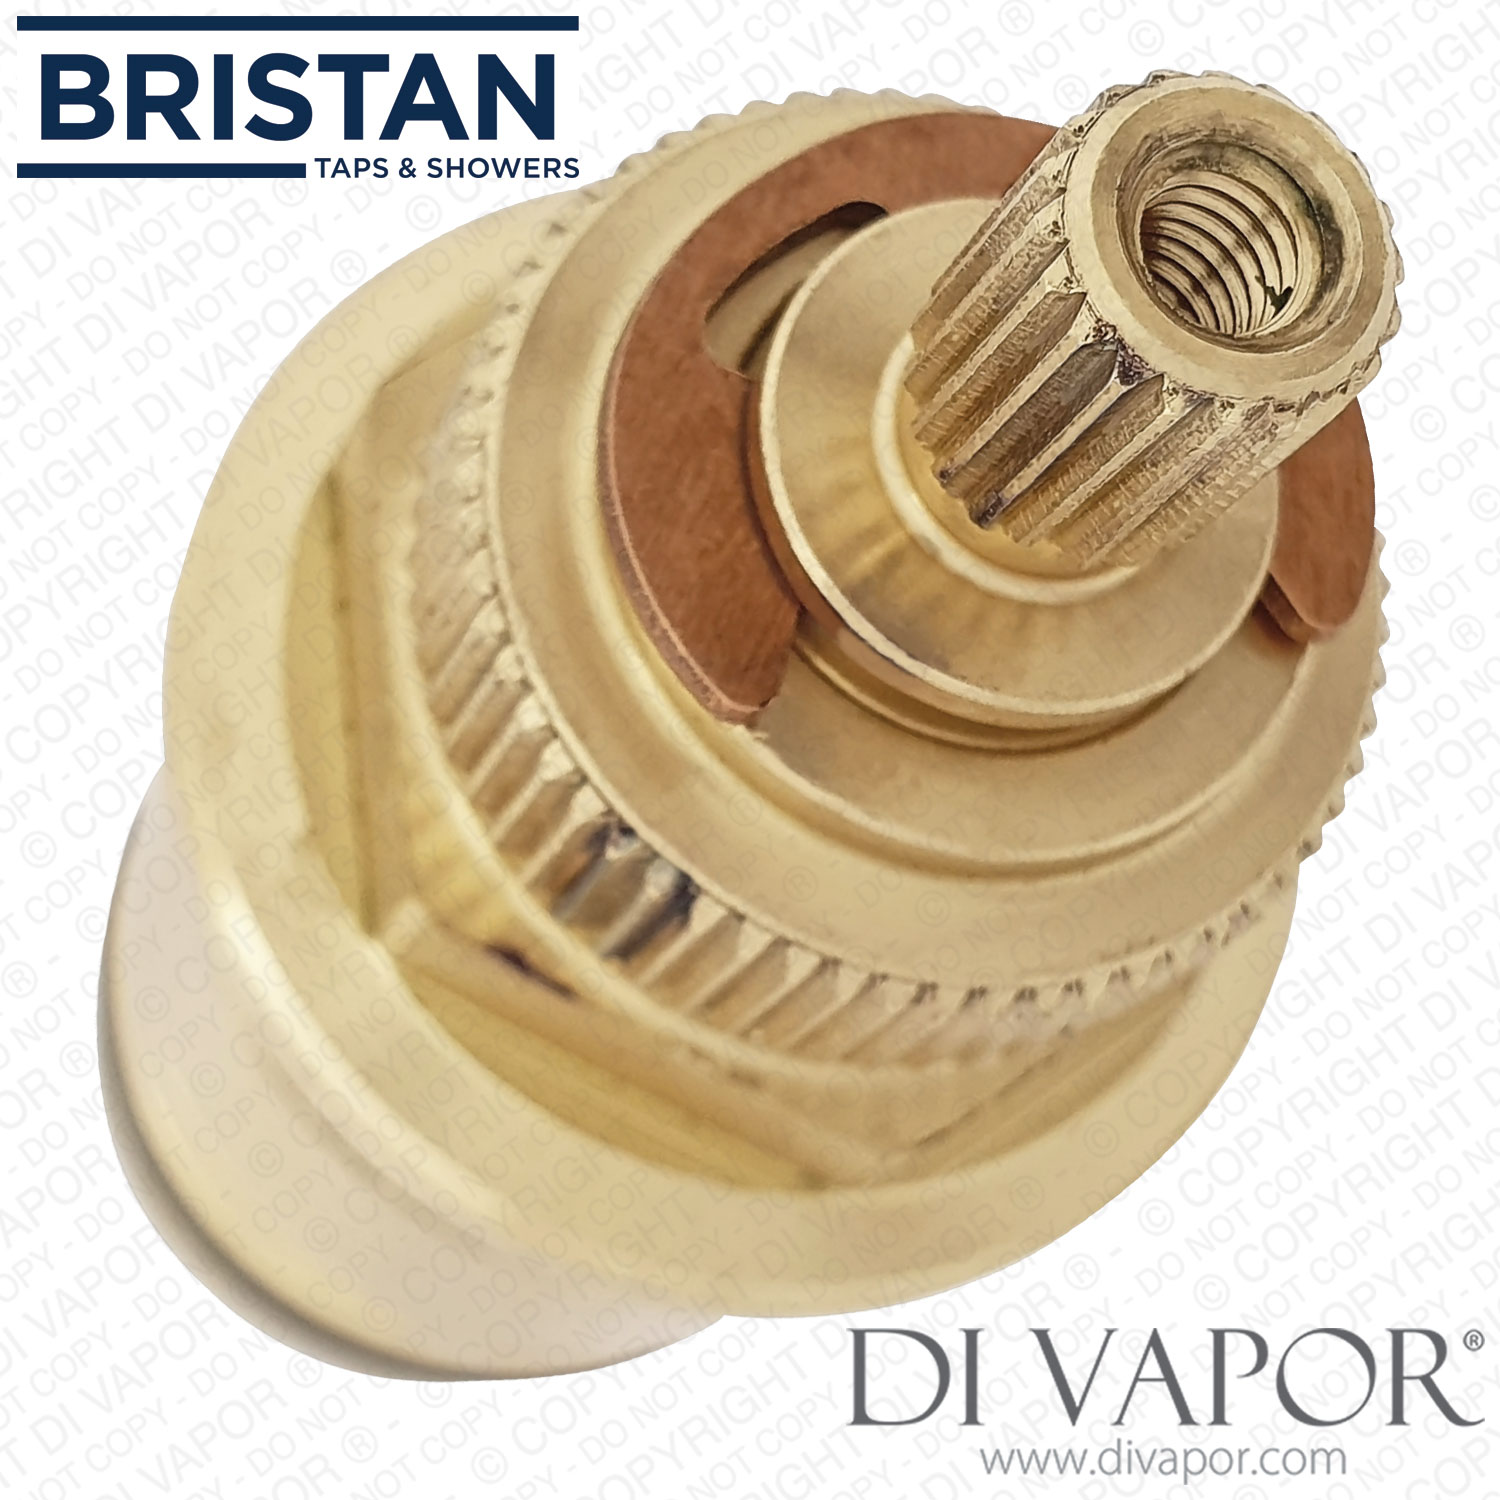
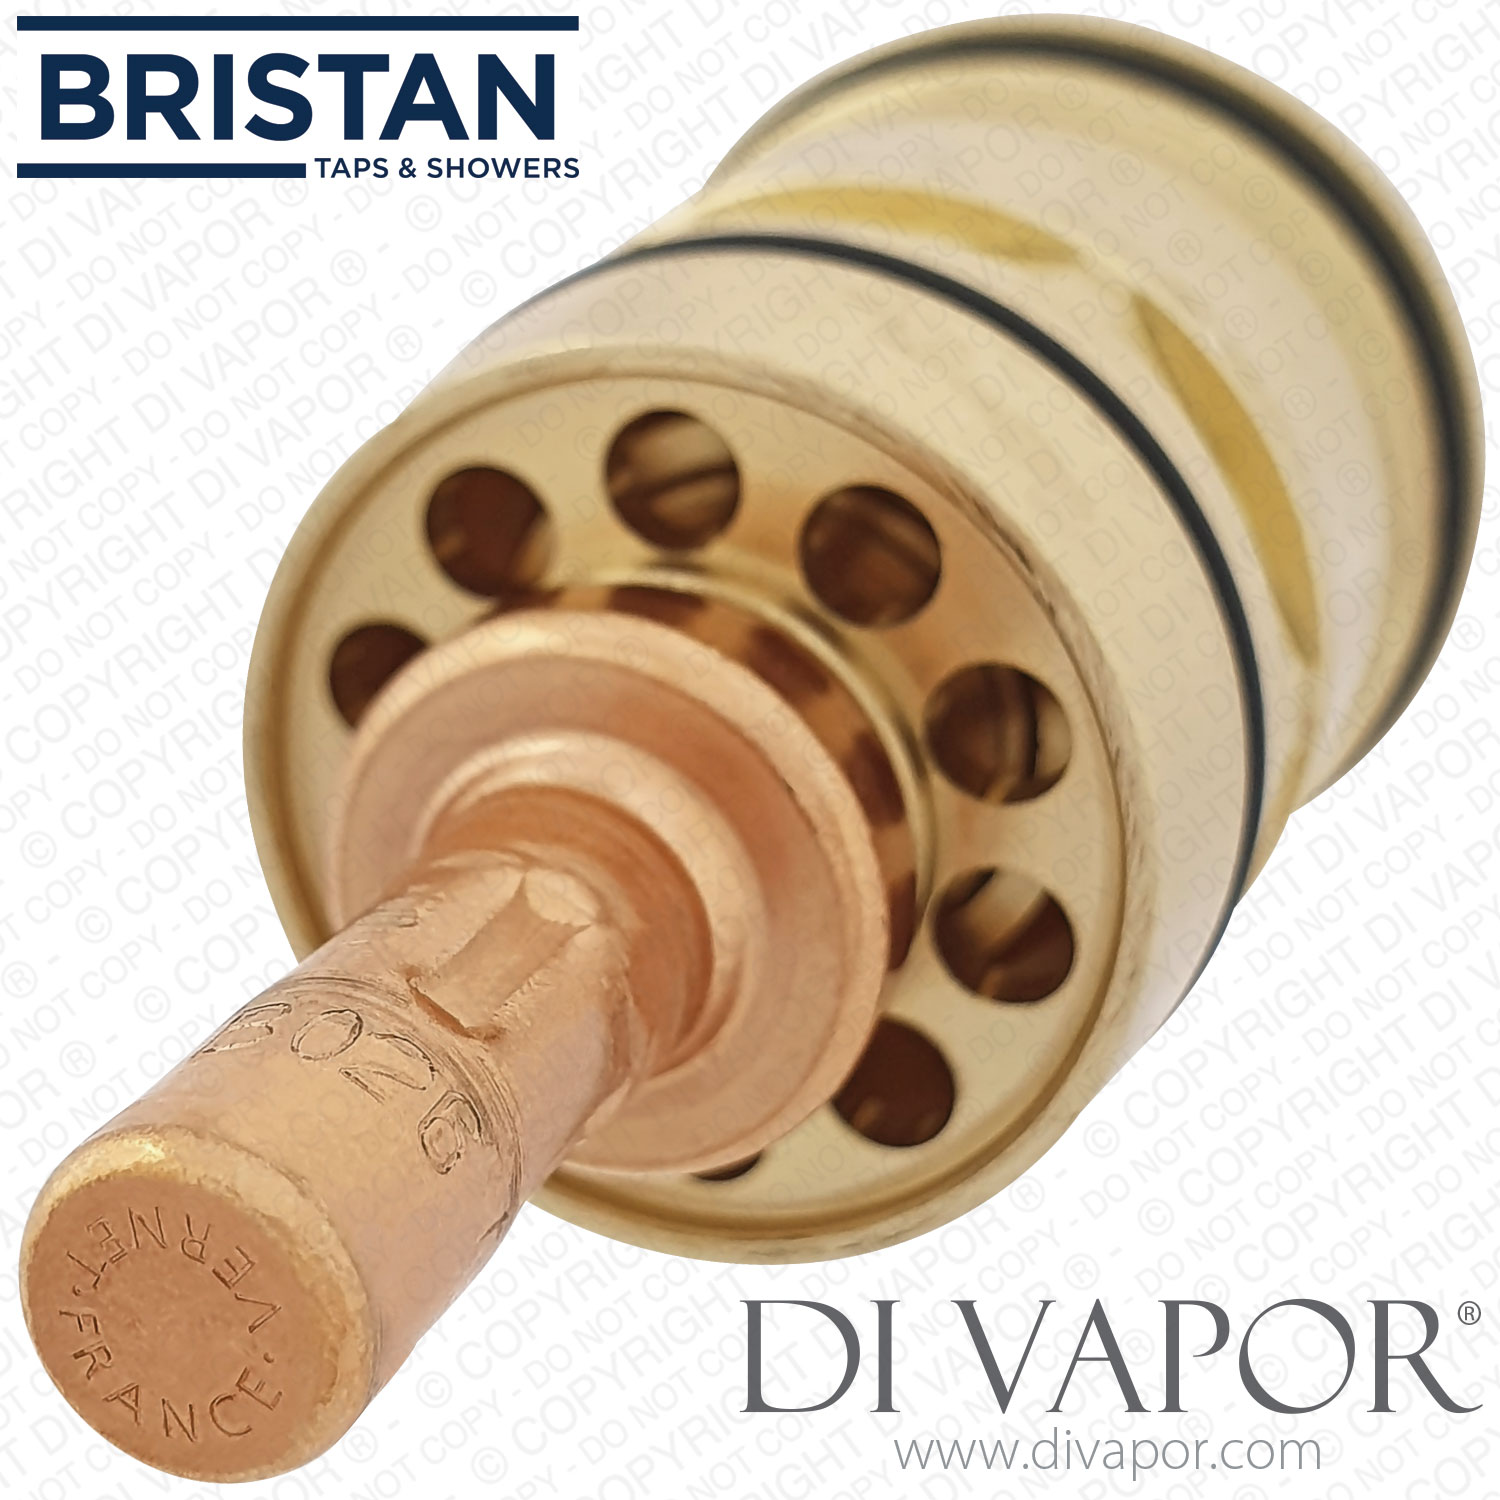
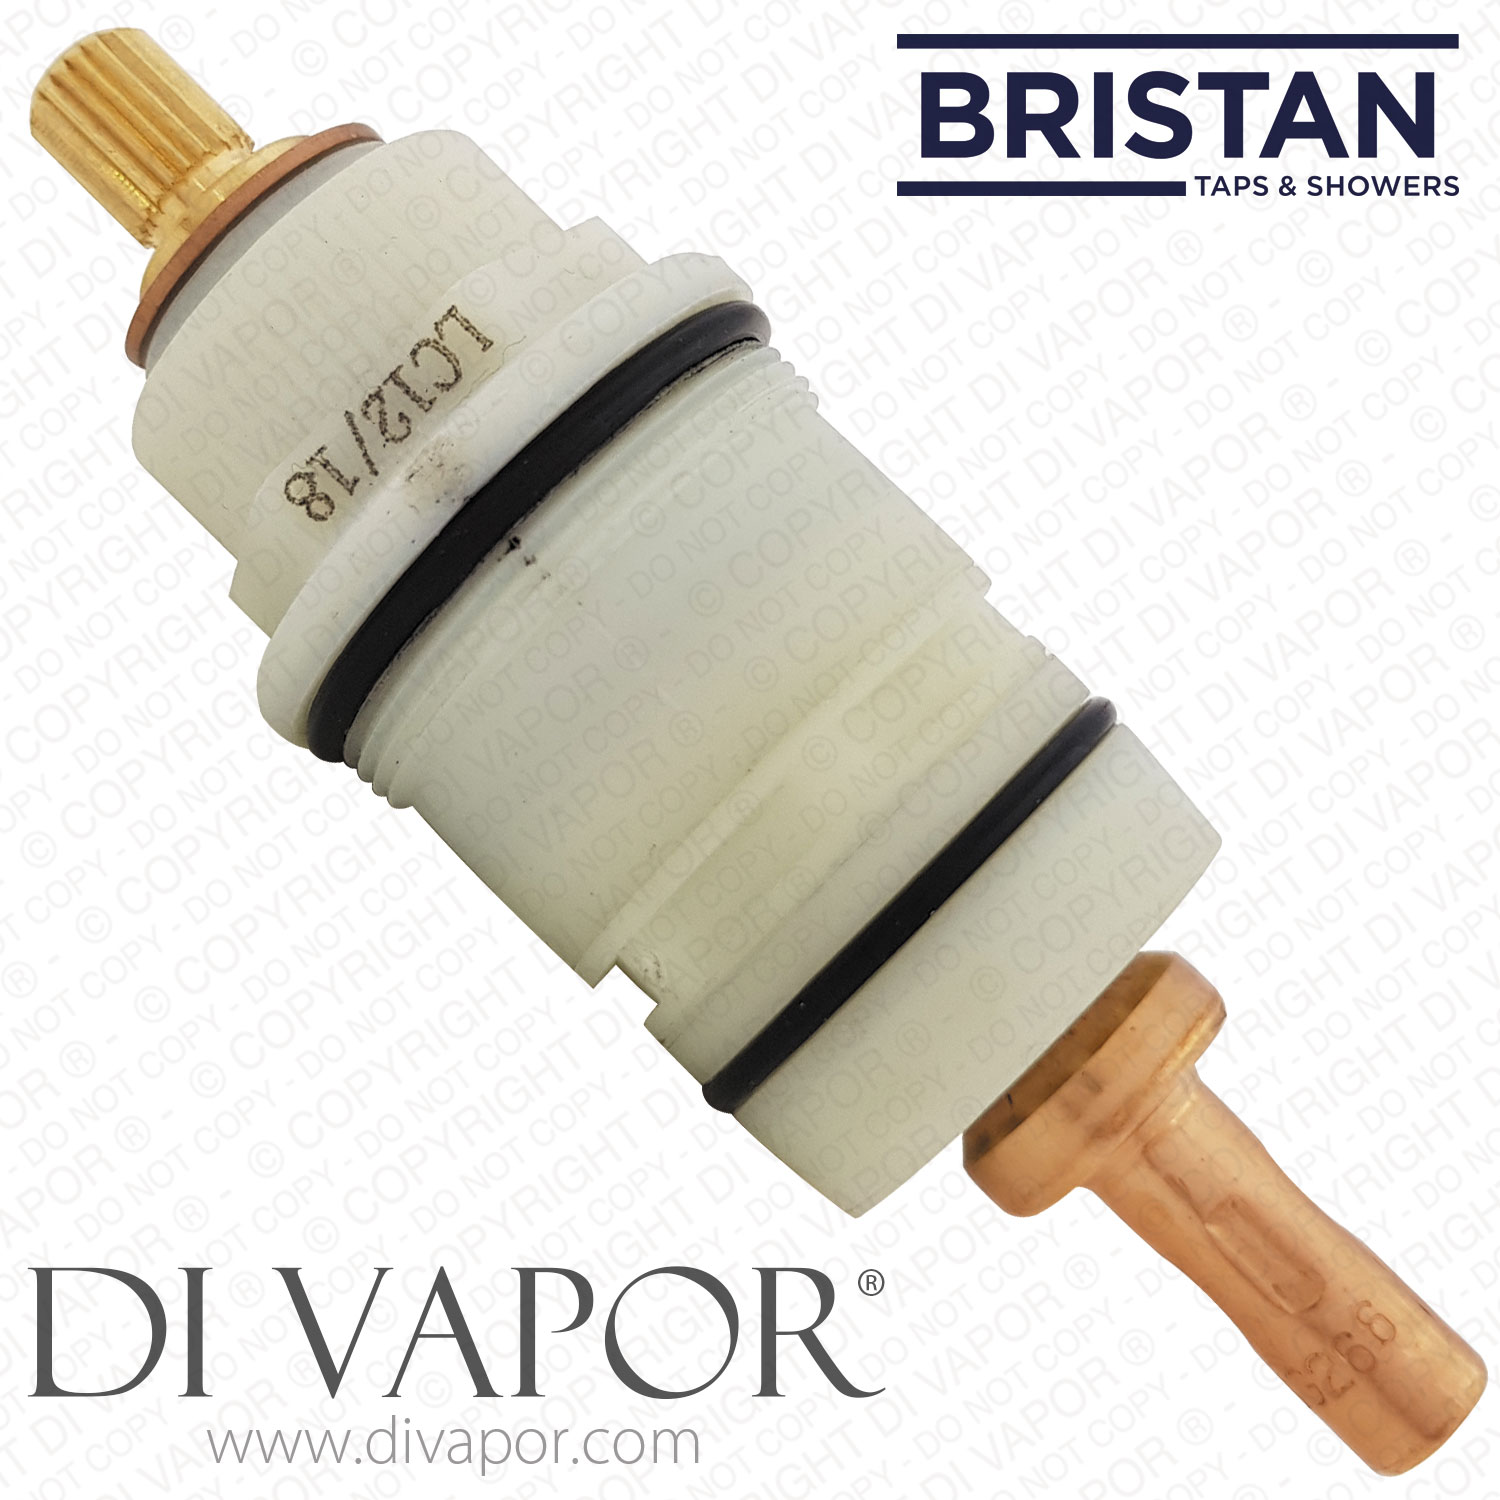
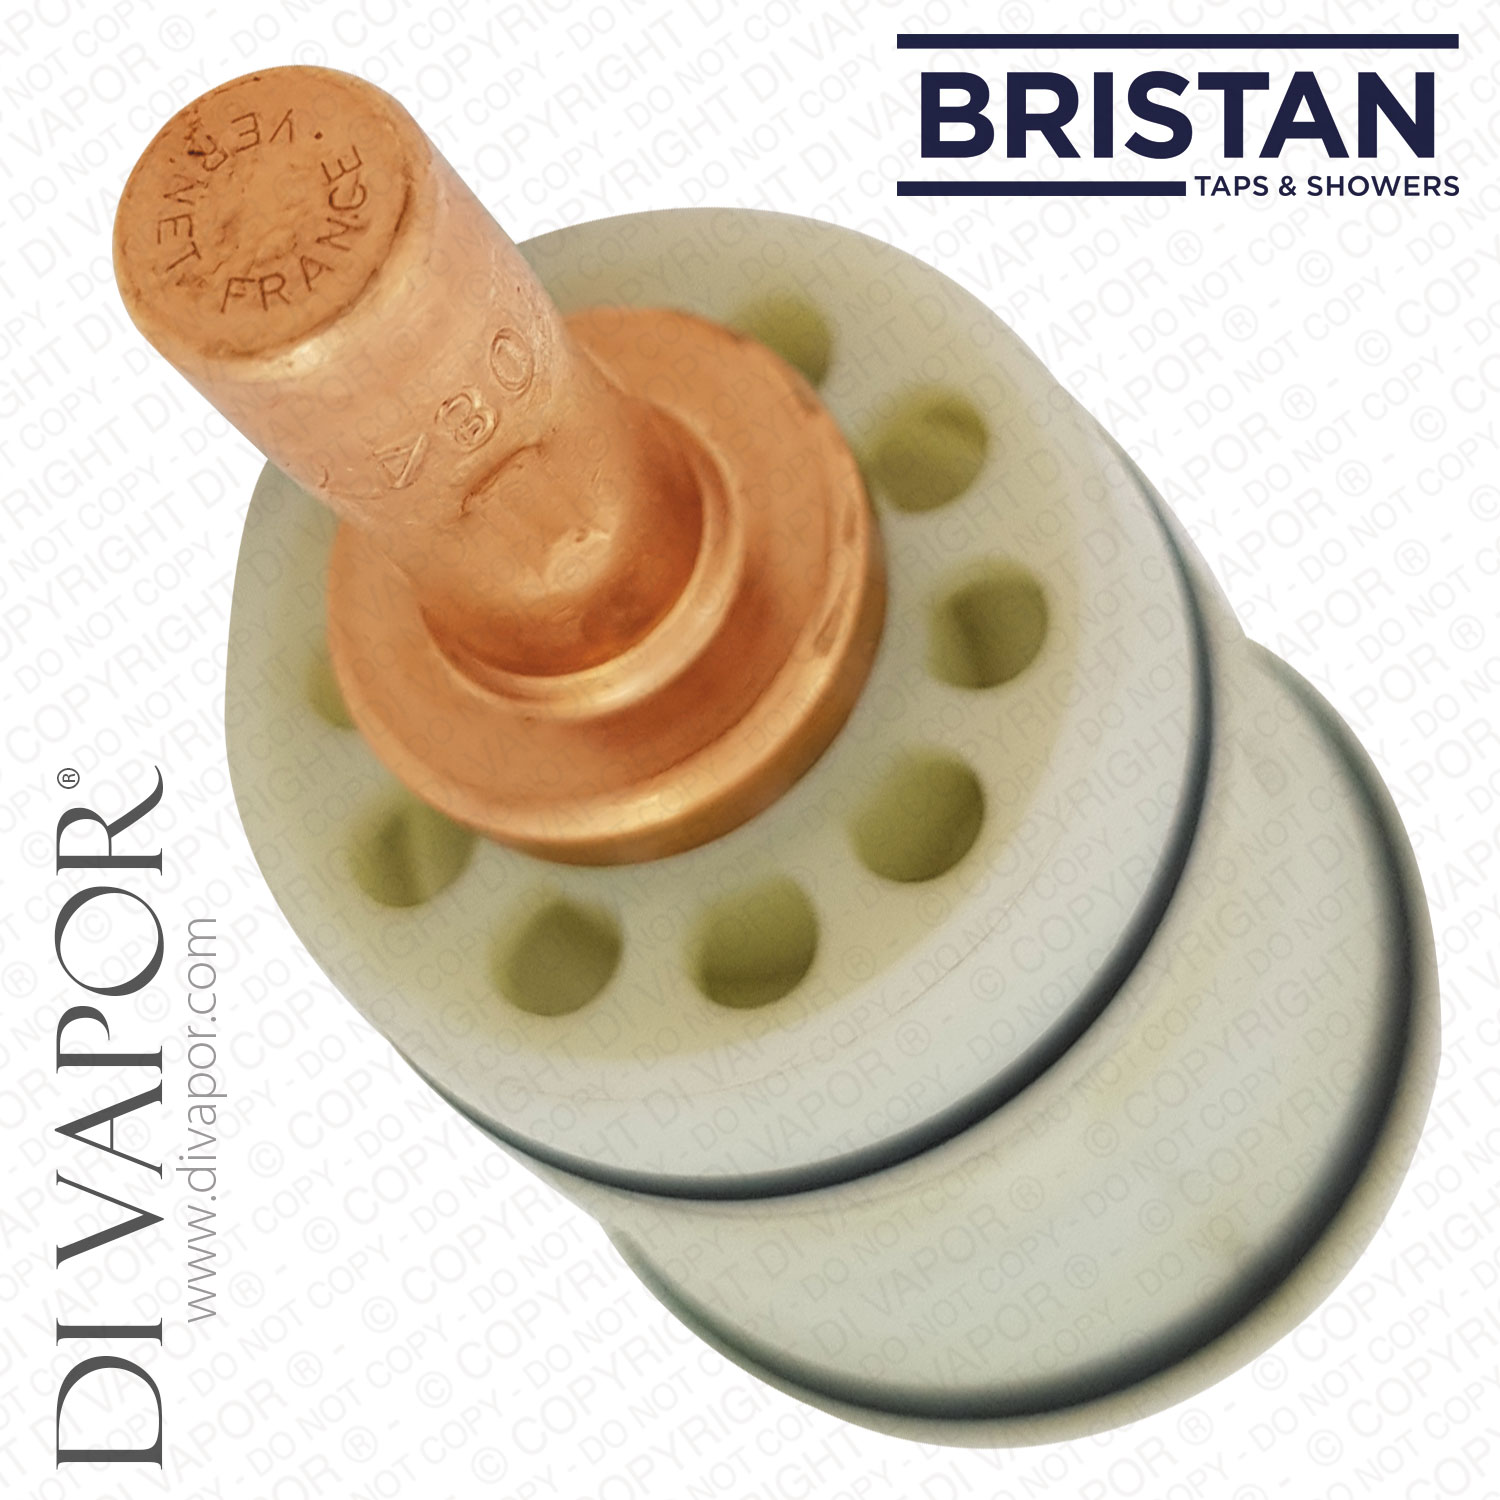
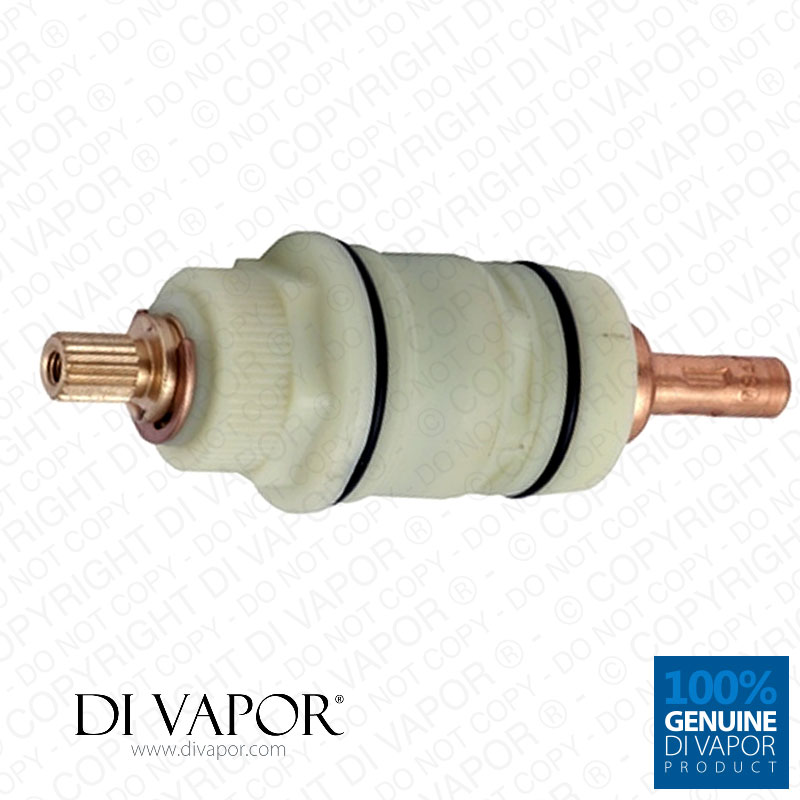
Bristan 00622415 Thermostatic Cartridge (Screw-in)


Send a photo of your item and we'll help confirm it.
Summary
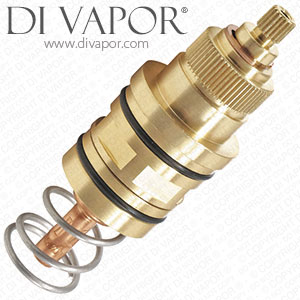
Stock Clearance Sale. Bristan 00622415 thermostatic cartridge in Bristan Prism, Artisan, Easytherm, Trinity, Java, Qube, 1901, Chill, Solo, Art Deco and JS2 shower mixer vales.
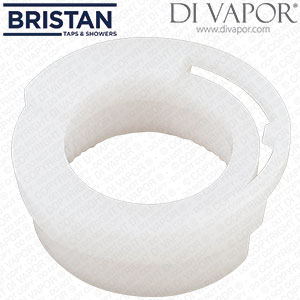
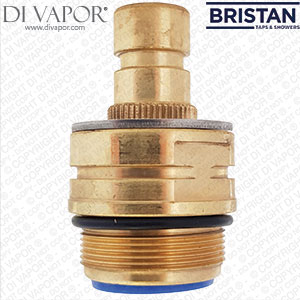
The plastic version of this cartridge is in the process of being replaced by a brass version by the manufacturers. Both cartridges operate identically and are completely cross compatible. You will receive either the white plastic version or the brass version depending on the availability from the suppliers.
| Cartridge Length | 92mm |
|---|---|
| Diameter | 31.45mm |
| Type | Screw. Below the top o'ring there is a thread which screws into the shower valve body. |
| Cartridge Material | Brass and Vernet 0847 copper thermostat element |
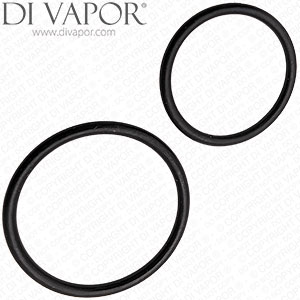
| Number of O-rings | 2 |
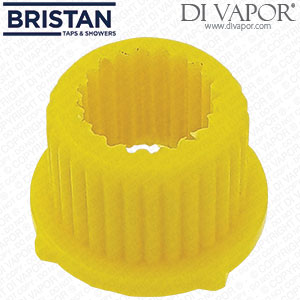
| Tiers of Splines | 1 |
| Number of Gauze Filters | 0 |
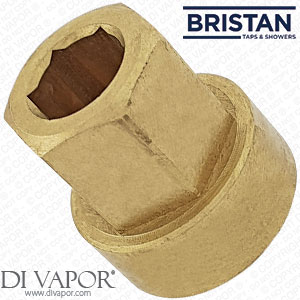
| Diameter of Hex Nut (flat to flat) | 22.9mm (23mm) |
The Bristan 00622415 Screw Thermostatic Cartridge is used in the following models:
-- Bristan Design Utility Crosshead Bar Shower With Riser Kit - Chrome
-- Bristan Quest Thermostatic Surface Mounted/Recessed Shower With Adjustable Riser Chrome Plated
-- Bristan 1901 Exposed / Concealed Dual Control Shower Valve
-- Bristan Solo Thermostatic Bar Shower and Adj Shower Kit - Chrome -SO SHXAR C
-- Bristan Art Deco Thermostatic Surface Mounted Shower Valve Chrome
-- Bristan Qube Inline Vertical Shower Pole with Integral Diverter to Handset Chrome
-- Bristan Design Utility Lever Bar Shower with Adjustable Riser and Fast Fix Connections Chrome Plated
-- Bristan 1901 Concealed Dual Control Shower Valve
-- Bristan Artisan Surface Mounted Thermostatic Shower With Rail Kit - Chrome
-- Bristan Artisan Thermostatic Dual Control Recessed Shower Valve with Integral Diverter (Two Outlets)
-- Bristan Prism Concealed 3 Control Shower Valve Landscape
-- Bristan Artisan Thermostatic Surface Mounted Bar Shower Valve and Fast Fit Connections
-- Bristan Prism Exposed / Concealed Dual Control Shower Valve
-- Bristan Chill Concealed Dual Control Shower Valve with Diverter
-- Bristan Prism Concealed Dual Control Shower Valve with Diverter
-- PM VSHXSPDIV C vertical shower bar valve.
-- Bristan Nero Concealed Dual Control Shower Valve
-- Bristan Prism Integrated P-Shaped Shower Screen with Bath and Valve Concealed Left Hand Silver
-- Bristan Artisan Thermostatic Surface Mounted Bar Shower With Riser and Mono Handset
-- Bristan Chill Concealed 3 Control Shower Valve with Diverter
-- Bristan Prism Concealed 3 Control Shower Valve with Diverter
-- Bristan Quadrant Thermostatic Recessed Shower with Integral Diverter Chrome Plated
-- Bristan Artisan Thermostatic Surface Mounted Bar Shower - ARSHXVOFFCC
-- Bristan Chill Exposed / Concealed Dual Control Shower Valve
-- Bristan Artisan Exposed Bar Shower Valve
-- Bristan JS2 Thermostatic Recessed Shower Valve with Two Stop Cocks Chrome Plated
-- Bristan Qube Vertical Thermostatic Valve with Adjustable Riser Chrome Plated
-- Bristan Quadrant Thermostatic Surface Mounted Shower Valve Chrome
-- Bristan Design Utility Club Bar Shower With Riser Kit - Chrome
-- Bristan Solo Thermostatic Bar Shower valve With Adjustable Shower Kit Chrome Plated
-- Bristan Prism Concealed Dual Control Shower Valve
-- Bristan Artisan Concealed Dual Control Shower with Kit
-- Bristan Oval Concealed Dual Control Shower Valve with Diverter
-- Bristan Art Deco Thermostatic Ev/biv Shower With Riser Kit - Chrome
-- Bristan Prism Vertical Dual Control Shower with Kit
-- Bristan Art Deco Thermostatic Recessed Shower with Fixed Head Chrome Plated
-- Bristan Chill Three Control Thermostatic Concealed Valve Only With Stopcock and Two Outlets Chrome and Black
-- Bristan Solo Thermostatic Bar Shower With Riser Kit - Chrome
-- Bristan JS2 Thermostatic Recessed Shower Valve with Diverter and Stopcock Chrome Plated
-- Bristan JS2 Recessed Shower Valve Only Chrome Plated
-- Bristan Prism Integrated P-Shaped Shower Screen with Bath and Valve Concealed Right Hand Silver
-- Bristan Java Thermostatic Recessed Shower and Fixed Head - Chrome
-- Bristan Artisan Thermostatic Surface Mounted Bar Shower With Riser
-- Bristan Artisan Exposed Vertical Dual Control Shower with Kit AR VSHXAR C
-- Bristan Artisan Dual Control Concealed Shower Valve with Diverter AR TSHCDIV C
-- Bristan Oval Concealed Dual Control Shower Valve
-- Bristan Prism Inline Dual Control Shower Pole
-- Bristan Chill Concealed Dual Control Shower Valve
-- Bristan Qube Dual Control Shower Valve with Integral Diverter Chrome Plated
-- Bristan Prism Inline Dual Control Shower Pole with Diverter and Kit
-- Bristan Artisan Thermostatic Surface Mounted Bar Shower Valve with Adjustable Riser and Fast Fit Connections
-- Bristan Artisan Thermostatic Recessed Shower Valve Only Chrome Plated
-- Bristan 1901 Easytherm Thermostatic Shower Adjustable Riser - Gold
-- Bristan Trinity Thermostatic Surface Mounted Shower with Rigid Riser and Divertor to Shower Handset Chrome Plated
-- Bristan Artisan Concealed Dual Control Shower Valve AR SHCVO C
-- Bristan 1901 Concealed 3 Control Shower Valve
-- Bristan Artisan Thermostatic Recessed Shower Valve with Adjustable Riser
-- Bristan Java Thermostatic Surface Shower and Riser Rail - Chrome
-- Bristan Prism Thermostatic Surface Mounted/Recessed Shower Valve with Adjustable Riser Chrome Plated
-- Bristan Prism Concealed 3 Control Shower Valve Portrait
-- Bristan Qube Dual Control Thermostatic Shower Valve Chrome Plated
-- 1901 Exposed / Concealed Dual Control Shower Valve N CSHXVO C/G and N CSHXVO C and N CSHXVO G
Removal of the cartridge from a Bar Shower valve.
Before starting any servicing please isolate your water supply by either;
a. Turn the water off at the mains supply stopcock 1. Turn the water off at the mains supply stopcock
b. Turn the water off at the isolation valves to the shower
Step 1. Turn off both water supplies to the shower valve.
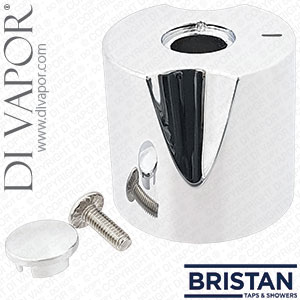
Step 2. Remove the end cap on the temperature handle,
Step 3. Remove the centre screw.
Step 4. Pull temperature handle off.
Step 5. Once you have removed the temperature handle you will come
to the temperature stop ring. This will have to be removed
carefully. (remember what position it came off in, it may be
necessary to mark it’s position).
Step 6. After taking the temperature stop off the next part you need to remove is the cartridge.
Using a (23mm A/F) box spanner unscrew the cartridge anti-clockwise.
Step 7. If the cartridge is heavily covered in lime scale we suggest submerging the complete cartridge in a 50/50 solution
of hot water and white vinegar. Leave the cartridge to soak for approximately 4 hours, take out and rinse the
solution off with cold water.
Step 8. Apply silicon grease (sp-495-0002) with clean hands around all visible black seals as shown below, and avoid
contact with foreign objects to keep it clean until refitted. Screw the cartridge back into the bar shower valve.
Step 9. Replace the temperature stop ring (in the
position in which it came off).
Step 10. Replace the handle, screw and end cap.
You may need to reset the temperature once
servicing has been carried out.
Note: Only use silicon grease to grease seals.
Temperature Adjustment (Bar Shower Valve).
This cartridge is factory set at 38°C. This can however be adjusted for personal preference. To do this
follow the steps below.
Step 1. Remove the end cap from the temperature handle and the screw.
Step 2. Pull the temperature handle off from the spline of the thermostatic cartridge.
Step 3. Turn the flow of water on fully using the flow control handle.
Step 4. Turn the spindle of the thermostatic cartridge anti-clockwise to make the shower hotter and clockwise to
make it cooler until the desired temperature has been reached.
Step 5. Replace the temperature control handle so that the stop is in is in the maximum position.
Step 6. Replace the screw and end cap.
Note: We advise in hard water areas that the shower Note: is maintained regularly to maintain performance.
Removal of the cartridge from a Mixer Shower Valve.
Step 1. Turn off both water supplies to the shower valve.
Step 2. Remove the centre cap / indice on the temperature handle,
Step 3. Remove the centre screw.
Step 4. Pull the temperature handle off.
Step 5. Once you have removed the temperature handle
you will come to the temperature stop ring. This will
have to be removed carefully. (remember what
position it came off in, it may be necessary to mark
its position).
Step 6. After taking the temperature stop off you now need to remove the flow control handle by taking out
the two screws and then pull the handle off.
Step 7. Unscrew the cam retaining nut and remove the cam. This will give you access to remove the cartridge.
Step 8. Using a (23mm A/F) box spanner unscrew the cartridge from the body anti-clockwise.
Step 9. If the cartridge is heavily covered in lime scale we suggest submerging the complete cartridge in a 50/50 solution of hot water and white vinegar. Leave the cartridge to soak for approximately 4 hours.
Step 10. While the cartridge is soaking in the solution you can now check the pistons and flow valves. With the handles and the cam removed prise out the end cover caps that cover the piston housings. Using the maintenance tool supplied unscrew the pistons from the housings and Check that the filters are clean. Using a 10mm hexagonal key unscrew the flow valves and check the seating. Once you have done this replace both flow valves tightening with the 10mm hexagonal key and then replace the pistons and tighten with the maintenance tool.
Step 11. take out and rinse the solution off the cartridge with
cold water.
Step 12. Apply silicon grease (sp-495-0002) with clean hands around all visible black seals as shown below,
and avoid contact with foreign objects to keep it clean until refitted. Screw the cartridge back into the
bar shower valve.
Step 13. Replace the temperature stop
ring (in the position in which it
came off).
Step 14. Replace the handle, screw and
centre / indice cap.
Note: You may need to reset the temperature once servicing has been carried out.
Temperature Adjustment (Mixer Shower valve)
This cartridge is factory set at 38°C. This can however be adjusted for personal preference. To do this
follow the steps below.
Step 1. Remove the end cap from the temperature handle and the screw.
Step 2. Pull the temperature handle off from the spline of the thermostatic cartridge.
Step 3. Turn the flow of water on fully using the flow control handle.
Step 4. Turn the spindle of the thermostatic cartridge anti-clockwise to make the shower hotter and clockwise
to make it cooler until the desired temperature has been reached.
Step 5. Replace the temperature control handle so that the stop is in is in the maximum position.
Step 6. Replace the centre retaining screw and end cap.
Note: We advise in hard water areas that the shower Note: is maintained regularly to maintain performance.
Frequent Problems and Solutions for the 00622415 shower cartridge
00622415 Cartridge Problem 1.
- Only hot or cold water from the mixer outlet.
Cause / Solution.
- Inlets reversed (hot supply to cold supply) check that the connections are the correct way round. Hot on the left and cold on the right when viewed from the front.
- Rework pipework if necessary.
00622415 Cartridge Problem 1.
- Outlet temperature too hot / cold
Cause / Solution.
- No hot or cold water reaching mixer
- Check insert filters for any blockage.
- Installation conditions outside operating parameters.
00622415 Cartridge Problem 1.
- Water fluctuating or reduced flow
Cause / Solution.
- Check the shower handset, hose and filters for any blockage.
- Make sure that the maintained inlet pressures are nominally
balanced and sufficient.
- Make sure the inlet temperature differentials are sufficient. The inlet hot water temperature must be at least 10ºC above the required blend temperature. The maximum recommended hot supply is 60ºC.
- Air lock or partial blockage in the pipework.
00622415 Cartridge Problem 1.
- Leaking from controls
Cause / Solution.
- Cartridge seals damaged, replace as necessary
00622415 Cartridge Problem 1.
- Water leaking from shower head
Cause / Solution.
- This is normal for a short period after shut off.
- Check that the pressures do not exceed the specification for the product.
- Cartridge seals damaged, replace as necessary.
Fast delivery
- UK delivery: £5.95 incl. VAT for this small packet item.
- For all in-stock spare parts the typical UK delivery timescale is 2-5 working days.
- If you need a part urgently then we can provide a next-day (delivered Mon-Fri) UK delivery service for all in-stock small parcels ordered before 3.00pm, Monday - Friday.
- Next day delivery is available to select at an additional charge during the checkout.
- Worldwide delivery available — see our delivery page for details.
Returns
- 14 days 'risk-free' returns.
- Start a return within 14 days of receiving your order by calling 0121 705 0866 or using our contact page.
- Full returns information is available in our terms and conditions.
Payment methods
We accept the following payment methods:

- Card payments: Visa, Mastercard, Maestro, Discover, JCB, Diners Club and EnRoute
- PayPal
- American Express: available via PayPal guest checkout only
- BACS bank transfer
- Cheque: dispatch takes place once payment has cleared
Security
We use industry-standard payment systems to help keep your payment information secure. Our website and payment processes are regularly checked to maintain PCI security standards.
- Secure SSL encryption
- Your personal and payment details are protected
- Regularly checked for PCI security standards