Steam Shower Installation
You have now purchased your new Di Vapor steam shower cabin and want to test it out! The following guide is written to outline the key steps that will be involved during a steam shower installation and highlight some common easy-to-avoid installation problems. Di Vapor cannot accept any liability regarding any costs incurred by preparatory or installation work. All steam shower installation instructions provided with the steam shower or by the original manufacturer should take precedence over this guide.
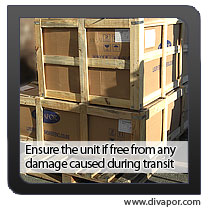
1. Check your Product
It is important you check that your product has been delivered without damage or visual defect before you begin any installation. You are advised to makes these checks before booking a plumber or installation engineer. Any damages should be noted with the driver upon delivery and detailed to Di Vapor within 48 hours of delivery.
2. Finding a Qualified Installer
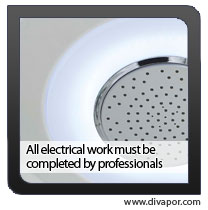
Water is an efficient conductor of electricity and the installation of electrical wiring in a bathroom can be a hazardous job. Di Vapor strongly advises that all electrical work is carried out by a qualified professional. It is advisable to choose a plumber who also has a part P qualification. This will mean that the plumber is qualified to carry out the electrical work required during the steam shower installation.
If you cannot find a registered installer, Di Vapor can arrange a third party installation company to carry out this work. Although Di Vapor can assist in finding a registered professional, Di Vapor cannot guarantee the quality or professionalism of the work carried out and accepts no liability for any third party installer.
3. Preparatory Work
Prior to purchasing you should have confirmed the cabin dimensions and know where in the bathroom you are placing the steam shower. The steam shower installation will require both a hot and cold water supply along with an electrical feed.
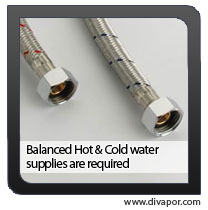
- Water Supply: The manufacturer's steam shower installation booklet will provide measurements to where the hot and cold feeds should be piped. The water supply pressure should be 2.5-3.0bar, which equates to a combined flow rate of 16-18 litres per minute across both supplies. The input water supply should be balanced across the hot and cold supply, which can be achieved using a pressure equalising valve (PEV) or pressure reducing valve. The steam shower will arrive with hot and cold braided hoses on the rear of the unit allowing the unit to be connected and pushed back into position. The water supply pipes should be recessed and not protrude more than ½ inch from the wall. Ball lever valves can be installed to allow quick shut-off of the water to the shower.
- Electrical Supply: The 3.0KW steam generators require a 16Amp dedicated power supply to the steam shower. Typically, this will be wired back to the consumer box and can be located on a separate breaker switch. Please ensure that either the RCD on the steam showers power cable or an RCD at the consumer box is utilised. The rated working voltage of a majority of the Di Vapor steam showers is 220V at 50Hz, with the controlling circuit operating at DC 12V.
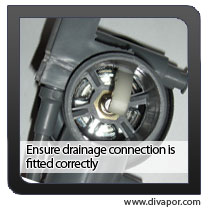
- Drainage: The manufacturer's installation booklet will give measurements for positioning the shower's drainage point. Typically, the shower will come with a flexible waste hose that will be connected to your drainage point. It is important to check the clearance underneath the shower tray. The slimline tray of the Savona steam shower will require the drainage to be recessed underneath the floorboards.
- Telephone point: If the steam shower you are installing comes with a telephone input then you have the option to run a telephone access point to the rear of the unit.
At this stage you should carry out preparatory decoration as necessary. This may involve plastering, painting or tiling. CAUTION: Never knock nails or drill holes into walls without knowing what is hidden behind them!
4. Tray
Place the shower tray in its final standing position. Adjust the screw legs that are positioned across the bottom of the tray until the tray is level. This should be checked using a spirit level. Once the tray is level tighten the locking nuts to secure the height of each leg.
5. Top & Side Panels
Move the tray out from the wall about 40-60cm to allow access to all sides of the cabin during installation. The order of panel placement should follow the specific shower installation instructions. Each panel should align with the pre-drilled holes in the tray and adjoining panels. Place sealant between each adjoining panel and also between each panel and the tray. Use the bolts supplied to firmly affix each panel together. Once all acrylic and glass panels have been secured the top piece can be placed onto the side panels. Use the bolts/screws supplied to firmly secure the top piece to the side panels.
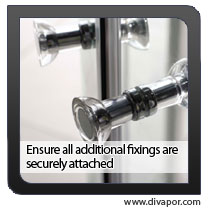
6. Mirror, Accessories & Seals
- Mirror: You will need two people to install the mirror. The first person will hold the mirror into position inside the shower while the second can tighten the bolt fixings behind the shower. Once fixed you should apply a bead of sealant around the mirror and around the fixing holes. This is important to stop water and steam coming into contact with the mirror's foil backing. If not sealed correctly then over time the mirror may start to discolour.
- Handles: Simply screw the handles together on either side of the glass doors.
- Accessories: Typically, the shower will come with one or two shower hoses. Connect one end of the hose to the connector on the back panel and the other end to the handheld shower and foot massage unit, if applicable. Please make sure that the hoses are connected the correct way around. Failure to do so may result in water escaping between the hose and the connector thread. If the steam shower accepts CD/MP3 input then you can connect the audio cable to the control box at this stage and run it back to your music player.
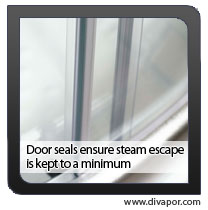
- Seals: Slide the shower seals/fins onto the fixed glass panels adjacent to the door and onto the door glass itself. Adjust the door as necessary to reduce any gaps where steam will escape.
 7. Connect Adjoining Pipes & Wires
The overhead fan, lights and speakers will all be powered from the main control box. Each wire should be labelled and have matching connectors that come from the control box. These 12V DC wires should now be plugged together. The shower will have water pipes that run to the overhead shower and body jets from the 3-way thermostatic valve. These should be plugged into the corresponding connectors and tightened using the metallic pipe clips and a Phillips screwdriver.
8. Connect Water, Electrics & Drainage
Please check that the water supplies are balanced and at an adequate pressure. If necessary and depending on your water system you may be able to connect a water pump to increase the supply pressure. At this stage you should connect the hot and cold water supplies using the 15mm braided hoses supplied. The braided hoses use a standard 22mm connector.
Connect the RCD that comes attached to the power cable to a wall or an accessible access point. Alternatively, use a dedicated RCD back at the consumer box. A dedicated 16Amp supply is required via an isolated fused spur connected directly back to the consumer box. Alternativley, the steam shower can be powered via an IP56 rated wall socket.
It is important that the earth wire is connected to an earthing point in the bathroom or the metal framing of the shower. The installer will be able to advise about correct earthing of the steam shower.
Finally, connect the flexible water hose into your bathroom waste point and seal as necessary.
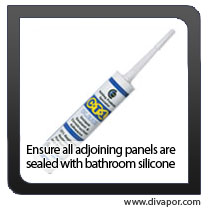
9. Sealant
Typically, you should now place a bead of white or clear sealant between the adjoining side panels. Sealant should also be placed between the side panels and the tray to stop any water running along any seams and over the edge of the shower tray.
Once sealant has been applied and allowed to dry, the steam shower should be tested for water tightness. Use the handheld shower to spray water against the water jets, all acrylic/glass panel fixing holes and along the join of all adjoining panels. Typically, it is not necessary to seal the top piece but this is left to the discretion of the installer. Check around the rear and sides of the steam shower to see whether any water has escaped and reseal where necessary. Also, the installer should check that all pipes are fully spanner tightened and not dripping any water.
Once the unit has been fully checked for water leaks and all electrical features such as lights, radio and steam tested then gently push the unit back into position.
Your Steam Shower Installation Check List
| • | Balance input water pressure |  |
| • | Adequate input water pressure of 2.5-3.0bar | |
| • | Water proof flooring (e.g., tiles) | |
| • | Dedicated 16Amp electrical supply | |
| • | Sealant between all adjoining panels | |
| • | Check that all pipes are fully spanner tightened | |
| • | Use hand shower to check for water leaks between adjoining panels, jets and other fixings | |
| • | Sealant around mirror | |
| • | All glass seals have been connected | |
| • | RCD at shower or consumer box is correctly working | |
| • | All new pipework should be flushed to remove debris before connecting pipes to shower | |
Please note, the electrical installer of the steam shower is responsible for taking all proper precautions before and during installation as well as checking that the actual electrical equipment (wires, etc.) is not damaged prior to installation.
If you have recently purchased a bathroom product from Di Vapor and require an online copy of our installation manual then please send us a message using the contact form found on the 'Contact' page, stating your request and model name.
|