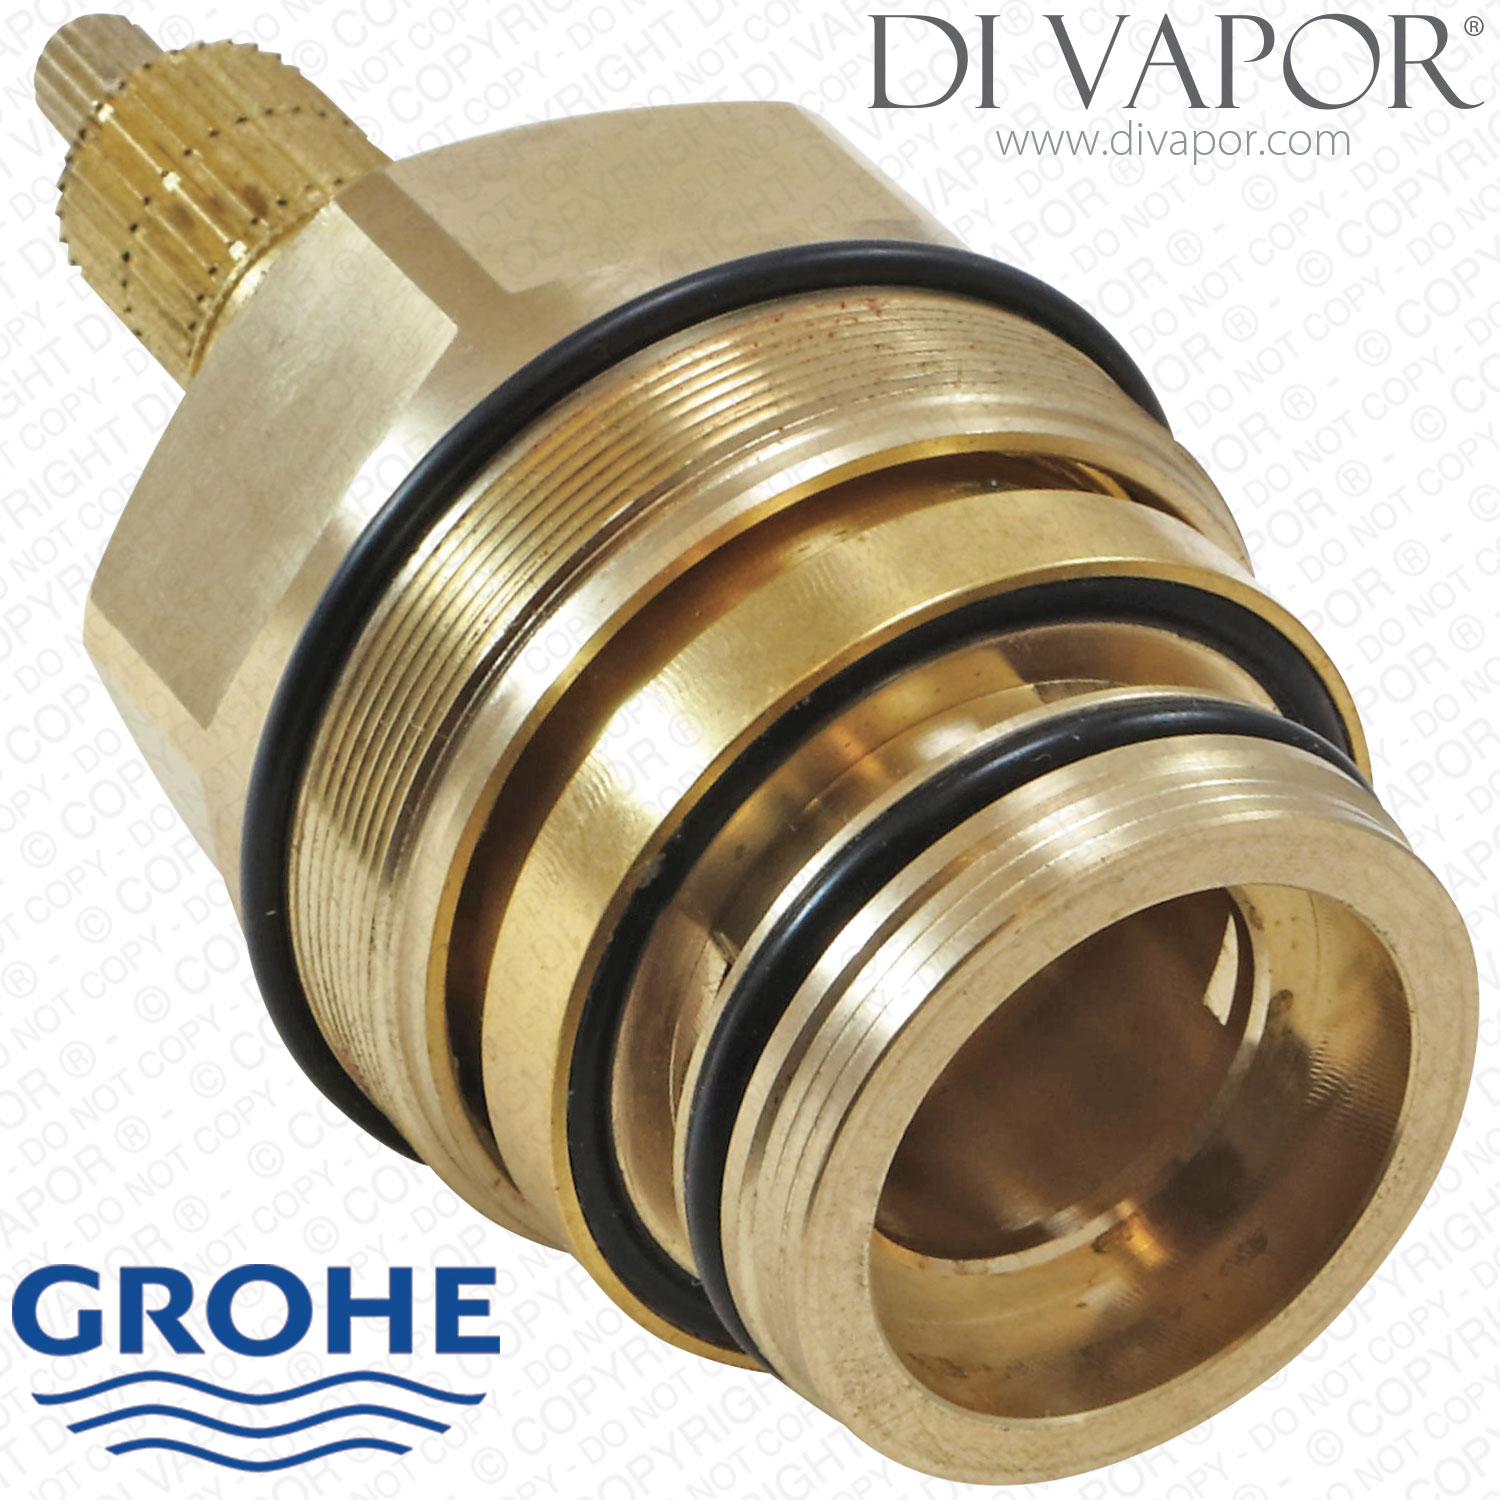

Grohe 47598000 Thermostatic Cartridge with Piston and Wax Element Control Unit for Avensys and Grohmaster Valves - Spare Part Number: GROHE-47598000
Part Number: GROHE-47598000
Out of stock - Ask a Question now
Price: £650.00
SALE: £398.00
You save: £252.00 (39%)
Price includes UK VAT (Region: UK▼)
Save with a compatible alternative
Compatible Option
- Tested replacement
- 12-month warranty
- Simple returns
£294.88Save £103.12
View option →

Product description
SUMMARY
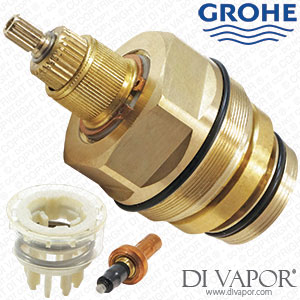
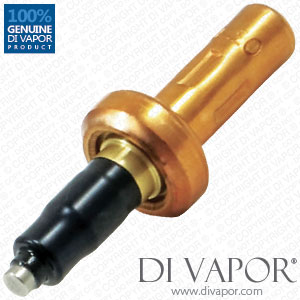
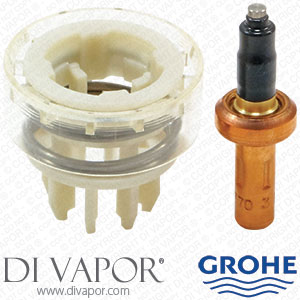
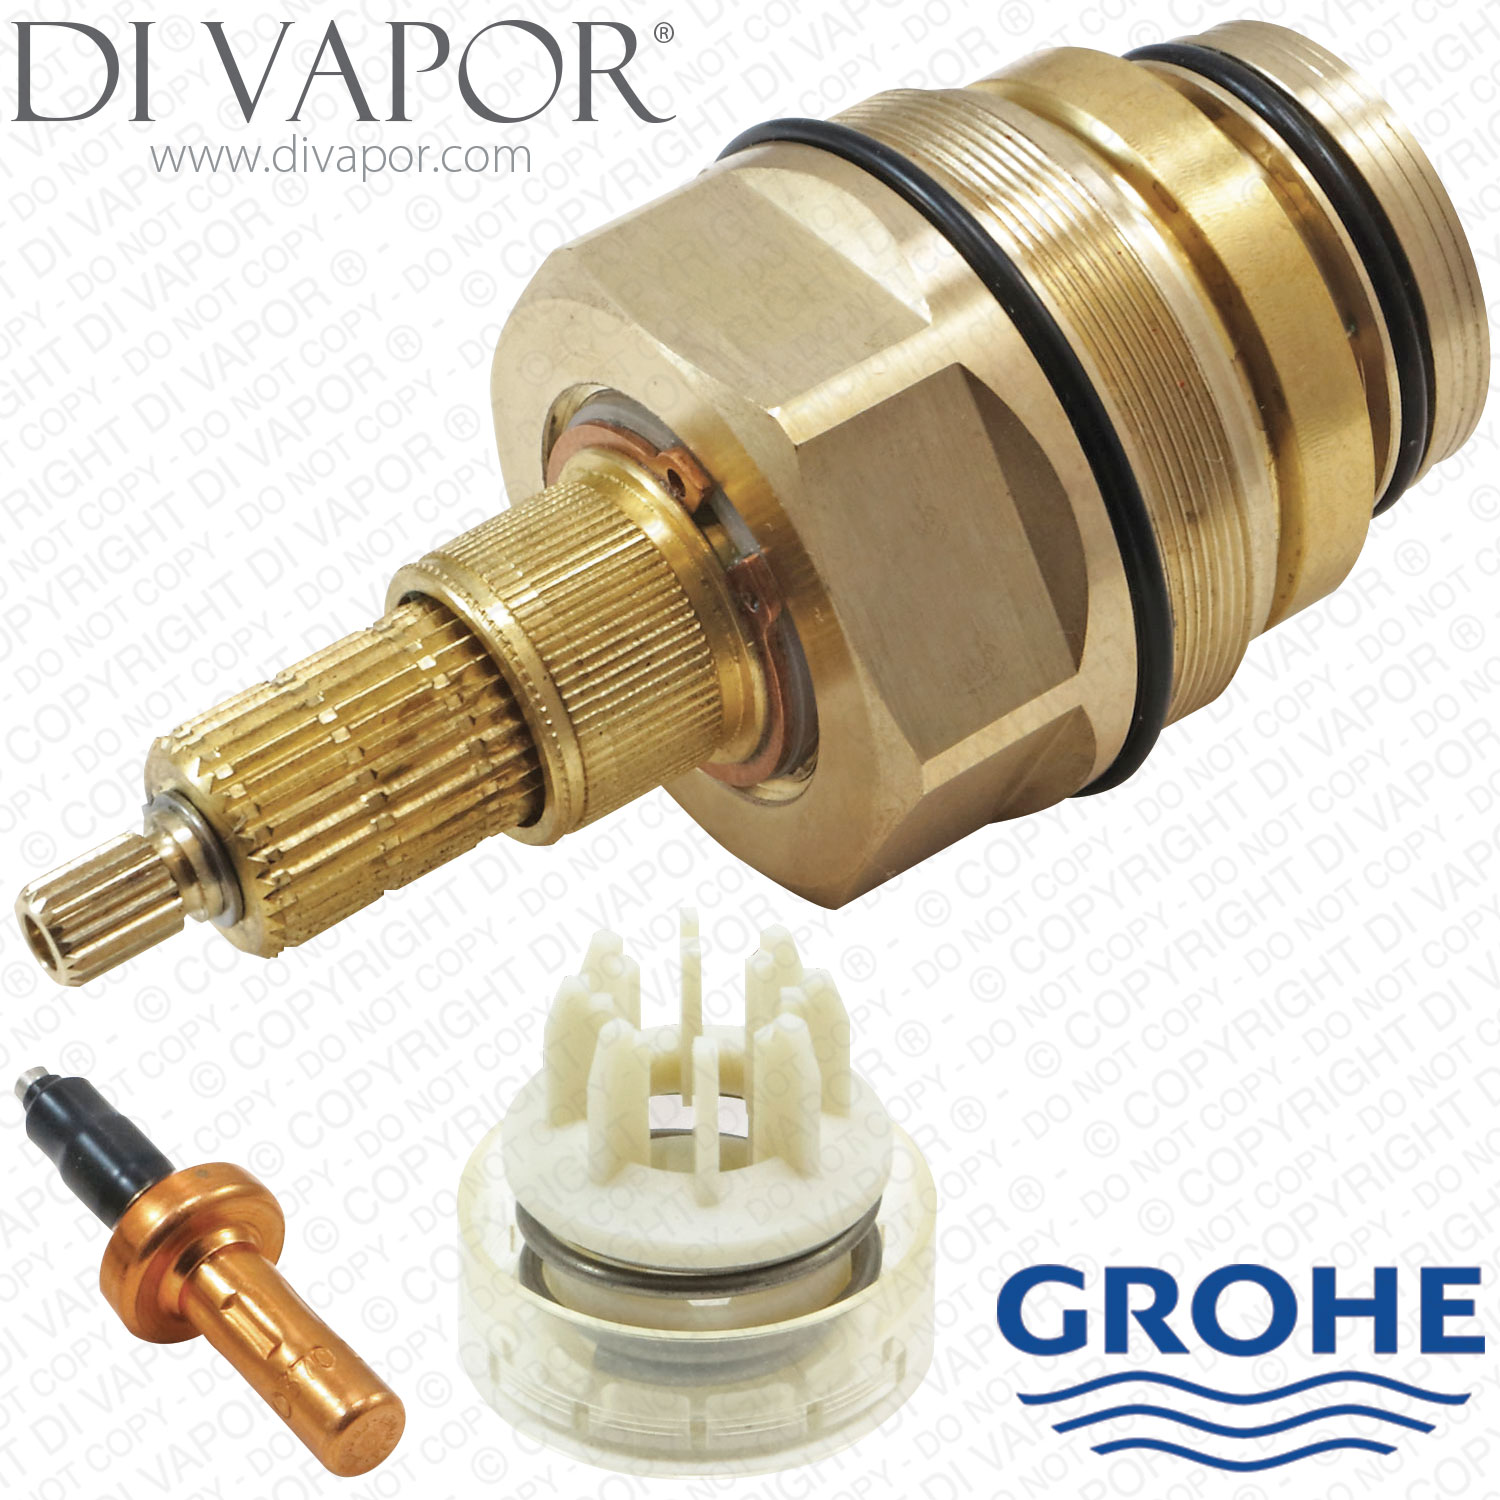
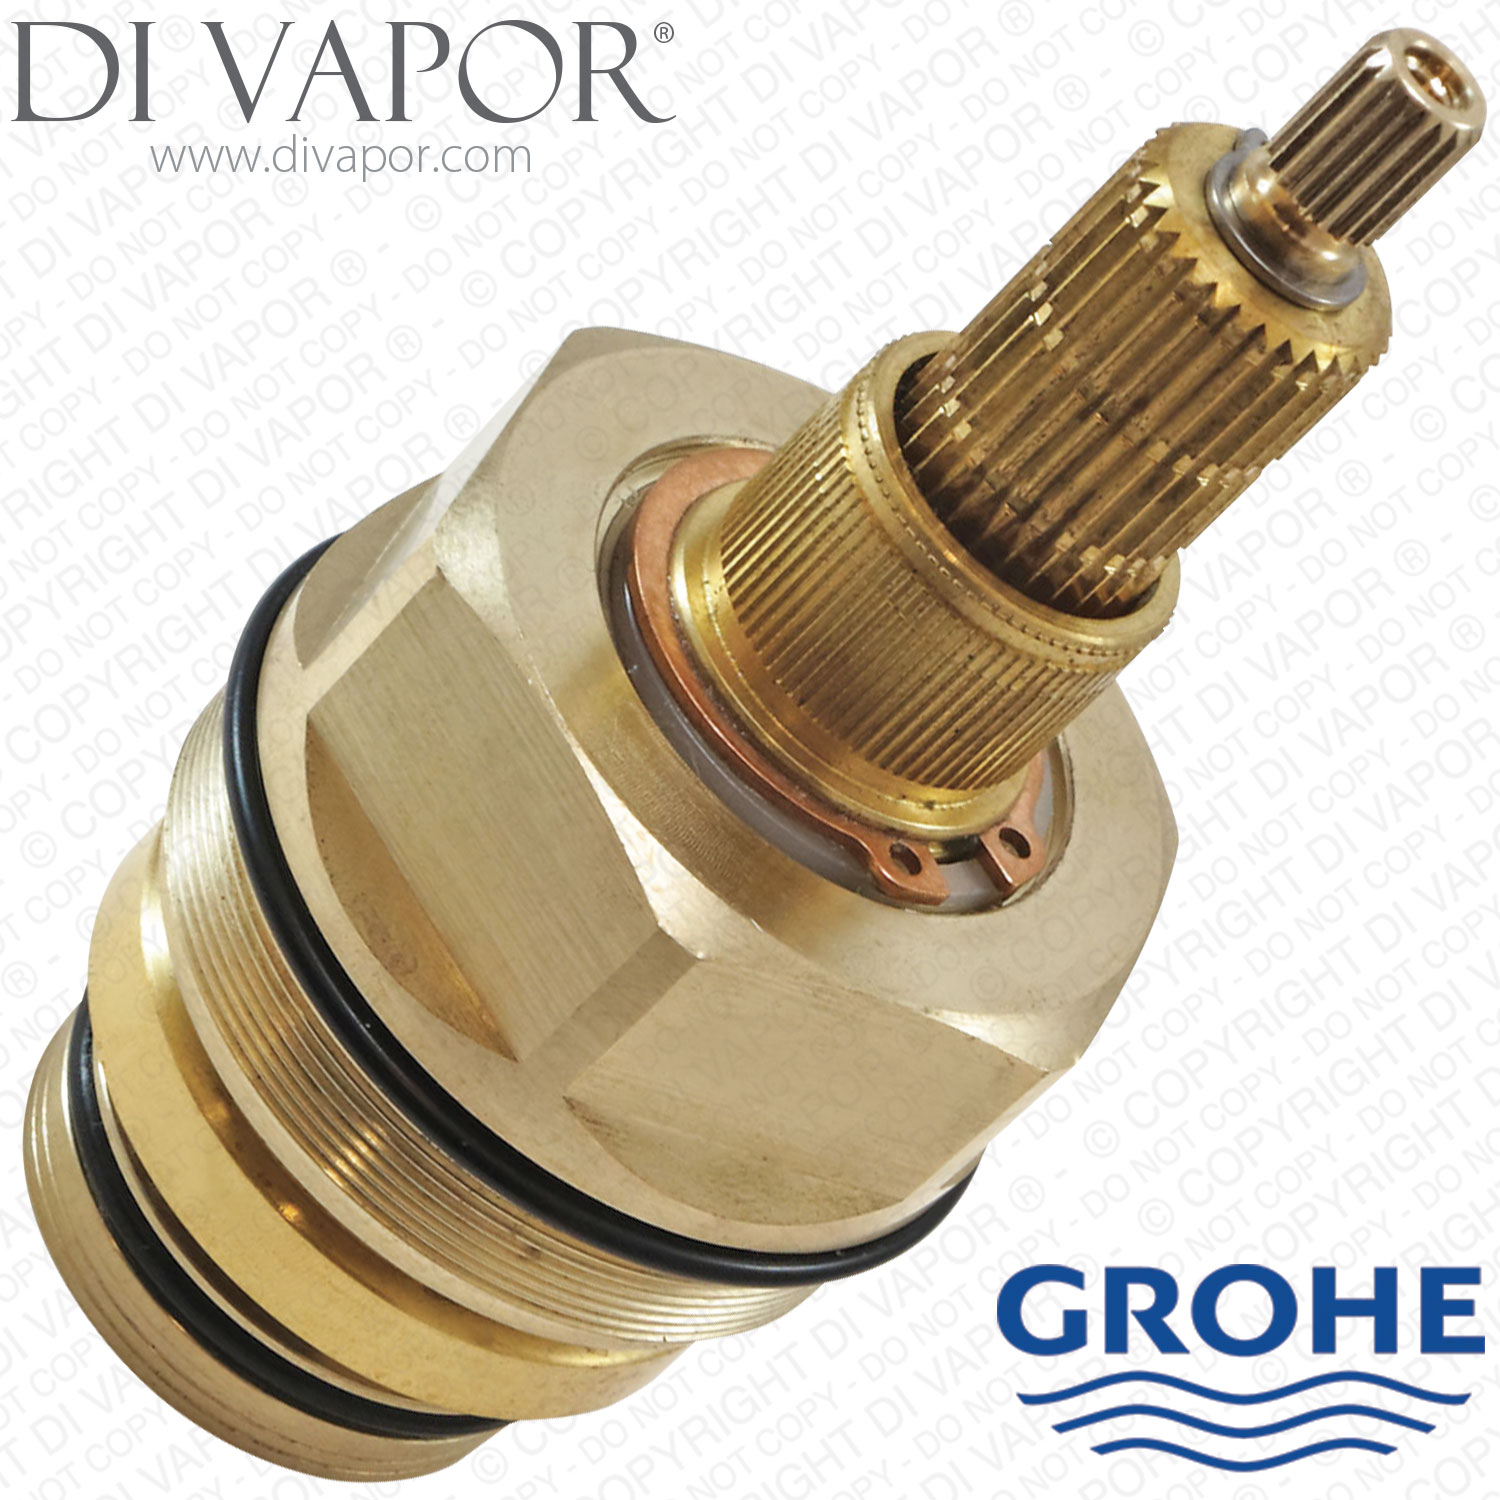
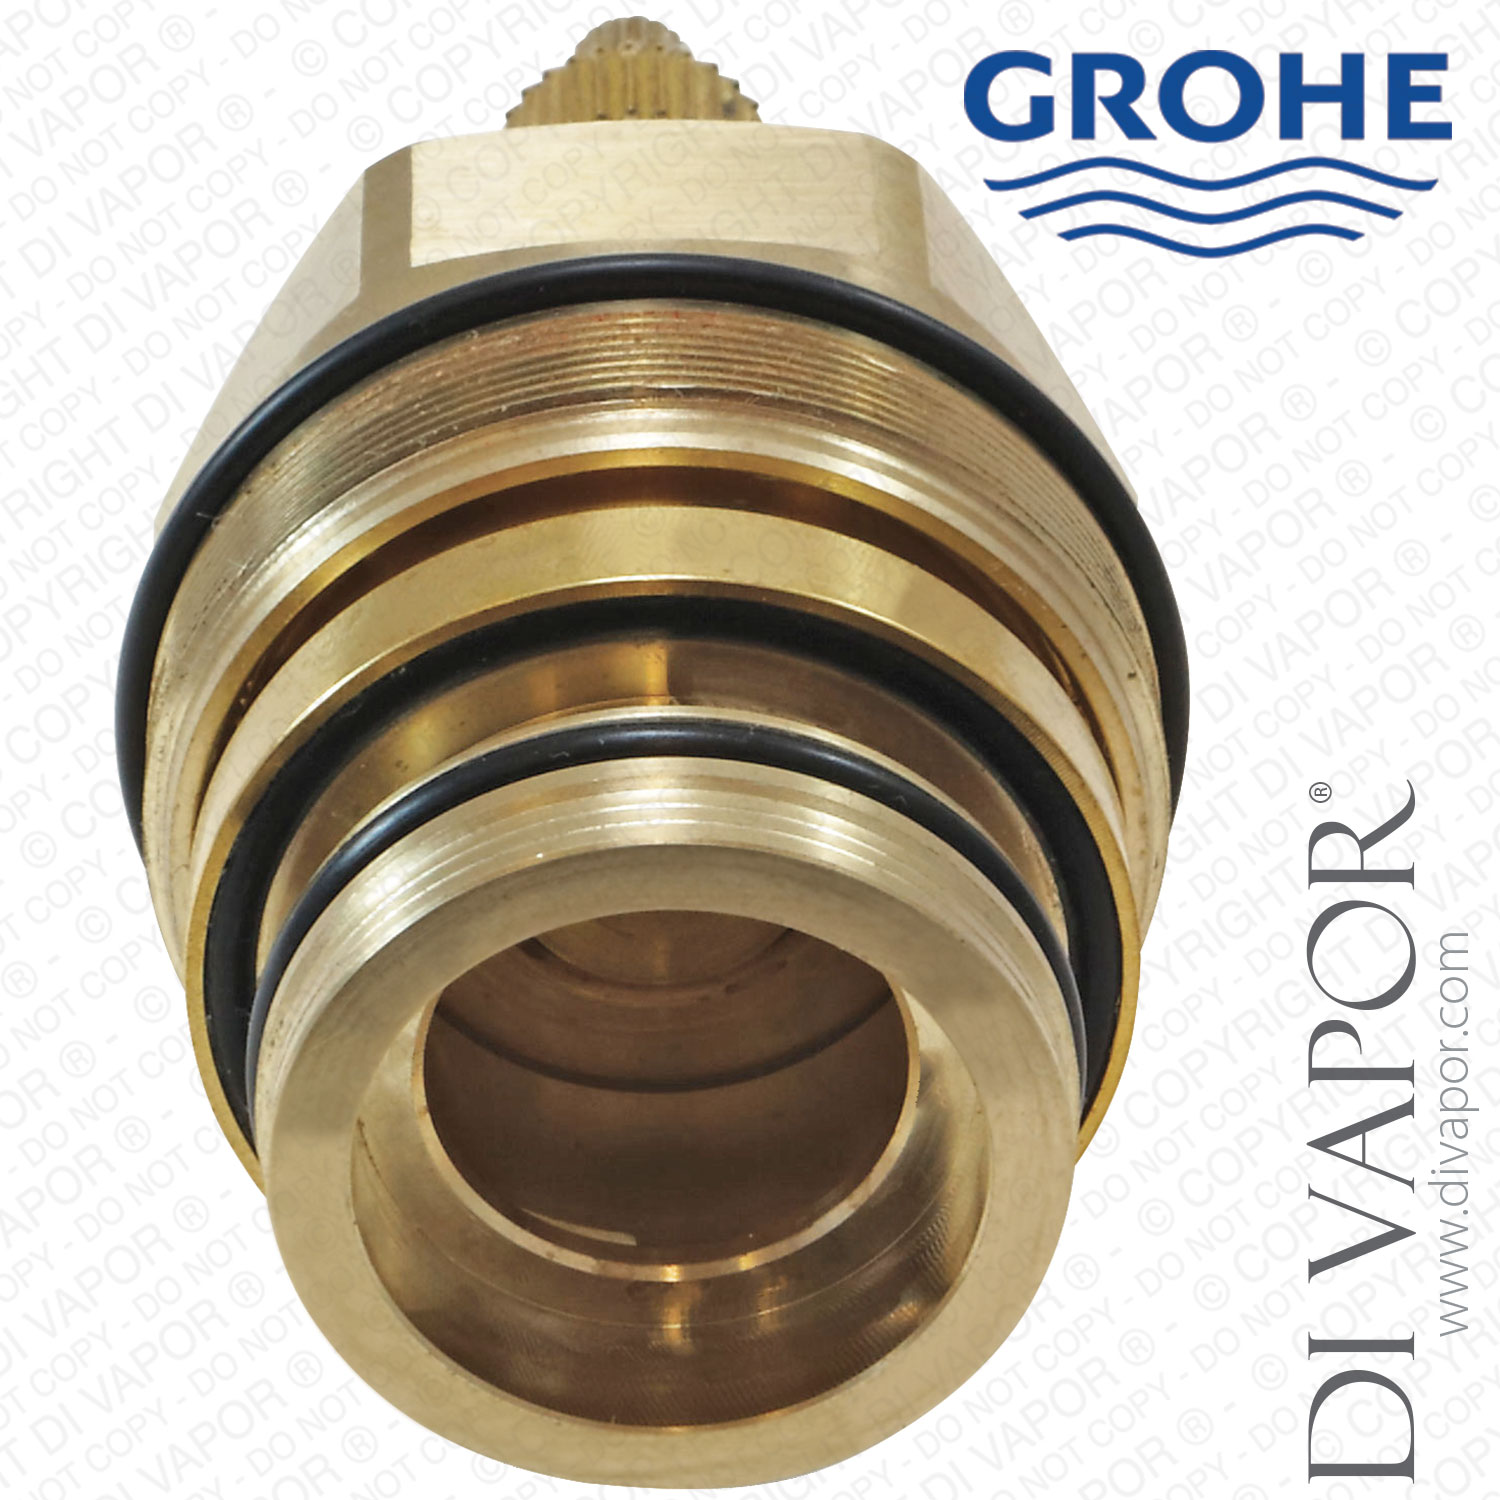
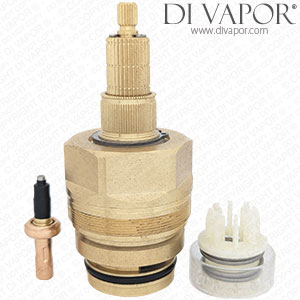
Grohe 47598000 thermostatic cartridge with wax element control unit for Avensys and Grohmaster Valves - Spare Part Number: GROHE-47598000This Grohe 47598000 cartridge comes with a wax thermostat element 00798000 and the Grohe piston shuttle 07587000.
If you need to replace the metal housing then you will likely need to replace the shuttle and the piston as these are the parts that generally fail when the shower no longer regulates temperature correctly. If you wish to purchase only the wax thermostat and piston, you can find it here on the Grohe Avensys 00798000 and 07587000 page.
The Grohe Avensys cartridge is used in the following shower valves:
- Grohe Grohmaster 34 083 Avensys Thermostatic Dual Biv
- Grohe Grohmaster 34 084 Avensys Thermostatic Dual EV
- Grohe grohmaster 34 043 Avensys Trad. Thermostatic Dual 1/2" Inch
- Grohe Grohmaster 34 030 Avensys Thermostatic Dual 1/2" Inch
- Grohe Grohmaster 34 042 Avensys Trad. Thermostatic Dual 1/2" Inch
- Grohe Grohmaster 34 028 Avensys Thermostatic Dual Ev
- Grohe Grohmaster 34 031 Avensys Thermostatic Dual 1/2" Inch
Manufacturer: Grohe
Spare Part: Grohe Avensys Thermostatic Cartridge Assembly 47598000
Installation: Screw-Fit
Material: Brass
Number of External O-Rings: 2
Grohe thermostatic cartridge assembly 47598000 is for the Avensys dual control shower units. The cartridge assembly for Avensys flow control union is part number 47767000.
Technical Specifications: 47598000 Grohe Thermostatic Cartridge Assembly
Cartridge Approximate Measurements:
Total Length of Cartridge Housing: 110.3mm
Diameter of Cartridge Housing: 51.1mm
Guide: 47598000 Grohe Grohmaster Avensys Thermostatic Cartridge Replacement
Grohe Avensys spare part 47598000 includes the cartridge housing, plastic piston shuttle, and wax thermostat element. This thermostatic cartridge assembly fits Grohe low-pressure, gravity-fed system shower valves Avensys Thermostatic Dual 1/2 Inch, Avensys Traditional, and Avensys Classic.
As always, isolate the shower’s water supplies before beginning the replacement.
Materials needed for replacing the Avensys Thermostatic Cartridge are:
– Grohe Cartridge Assembly (47598000)
– Screwdriver
– 46mm Spanner
– Small Brush
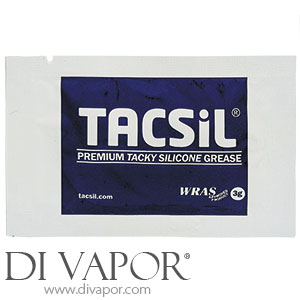
– Silicone Grease
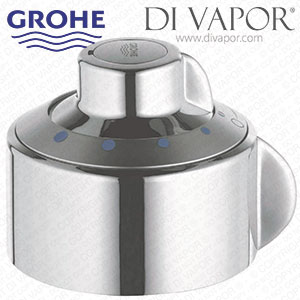
Grohe Avensys Concealed Shower Valve
The steps below are applicable for the:
– Avensys Classic Concealed Shower Valve (Grohmaster 34 083 Avensys Thermostatic Dual BIV)
– Avensys Traditional Concealed Shower Valve (Grohmaster 34 043 Avensys Thermostatic Dual 1/2" Inch)
1. Pop out the decorative indice found at the center of the handle. Remove the screw and the succeeding parts under it to release the handle.
2. Take out the Avensys wall plate cover and the screws securing the bottom plate. Slide out the bottom plate.
3. Remove the ring and the temperature stop ring. You can now access the thermostatic cartridge.
4. Latch a 46mm wrench on the nut of the cartridge. Rotate it counterclockwise to remove. The wax element, shuttle, and spring must also be removed. Clean the spring and set it aside for later use.
5. Flush the valve with water. Brush the insides with a small soft brush if necessary to rid it of grit and scale.
6. Assemble the 47598000: Insert the wax thermostatic element in the cartridge housing followed by the plastic piston shuttle and the spring.
7. Grease the O-rings with a proper silicone lubricant. Install the thermostatic cartridge assembly in the valve body. Secure it using a spanner.
8. Return the stop ring and the shroud.
9. Return the bottom plate in and redo the screws. Return the wall plate.
10. Refit the handle parts, fasten the screw, clip the decorative indice back in place.
11. Open water supplies to test the installation.
Grohe Avensys Exposed Shower Valve
The section of this guide covers:
– Avensys Classic Exposed Shower Valve (Grohmaster 34 084 Avensys Thermostatic Dual EV)
– Avensys Traditional Exposed Shower Valve (Grohe Grohmaster 34 042 Avensys Thermostatic Dual 1/2" Inch)
1. Remove the center decorative indice. Use a screwdriver to release the handle assembly.
2. Detach the cover ring and the stop ring.
3. Grip a 46mm wrench on the cartridge nut to extract the screw-fit cartridge barrel. Withdraw the piston, the shuttle slider, and the spring. Wash the spring to clean it. Keep it somewhere safe for later use.
4. Clean the valve of dirt. Use a small brush to remove stubborn scale.
5. Introduce the wax piston in the cartridge body and then the shuttle. Attach the spring at the bottom of the Grohe 47598000 thermostatic cartridge. Coat a layer of plumber’s grease on the seals of the cartridge.
6. Embed the cartridge assembly in the shower unit. Secure the cartridge threads.
7. Rebuild the rest of the valve by restoring the stop ring, cover ring, handle assembly, and indice.
8. Open hot and cold supplies and see if installation is completed without any complications.
Grohe 47598000 Thermostatic Cartridge Temperature Adjustment
The 47598000 can be calibrated to suit your water temperature preference. Insert a long screwdriver in the center of the cartridge splines. Rotate clockwise to lower the temperature and counterclockwise to raise it.
Frequently Asked Questions: Grohe 47598000
Question: Shower can no longer control temperature. Do I have to buy a new spare cartridge assembly?
Answer: The wax thermostat element and/or the shuttle might be causing the problem. This is the link where you can buy the two parts without the housing.
Question: I undid the screw but the handle won’t come off.
Answer: This might be because of sediment calcification. You can try to pull out the handle with extra force. Or you can use WD40.
Question: How to remove a stuck temperature stop ring?
Answer: You can spray WD40 or submerge the cartridge with the stuck stop ring in vinegar for 24 hours. If it won’t come loose it may be time to get a new stop ring.
Question: How will I know if the wax thermostat is broken?
Answer: A wax element gone faulty will have trouble regulating temperature. You can test the capsule by dipping it in cold and hot water. The pin will rise a few millimeters as it is in hot water. You should be able to manually push the pin down after dipping it in cold water. If it does not rise and fall, you need to replace it.
shipping & Returns
FAST DELIVERY
- Delivery of this item is priced as a 'small packet'. UK delivery costs £5.95 incl. VAT.
- For all in-stock spare parts the typical UK delivery timescale is 2-5 working days.
- If you need a part urgently then we can provide a next-day (delivered Mon-Fri) UK delivery service for all in-stock small parcels ordered before 3.00pm, Monday - Friday.
- Next day delivery is available to select at an additional charge during the checkout.
- We delivery WORLDWIDE. For more information about international deliveries, read our delivery page.
RETURNS
- If you need to return a part then please telephone Di Vapor on 0121 705 0866 with the reasons for the return within 14 days of receiving the goods.
- For more information please see our terms and conditions.
Payment & Security
Payment Methods
Di Vapor accepts the following payments methods:
- Visa
- Mastercard
- Paypal
- Maestro
- Discover
- JCB, Diners Club, EnRoute
- American Express (via PayPal guest checkout only)
- Cheque (must be cleared before dispatch)
- BACS
SECURITY
Di Vapor treats your privacy and security with the utmost importance. The payment systems used by Di Vapor are based on industry standards to ensure all payments are securely handled. In fact, we ensure the Di Vapor website is regularly checked to guarantee compliance to PCI security standards.
Related items you may need
Scroll or tap arrows to see more items