
Vado HUB-001G-DIV Diverter Cartridge 148/2 Valve - 2 Way Diverter - Red Housing


Send a photo of your item and we'll help confirm it.
Summary
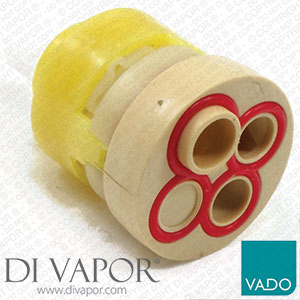
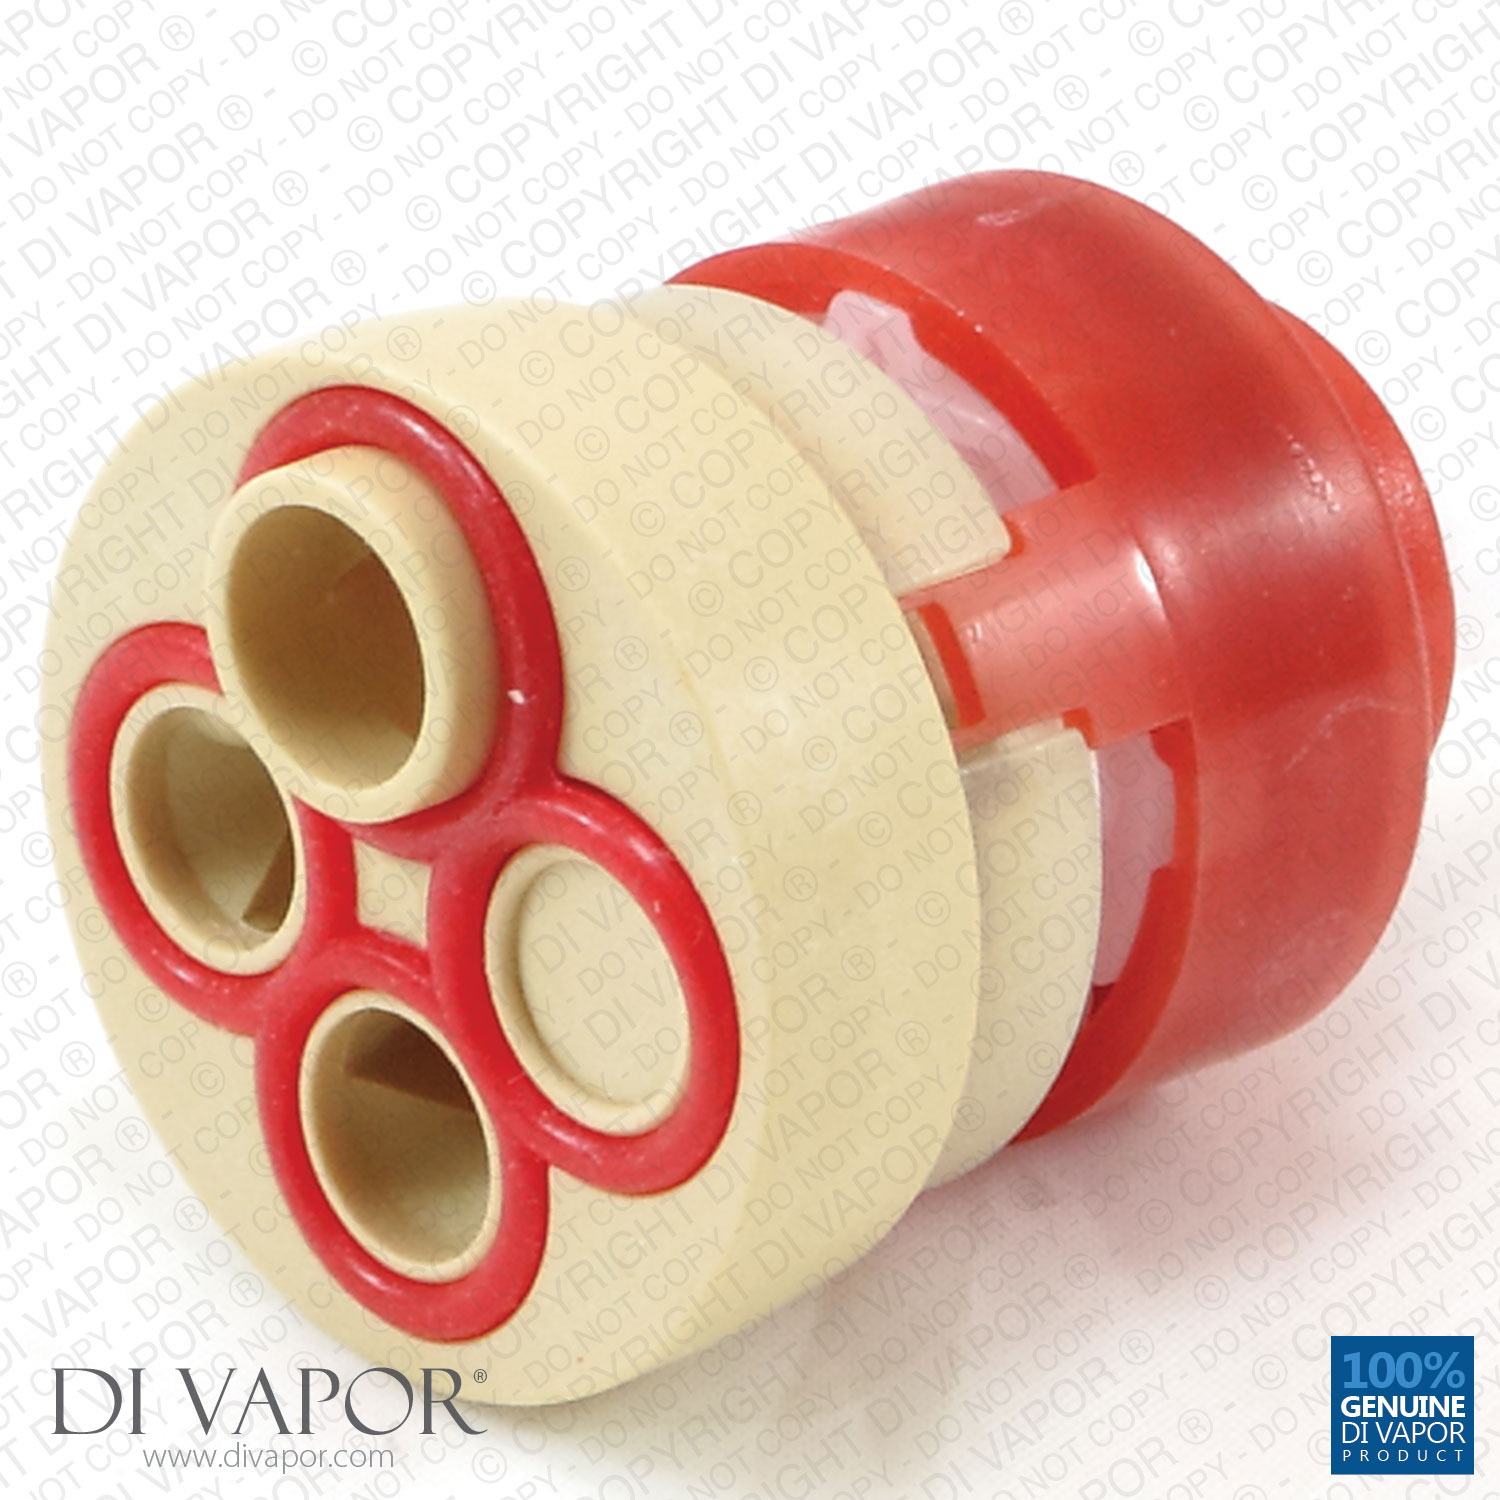
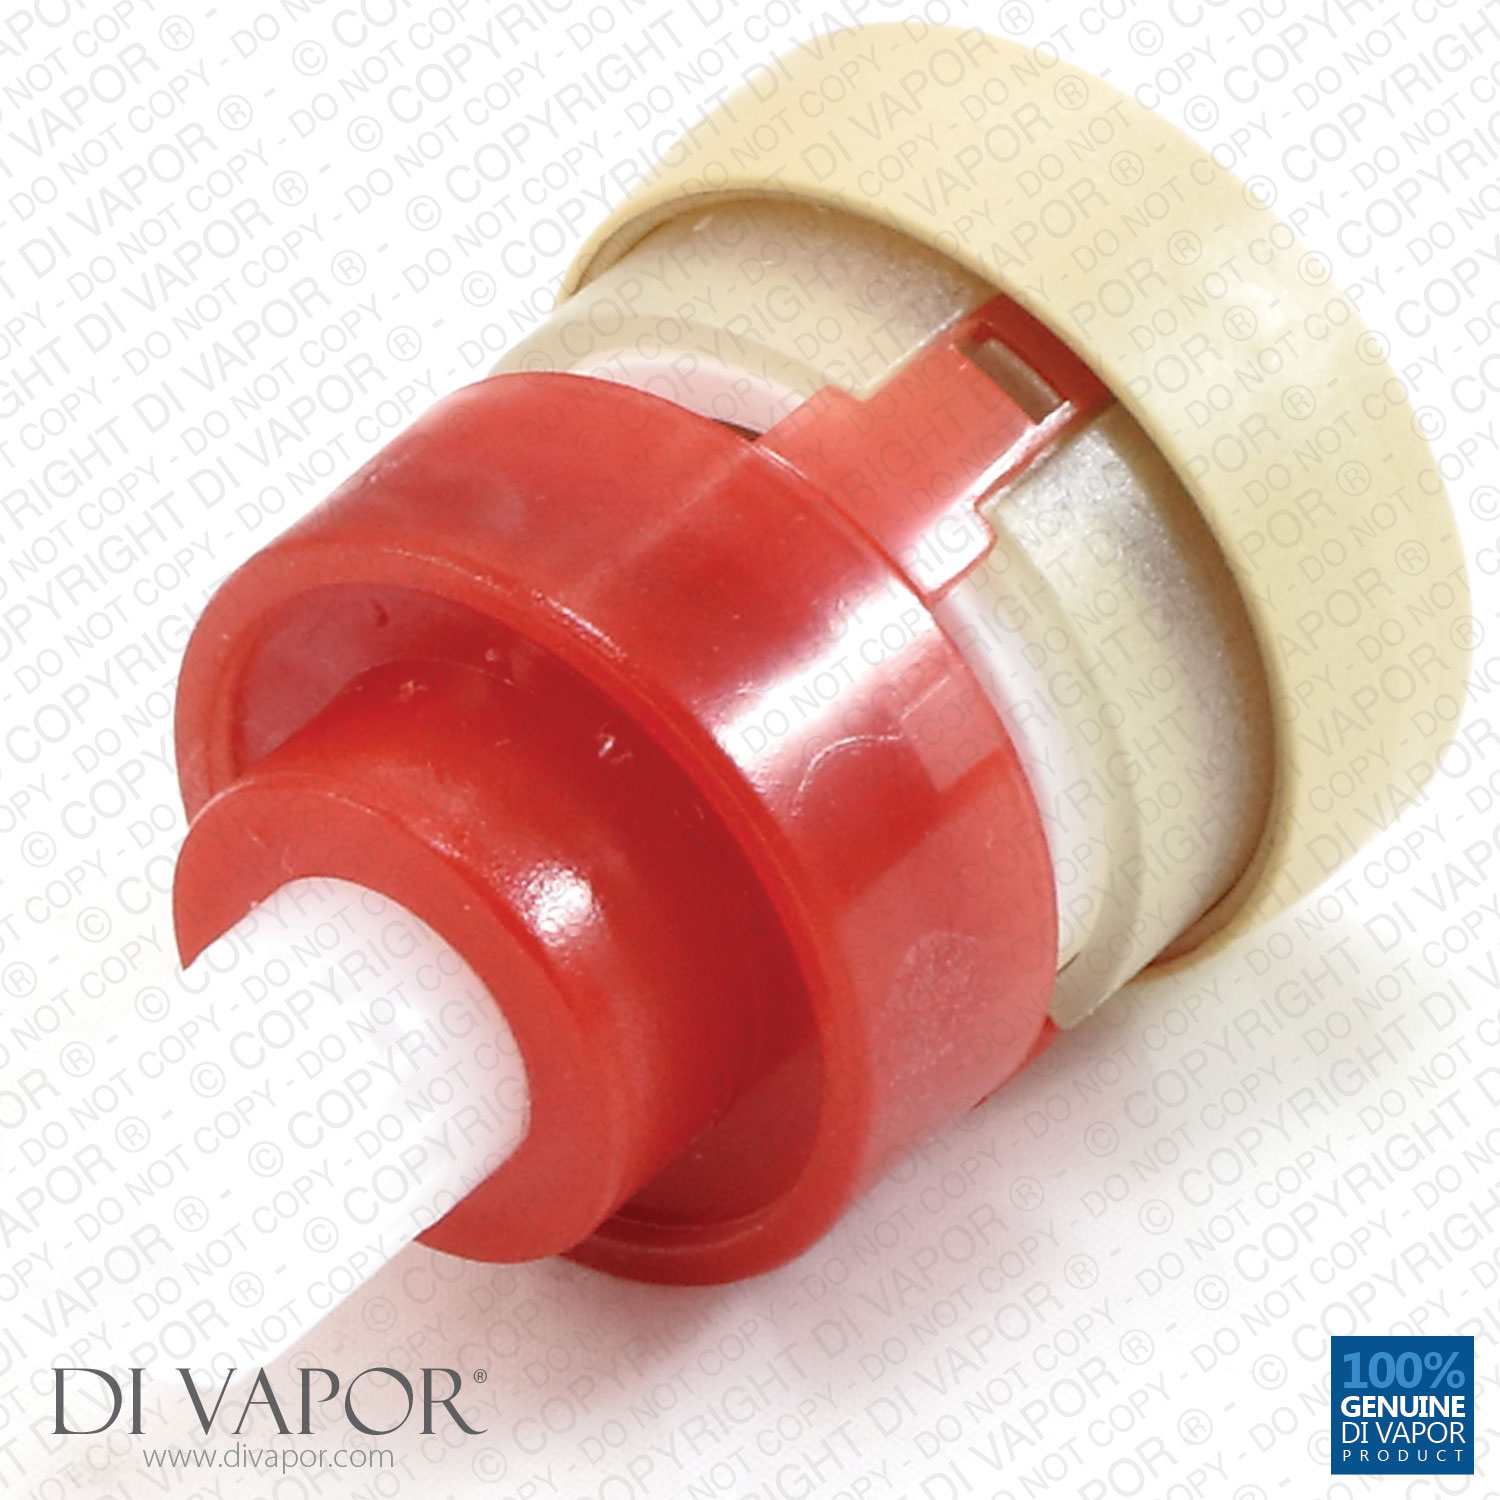
Vado Diverter Cartridge 148/2 Valve - 2 Way Diverter - Red Housing. This diverter operation 2 water flow functions as well as an off function.
The HUB-001G-DIV is usually used with the CEL-003F-BRA Brass housing/ CEL-003F-BRA diverter housing can be found here.
HUB-001G-DIV (Red ring/body)
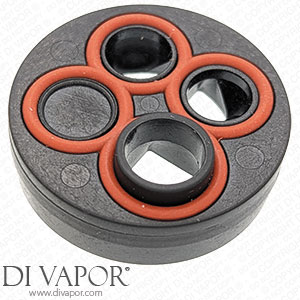
Starting at Blocked off port (ceramic disc open at blocked port)
Clockwise opens protruding (locating) port
Anti-clockwise once (1 click) opens first adjacent port
Doesn’t turn again to move to second open port.
| Manufacturer | Vado |
|---|---|
| Product | Diverter Cartridge Spare Part |
| Installation | Push-Fit |
| Housing Colour | Red |
This Vado 2 way diverter cartridge spare part is suitable with:
- WG-11901/2 Vado Prima concealed thermostatic shower valve with diverter.
Replacing a broken diverter cartridge has its benefits. Here are some of the advantages:
- You can shift water flow from the bath tap to the shower head with ease.
- You can address leaks and thus conserve water and save money.
- You can enjoy a good shower with adequate water flow.
- You can opt for next day delivery if you order the red Vado diverter HUB-001G-DIV spare part before the 3:00 PM cutoff, from Mondays to Fridays.
Need any help in determining the diverter cartridge you need? Please send us a message with a clear photo of the old diverter. We will do our very best to find the matching replacement part for your shower.
Frequently Asked Questions: Vado 4 Way Diverter Cartridge HUB-001G-DIV
Question: How do I install the 4 way diverter cartridge?
Answer: The red HUB-001G-DIV will fit the Vado Prima recessed shower valve. Please see the safety reminders in the last section of this page.
- Remove the decorative caps.
- Unscrew the temperature control handle and the diverter handle.
- Remove the rings, the retaining nut, and the cover plate.
- Unscrew the headnut brass diverter housing.
- Remove the old push-fit diverter cartridge.
- Apply a thin coating of silicone grease on the bottom O-ring of the new red Vado 4 way diverter cartridge (HUB-001G-DIV).
- Install the replacement diverter and the housing.
- Reassemble the parts in reverse order.
Question: What are the indicators the diverter cartridge needs to be replaced?
Answer: Signs you may have to change your shower’s diverter cartridge include:
- Trouble redirecting water flow from the bath filler to the shower head.
- Water continues to drip from the bath tap when using the shower.
- Water leaks around the diverter handle.
Question: Heaving water from the shower head.
Answer: A lack of water pressure may lead to this. If the pressure is okay, check if the diverter housing is fitted securely. If it is secure, the diverter cartridge might be causing the problem.
A Few Shower Repair Safety Reminders
Are you excited to fix your shower with the Vado spare part HUB-001G-DIV? Before proceeding to the repair procedure, please keep in mind these safety precautions.
1. Be absolutely sure the hot and cold water supplies leading to the shower unit is completely isolated or shut off the valve found near the water meter.
2. Small parts such as screws can accidentally fall into the drain. So, plug your drain before starting.
3. Be careful to not move the thermostatic cartridge splines when removing the cover plate or reassembling the valve.
4. When reassembling the valve, make sure the stop on the thermostatic cartridge is in the same position as it was before you removed it. It will be helpful to take a photo before slipping the stop out.
Fast delivery
- UK delivery: £5.95 incl. VAT for this small packet item.
- For all in-stock spare parts the typical UK delivery timescale is 2-5 working days.
- If you need a part urgently then we can provide a next-day (delivered Mon-Fri) UK delivery service for all in-stock small parcels ordered before 3.00pm, Monday - Friday.
- Next day delivery is available to select at an additional charge during the checkout.
- Worldwide delivery available — see our delivery page for details.
Returns
- 14 days 'risk-free' returns.
- Start a return within 14 days of receiving your order by calling 0121 705 0866 or using our contact page.
- Full returns information is available in our terms and conditions.
Payment methods
We accept the following payment methods:

- Card payments: Visa, Mastercard, Maestro, Discover, JCB, Diners Club and EnRoute
- PayPal
- American Express: available via PayPal guest checkout only
- BACS bank transfer
- Cheque: dispatch takes place once payment has cleared
Security
We use industry-standard payment systems to help keep your payment information secure. Our website and payment processes are regularly checked to maintain PCI security standards.
- Secure SSL encryption
- Your personal and payment details are protected
- Regularly checked for PCI security standards