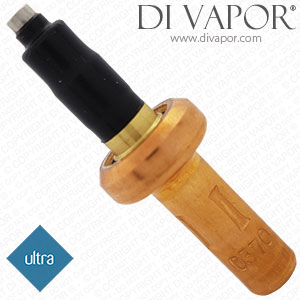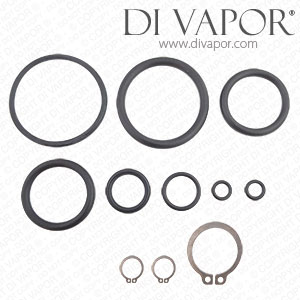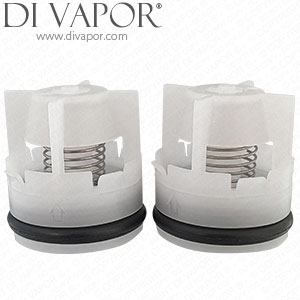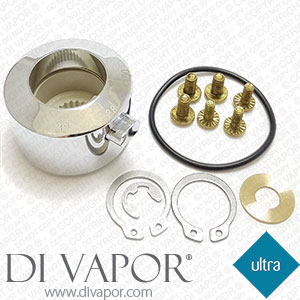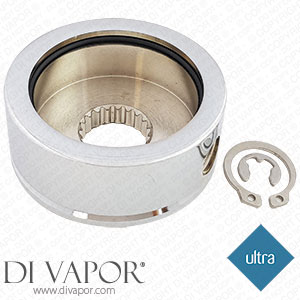
Ultra SASF2-M Thermostatic Cartridge with CEL-001A-WAX Piston, Wax Thermostat & Handle Assembly


Send a photo of your item and we'll help confirm it.
Summary
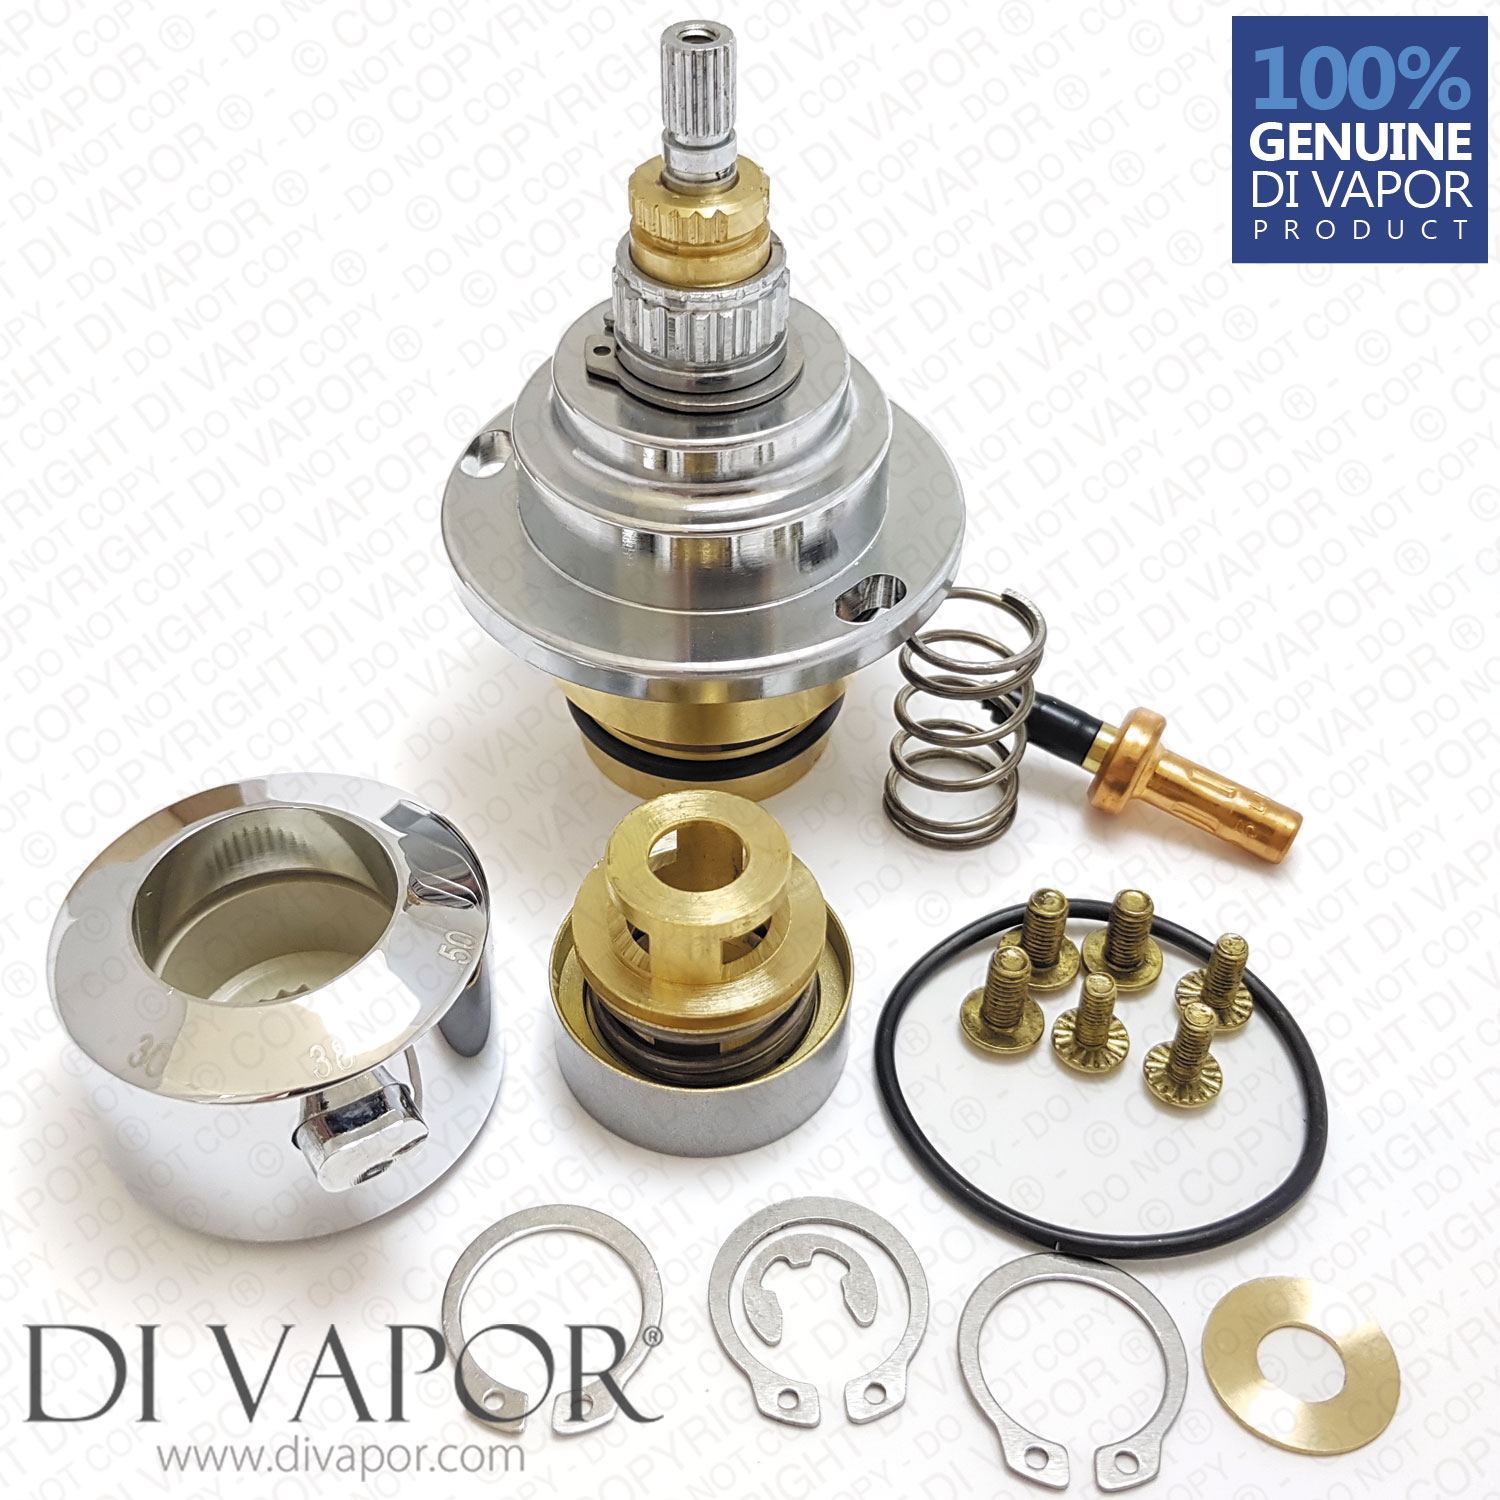
Product Includes:
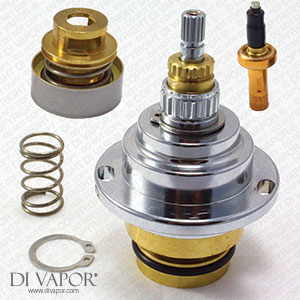
- Ultra / Hudson Reed Thermostatic Cartridge Assembly Housing for SASF2 / SASF2-M
- CEL-001A-WAX (which includes the SEL0370 wax element and piston)
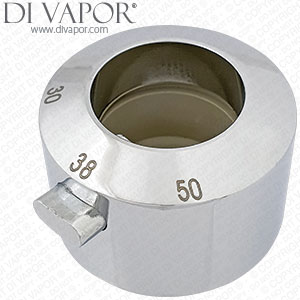
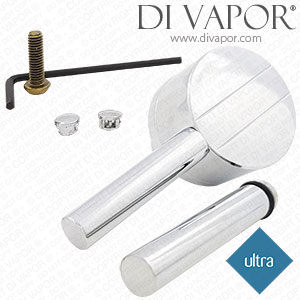
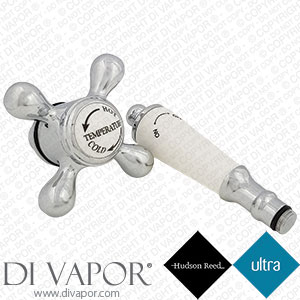
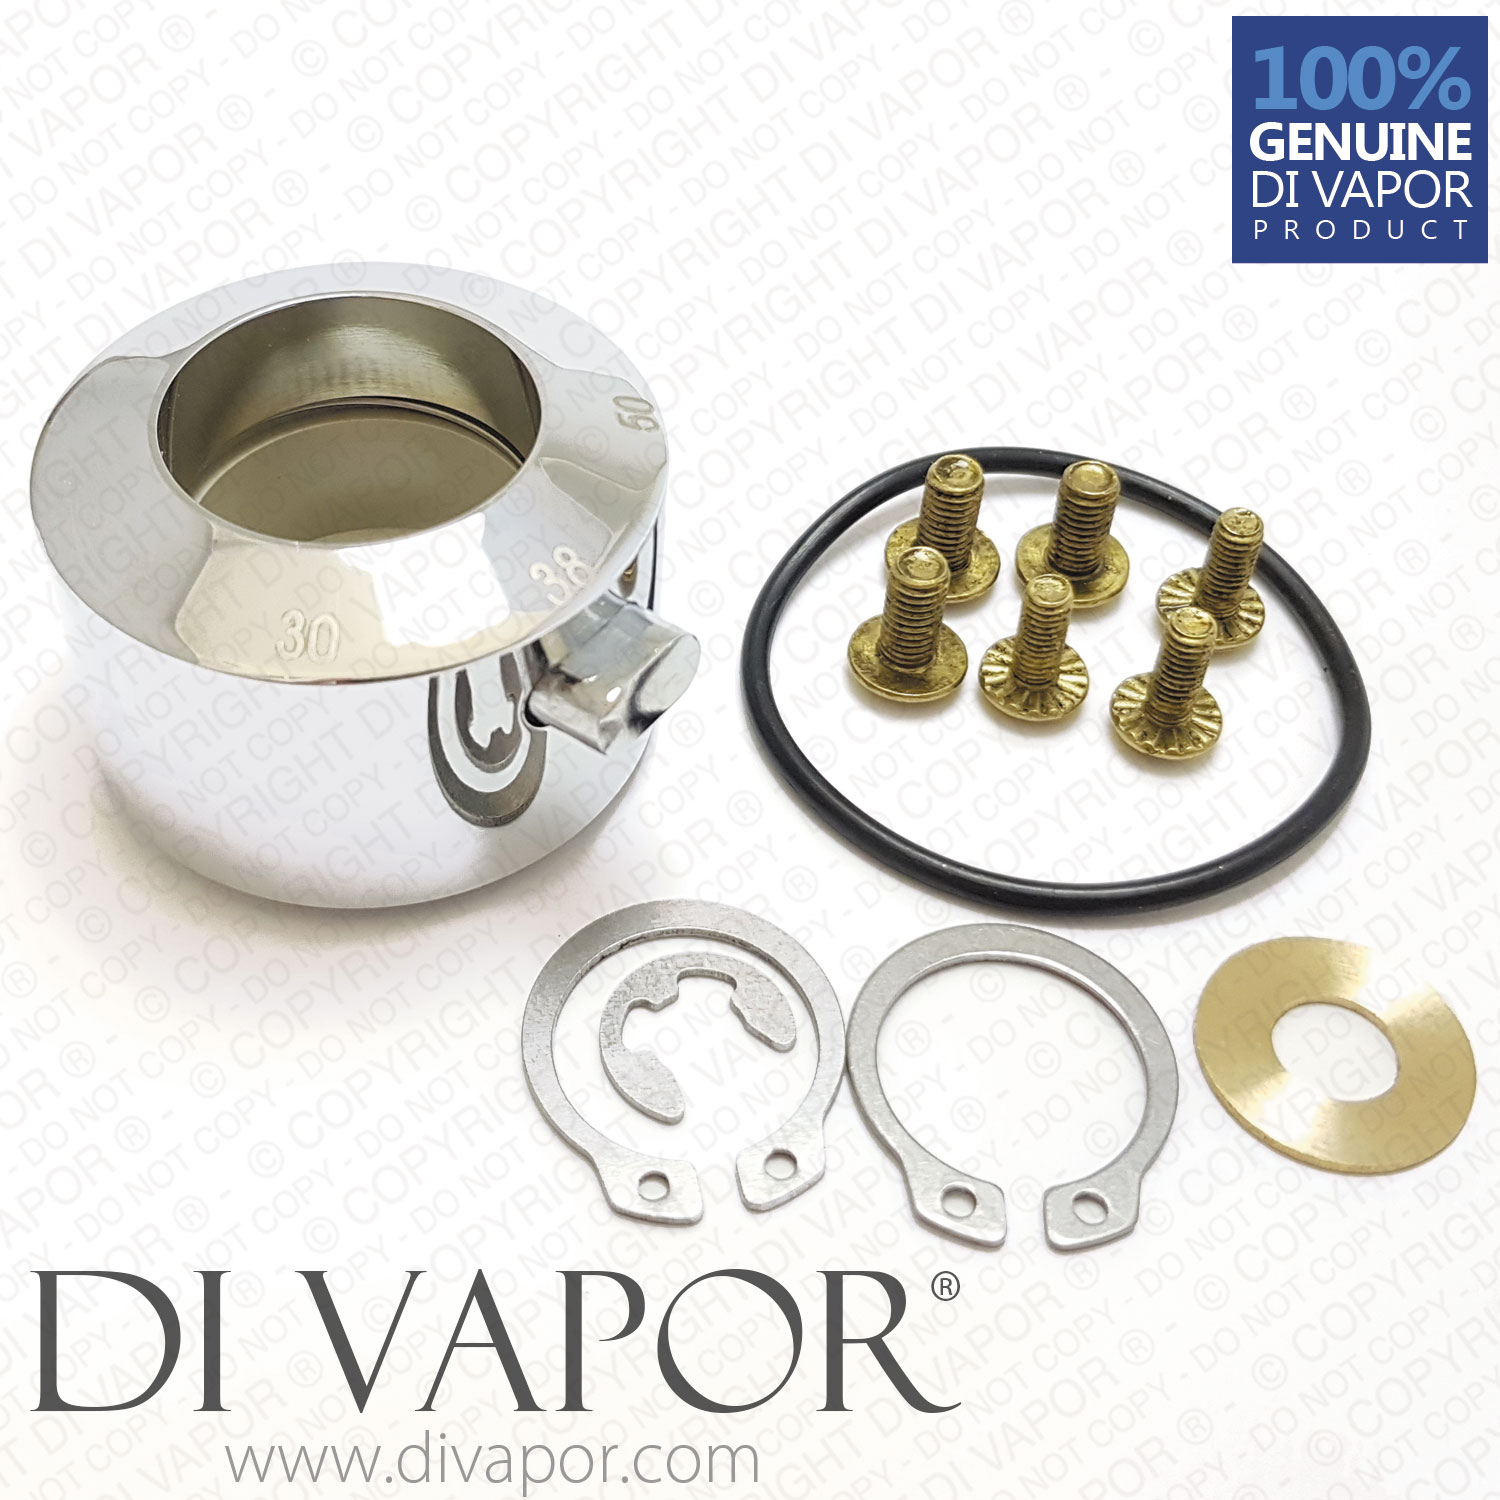
- Includes handle and everything you see in the photo.
If you would like this cartridge without the handle, please click on the link at the bottom of the page.
The Ultra service kit for dual control shower thermostatic valves is very simple to install. If you remember the order which the parts are disassembled out of the valve (lay the old cartridge out in the order which you have extracted it), then simply put the new parts in the valve in the reverse order.
| Manufacturer | Ultra Group, Hudson Reed |
|---|---|
| Spare Part | Thermostatic Cartridge Assembly with CEL-001A-WAX Piston, Wax Thermostat & Handle Assembly Spare Part |
| Manufacturer Part Number (MPN) | SASF2-M |
| Material | Brass and Chrome |
The Ultra SASF2-M service kit spare part is for dual control shower valves from:
- Hudson Reed
- Bathstore 3091
- Ultra
We carry a wide selection of Ultra shower spares.
+ Please do not hesitate to send us a message. We will gladly assist you in determining the shower spare part you need.
Di Vapor is here to serve you!
The Ultra SASF2-M Thermostatic Cartridge Assembly dispatches on the same day when ordered on a weekday before 3:00 PM.
SASF2-M Thermostatic Cartridge Assembly Service Kit Replacement for a ¾ inch Dual Control Shower Valve
The usual trouble with exposed shower valves includes dripping, temperature control problems, and stiffening of the shower handle. To replace the Ultra SASF2-M cartridge, please refer to the following steps:
1. Please ensure you have turned off the hot and cold water supply.
2. The top part of the valve can be unscrewed counterclockwise by hand. Once the top is removed, insert a screwdriver into the cavity and unscrew the knob. Extract the knob by pulling.
3. After the knob is out, remove the circular piece and pry out the temperature lock.
4. Take out another piece so the whole lever can be removed.
5. Remove the shroud.
6. With the shroud extracted, the top part of the cartridge can be seen. Use a screwdriver to remove the screws. There are three screws in total. Then tug the cartridge out.
7. Now remove the component in charge of regulating the temperature. This part includes a spring and a thermostat.
8. Take off the washer by using a small and thin screwdriver. Replace it with a new one. Fingers can be used when positioning the washer, push in to fix it in place.
9. Before returning the temperature regulator in the valve, make sure the spring is securely attached and grease it with silicone lubricant. Put the regulator in the valve.
10. Install the newly assembled Ultra SASF2-M cartridge assembly. Make sure the holes for the screw are properly aligned. Screw the cartridge to fasten.
11. Set the shroud and then the temperature lever back. Ascertain the lever orients accordingly with the valve.
12. Put back the circular pieces.
13. Replace the temperature lock.
14. Put the washer back with the circle piece.
15. Return the knob and switch the hot and cold water supply back on.
16. Check the water temperature.
17. If the water temperature is just right, use a screwdriver to restore the screw through the cavity.
18. Replace the top by turning it clockwise with your hand.
Fast delivery
- UK delivery: £5.95 incl. VAT for this small packet item.
- For all in-stock spare parts the typical UK delivery timescale is 2-5 working days.
- If you need a part urgently then we can provide a next-day (delivered Mon-Fri) UK delivery service for all in-stock small parcels ordered before 3.00pm, Monday - Friday.
- Next day delivery is available to select at an additional charge during the checkout.
- Worldwide delivery available — see our delivery page for details.
Returns
- 14 days 'risk-free' returns.
- Start a return within 14 days of receiving your order by calling 0121 705 0866 or using our contact page.
- Full returns information is available in our terms and conditions.
Payment methods
We accept the following payment methods:

- Card payments: Visa, Mastercard, Maestro, Discover, JCB, Diners Club and EnRoute
- PayPal
- American Express: available via PayPal guest checkout only
- BACS bank transfer
- Cheque: dispatch takes place once payment has cleared
Security
We use industry-standard payment systems to help keep your payment information secure. Our website and payment processes are regularly checked to maintain PCI security standards.
- Secure SSL encryption
- Your personal and payment details are protected
- Regularly checked for PCI security standards