

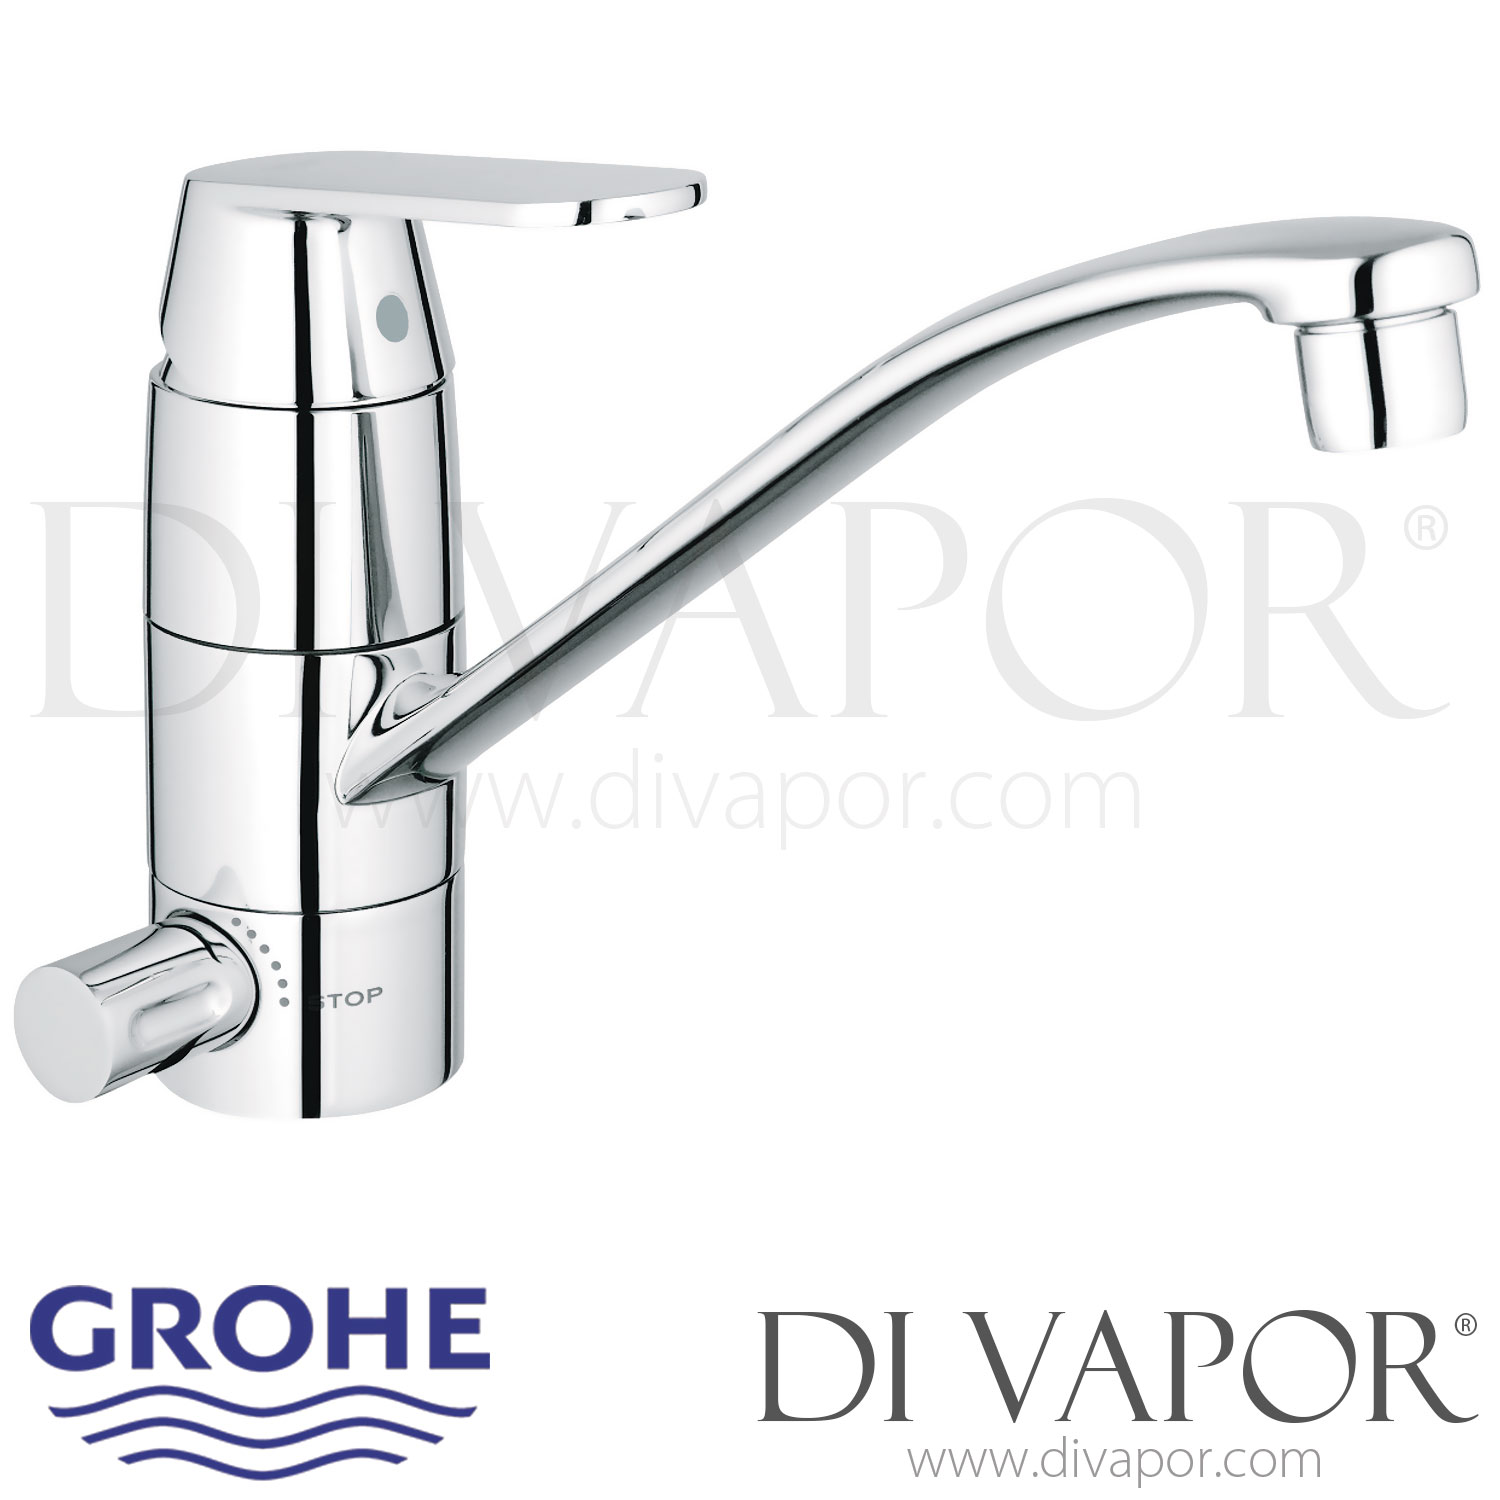
Grohe Eurosmart Cosmopolitan Single-Lever Sink Mixer (1/2 Inch) - 2016 to 2019 - Spare Parts 31161000 GEN2


Send a photo of your item and we'll help confirm it.
Summary
Spares for Grohe Eurosmart Cosmopolitan Single-Lever Sink Mixer 1/2 Inch
| Code | 31161000 |
|---|---|
| Year | 2016 - 2019 |
Spare parts for the GROHE Eurosmart Cosmopolitan 31161000 GEN2 single-lever kitchen sink mixer manufactured from July 2016 to September 2019. This chrome monobloc tap has a low tubular swivel spout and an integrated shut-off valve for an appliance water supply.
The mixer uses a GROHE SilkMove 46mm ceramic cartridge to regulate water flow and temperature. Its 140-degree swivel spout provides controlled movement over the sink, while the adjustable flow limiter and appliance shut-off are incorporated into the tap assembly.
Technical Details
| Range | GROHE Eurosmart Cosmopolitan |
|---|---|
| Category | Kitchen tap |
| Model code | 31161000 |
| Generation | GEN2 |
| Production period | July 2016 to September 2019 |
| Tap type | Single-lever monobloc sink mixer with integrated appliance shut-off |
| Finish | Chrome |
| Cartridge type | 46mm ceramic mixer cartridge |
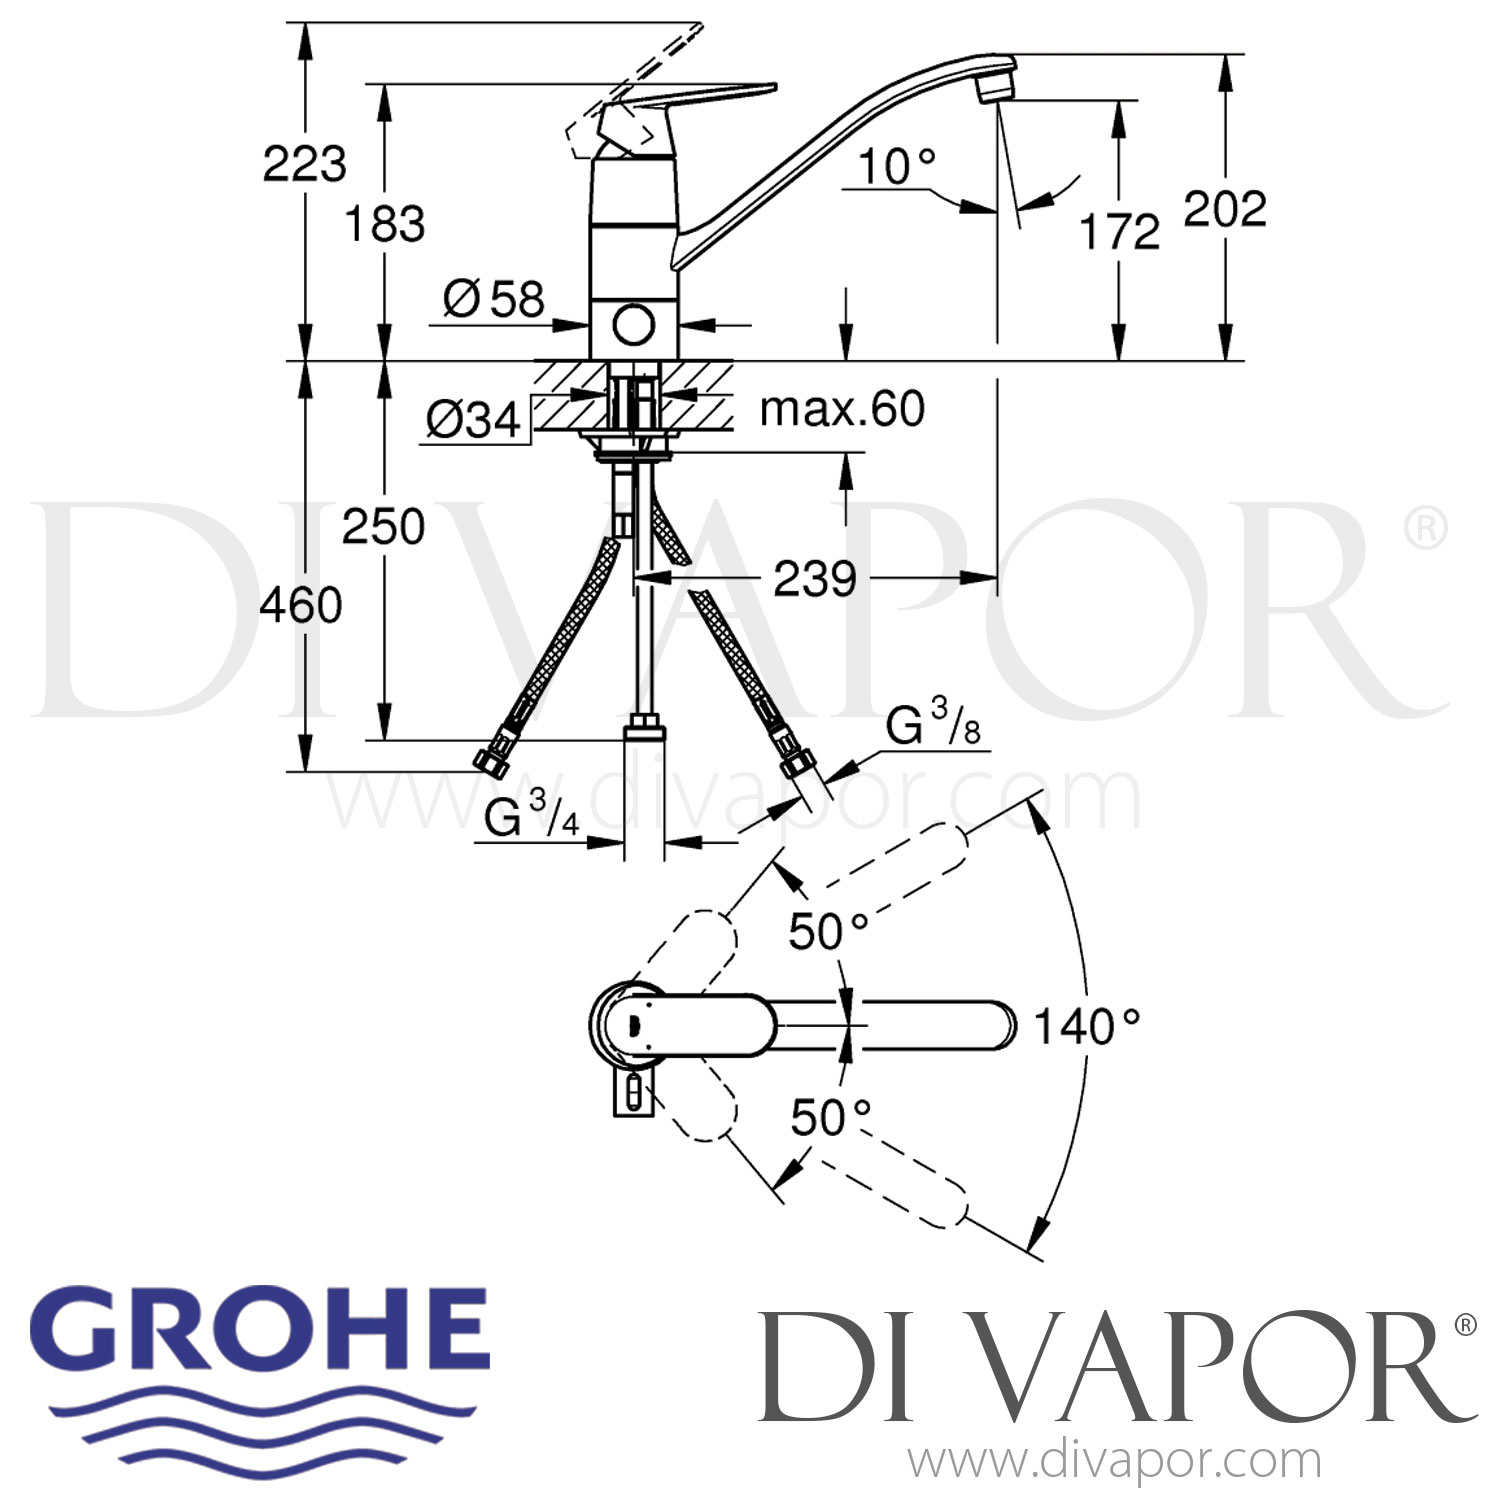
| Spout type | Low tubular swivel spout with 140-degree movement |
| Approximate overall height | 202mm |
| Approximate outlet height | 172mm |
| Approximate spout projection | 239mm |
| Maximum mounting surface thickness | 60mm |
| Main supply connections | G3/8 flexible hoses |
| Appliance shut-off connection | G3/4 |
| Recommended working pressure | 1 to 5 bar |
| Maximum operating pressure | 10 bar |
| Maximum flow rate | 8 litres per minute at 3 bar |
Before you order check
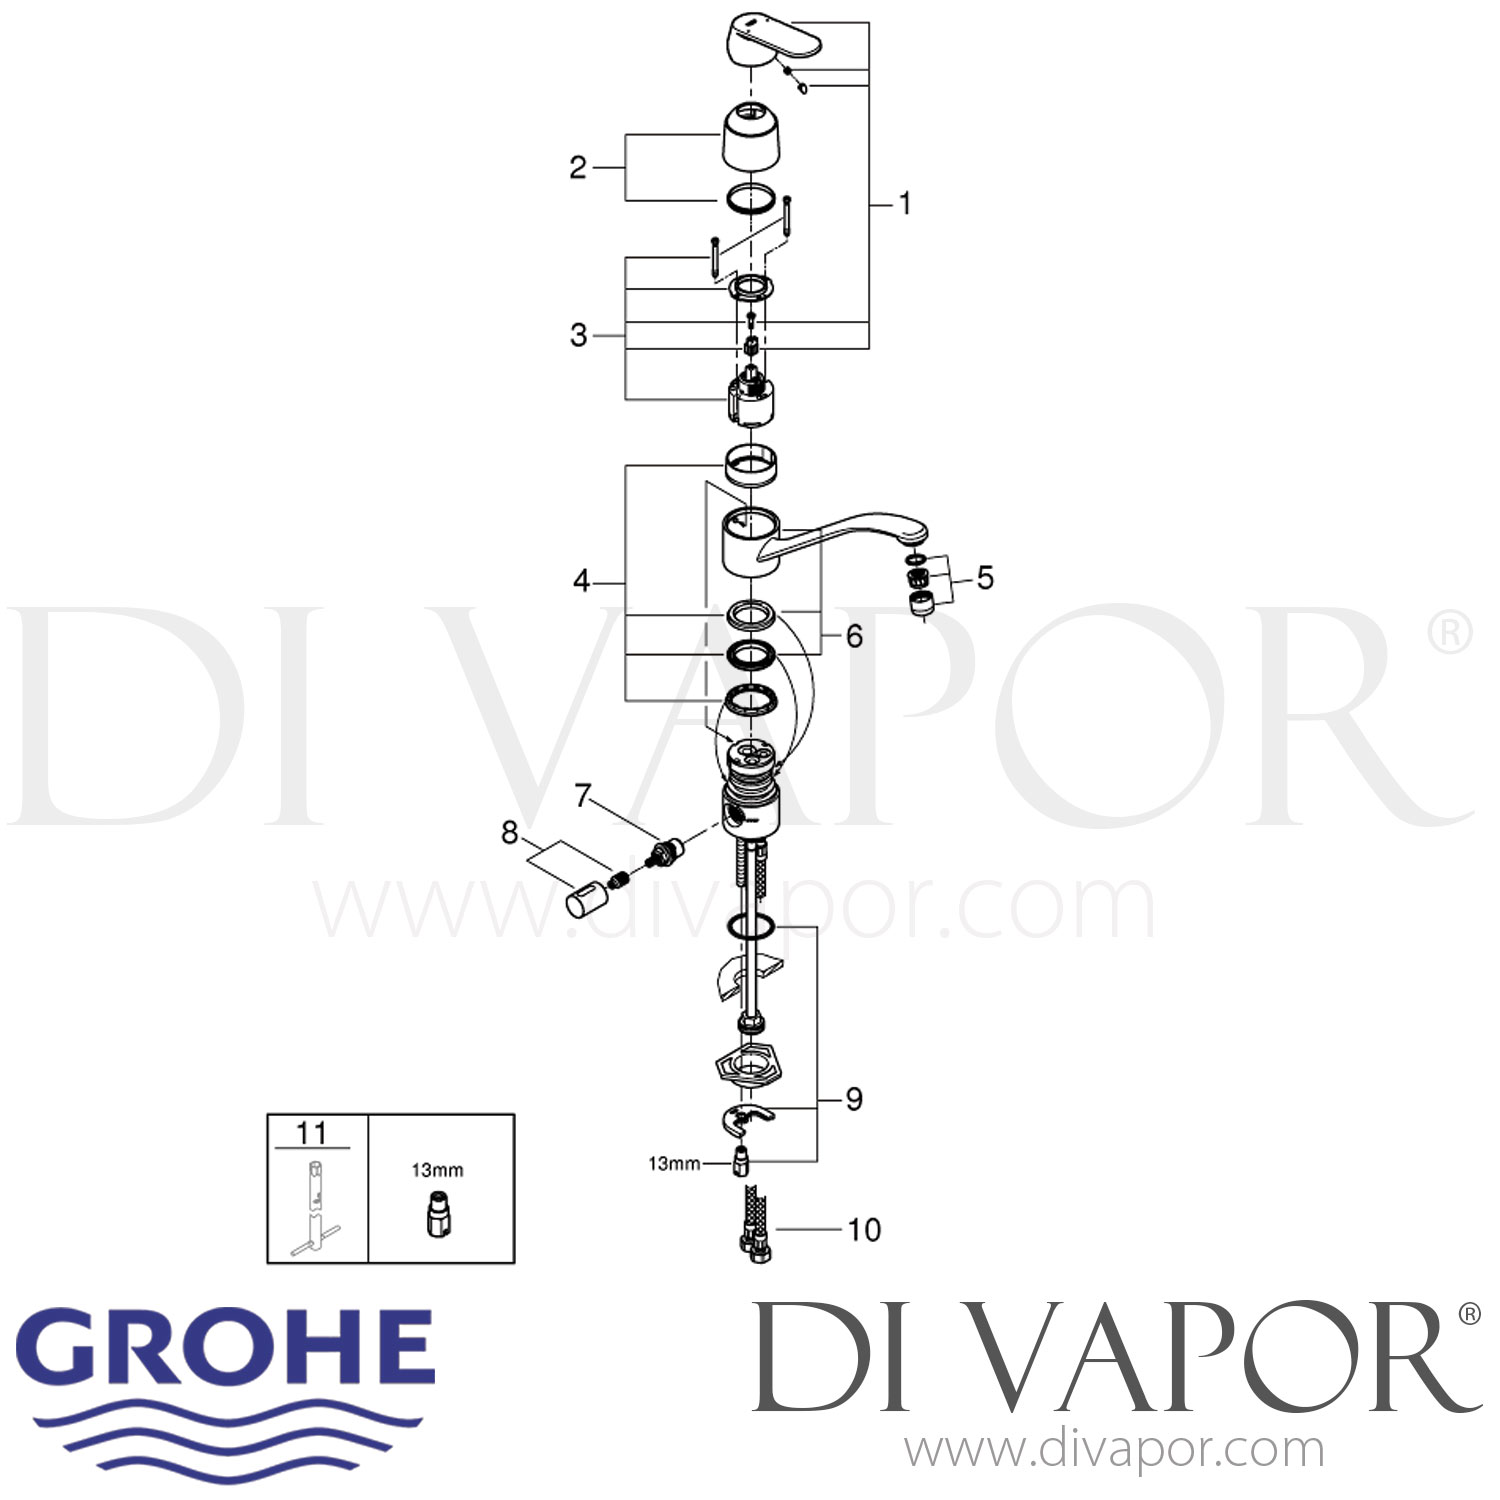
Confirm the model code and production period before selecting spare parts. An earlier 31161000 GEN1 version was produced before this generation, and some component codes differ. For taps manufactured during 2016, check the production date or the code printed on the removed component.
The later GEN2 parts drawing identifies the outlet mousseur as 13950000. Do not select an aerator from thread size alone; compare the code and shape of the removed part before ordering.
Other Available Valve Generations
- GROHE Eurosmart Cosmopolitan 31161000 GEN1 Kitchen Tap Spare Parts - 2010 to 2016
- Grohe 31161000 Eurosmart Cosmopolitan Single-Lever Sink Mixer 1/2 Inch Spare Parts - 2019 to Present (June 2021)
Shut off the water supplies before dismantling the tap. Flush the pipework before reassembly, ensure the cartridge seals are seated correctly, tighten the cartridge screws evenly and test all connections for leaks after installation.
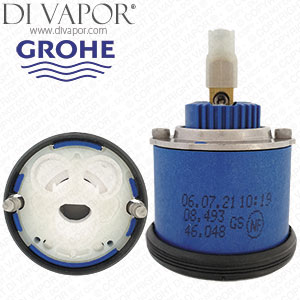
GROHE 46048000 GRO46048 46mm SilkMove Ceramic Cartridge for Single-Lever MixersGROHE 46048000 is a 46mm GROHE SilkMove ceramic cartridge used to control water flow and temperature in selected single-lever bath, shower, basin, sink, kitchen and concealed mixers. It is also referen...

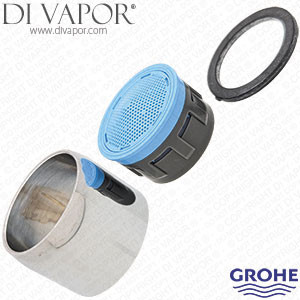
The fitting size for Grohe 13928000 Mousseur Aerator / Grohe Flow restrictor 13928000 (Grohe part number 13928000) is: Female thread M22 x 1. That means it screws into a M22 x 1 male threaded spout/tap outlet standard faucet aerator size on many Grohe basin and sink mixers. Gro...


GROHE 46249000 Shank Mounting Kit for Basin Bidet Bath and Kitchen MixersGROHE 46249000 is a shank mounting kit used to secure selected deck-mounted GROHE taps and mixers to the basin, bidet, bath or worktop mounting surface. GROHE spare-parts documentation also describes 4624900...