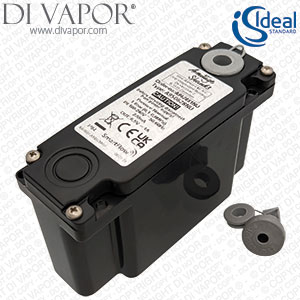
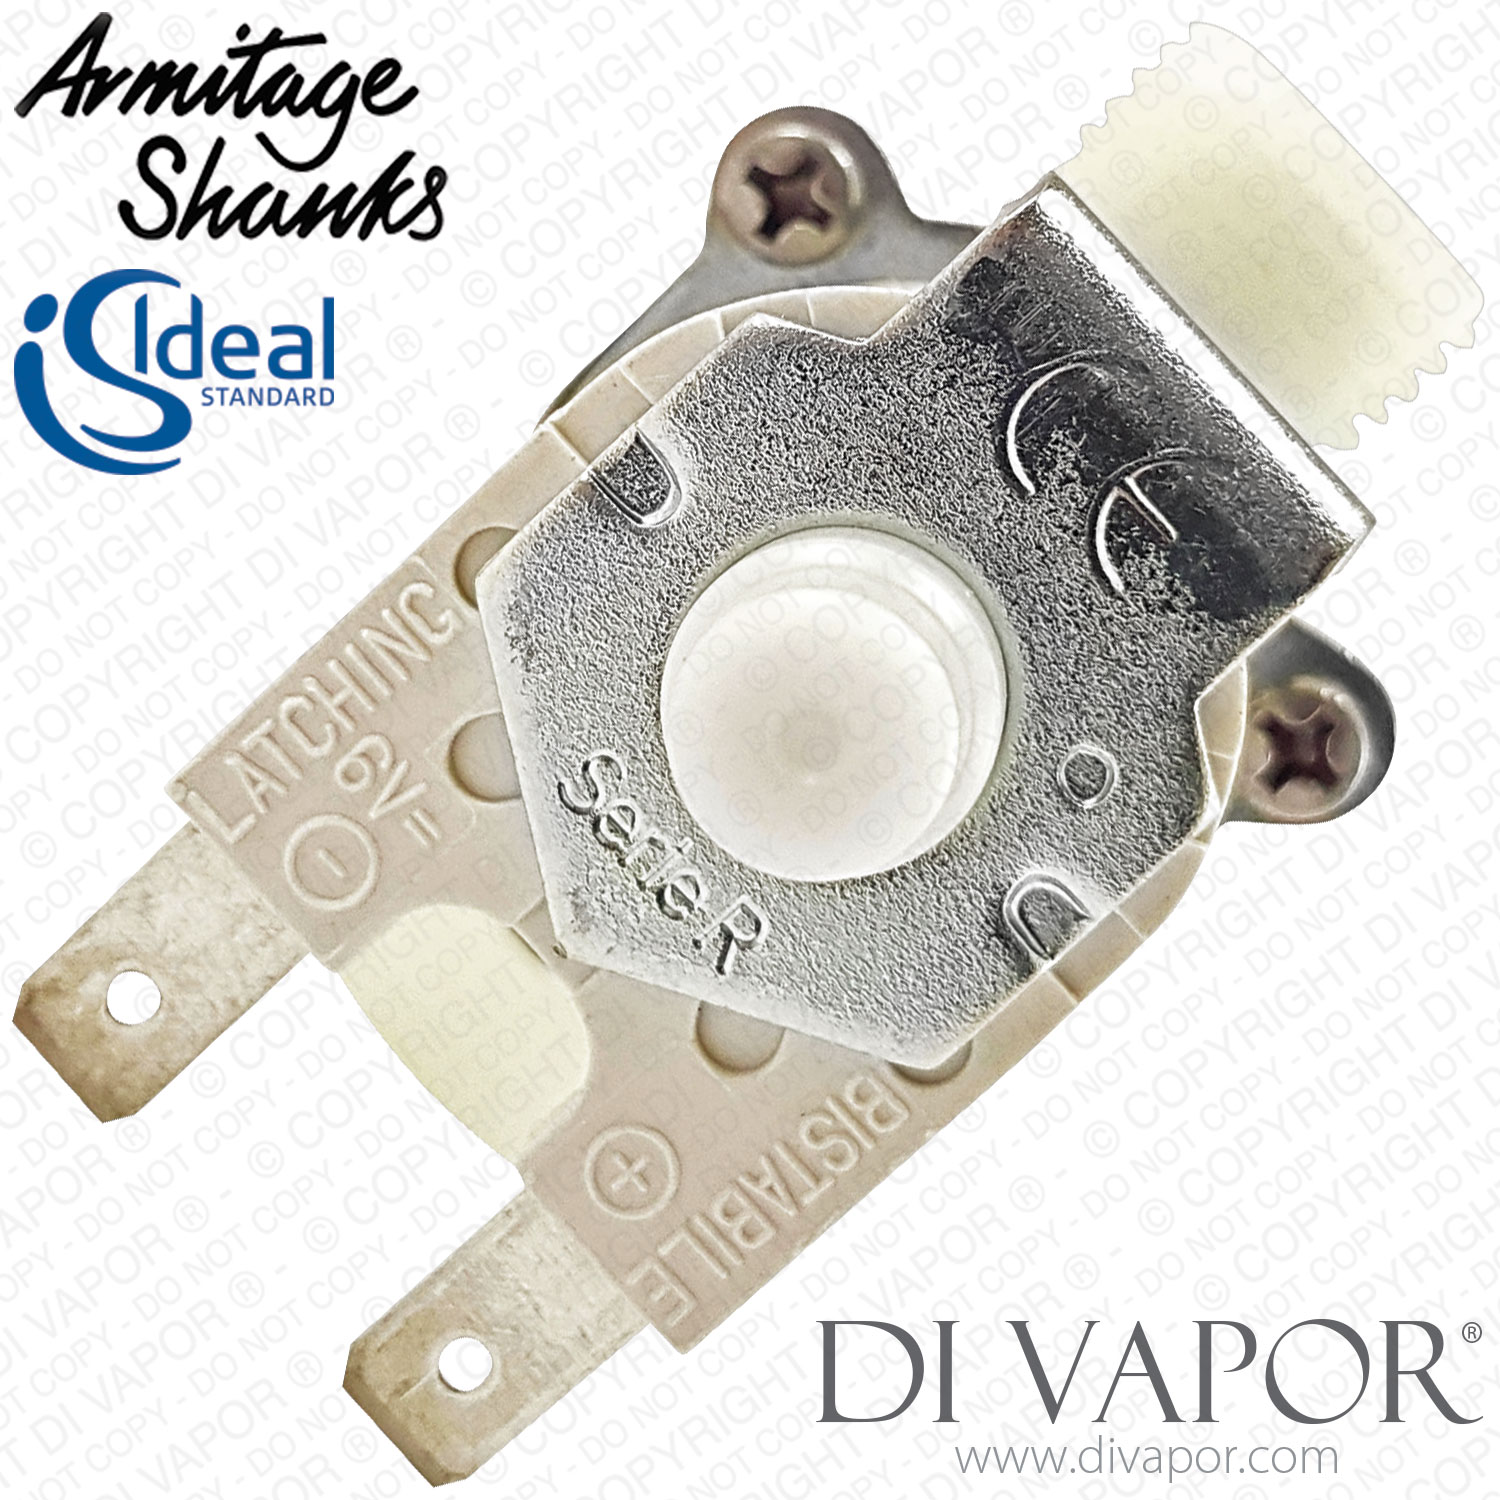
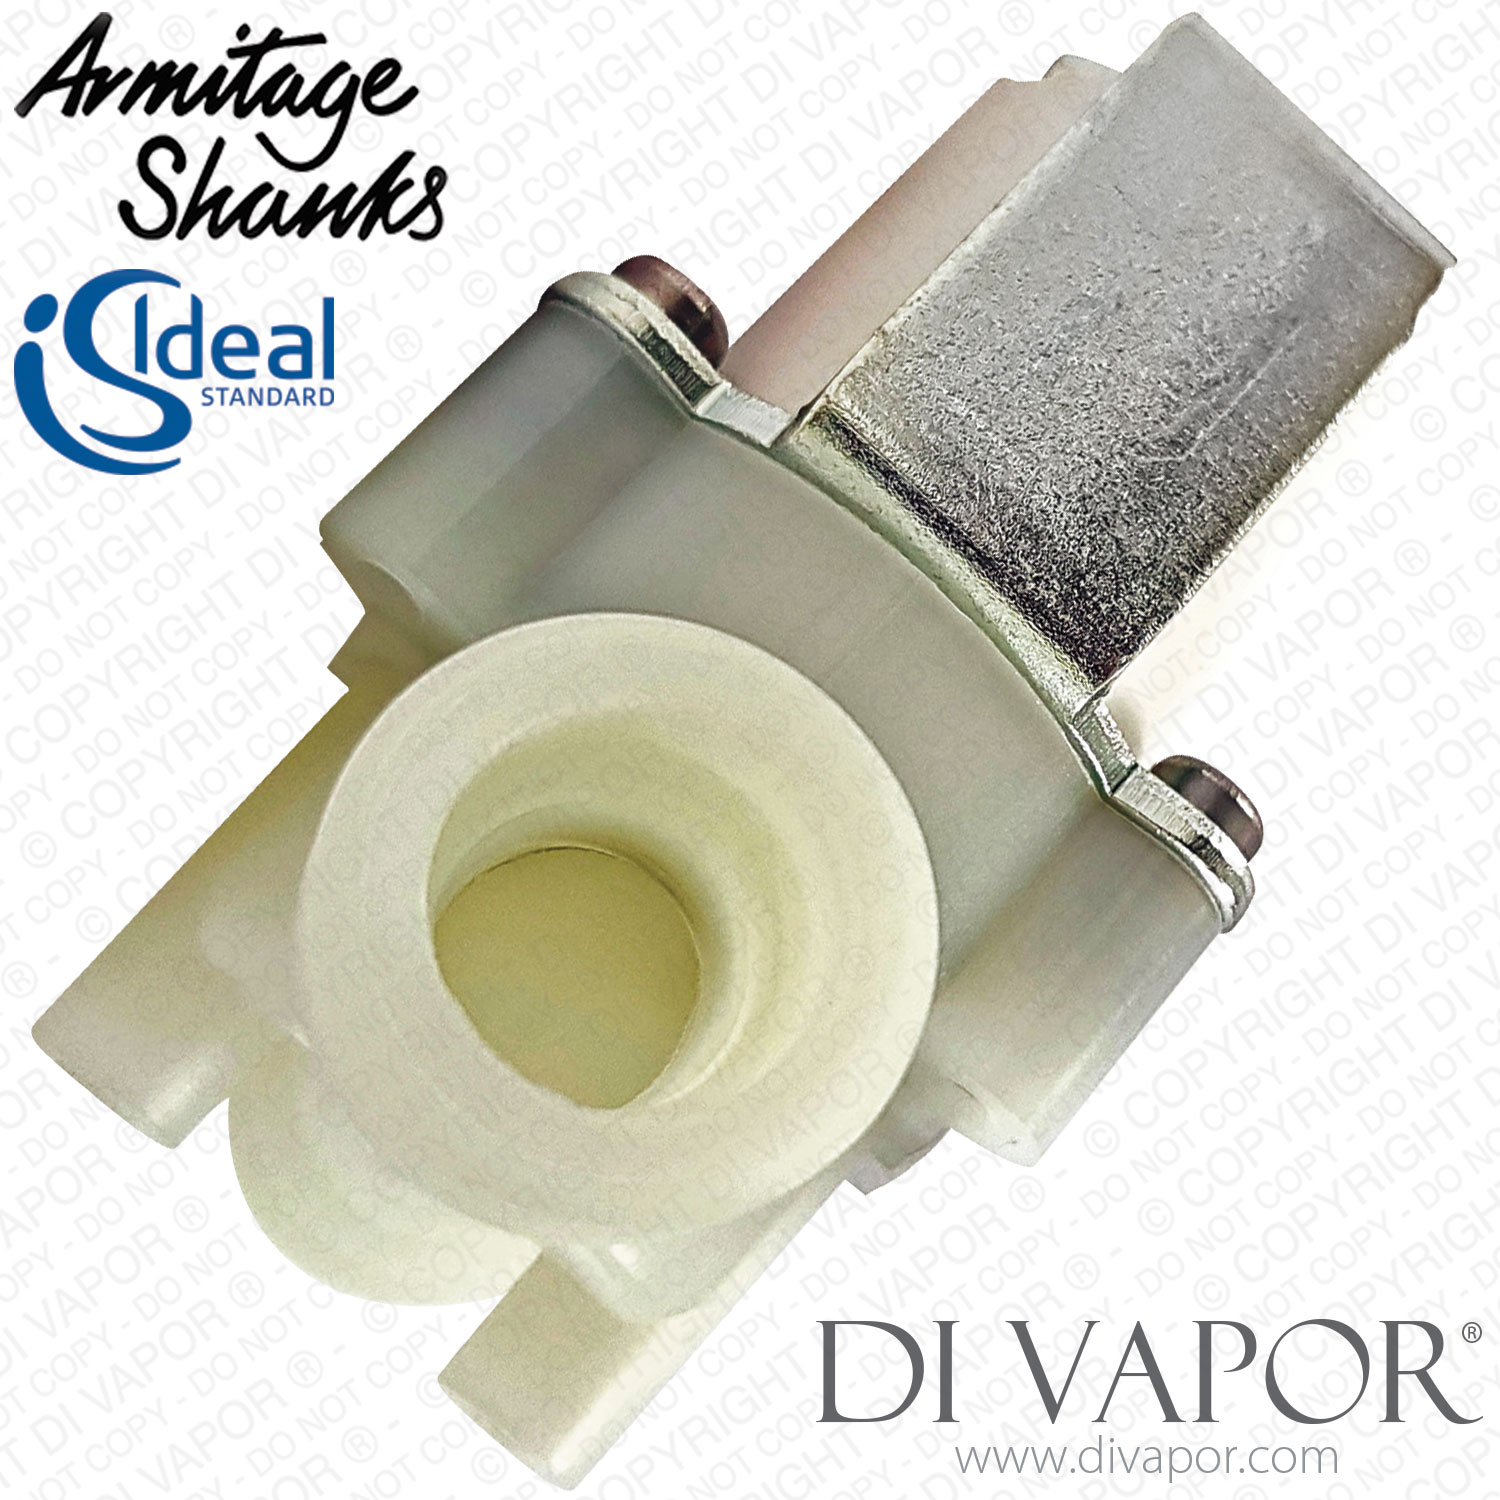
Armitage Shanks A962478NU Solenoid Valve for Sensorflow Taps Complete G1/2 (Ideal Standard / Trevi)


Send a photo of your item and we'll help confirm it.
Summary
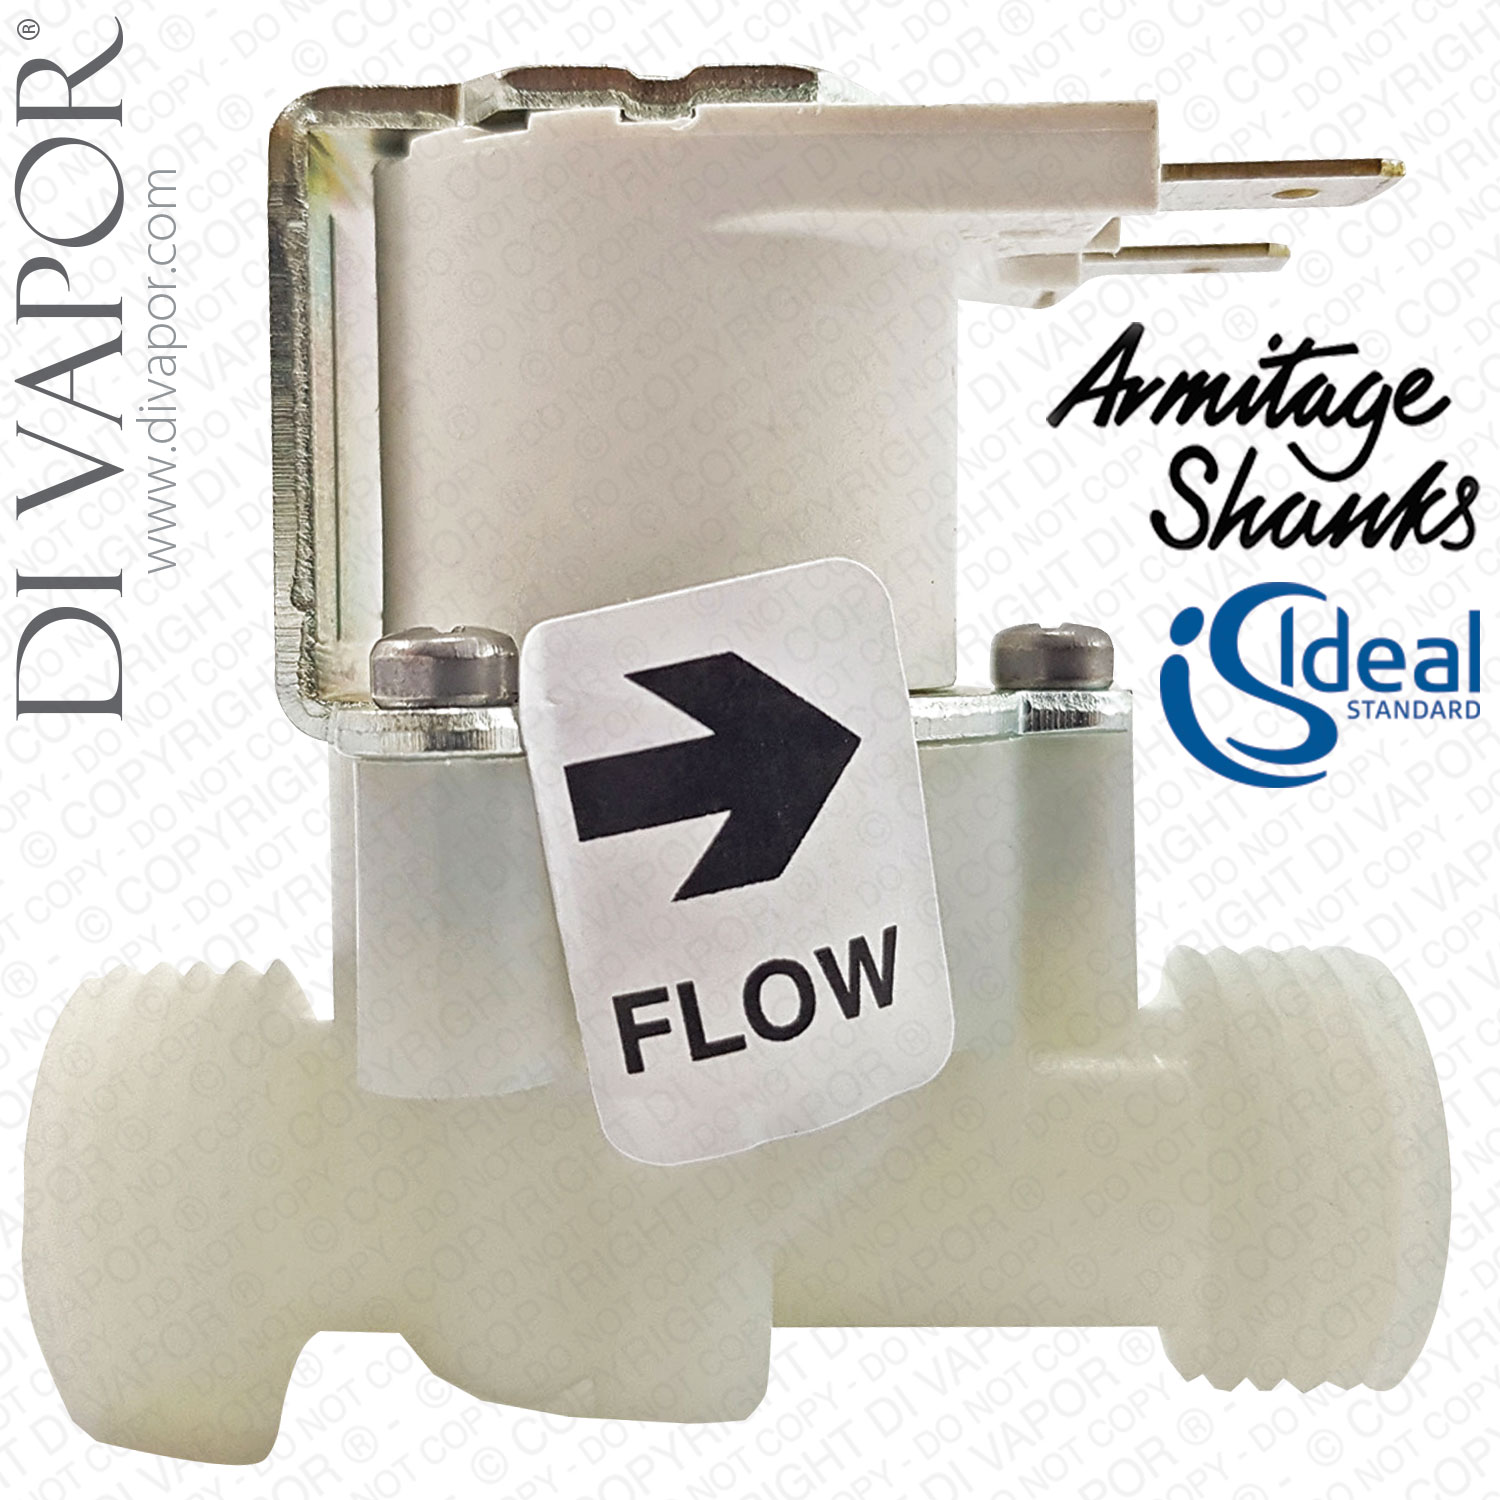
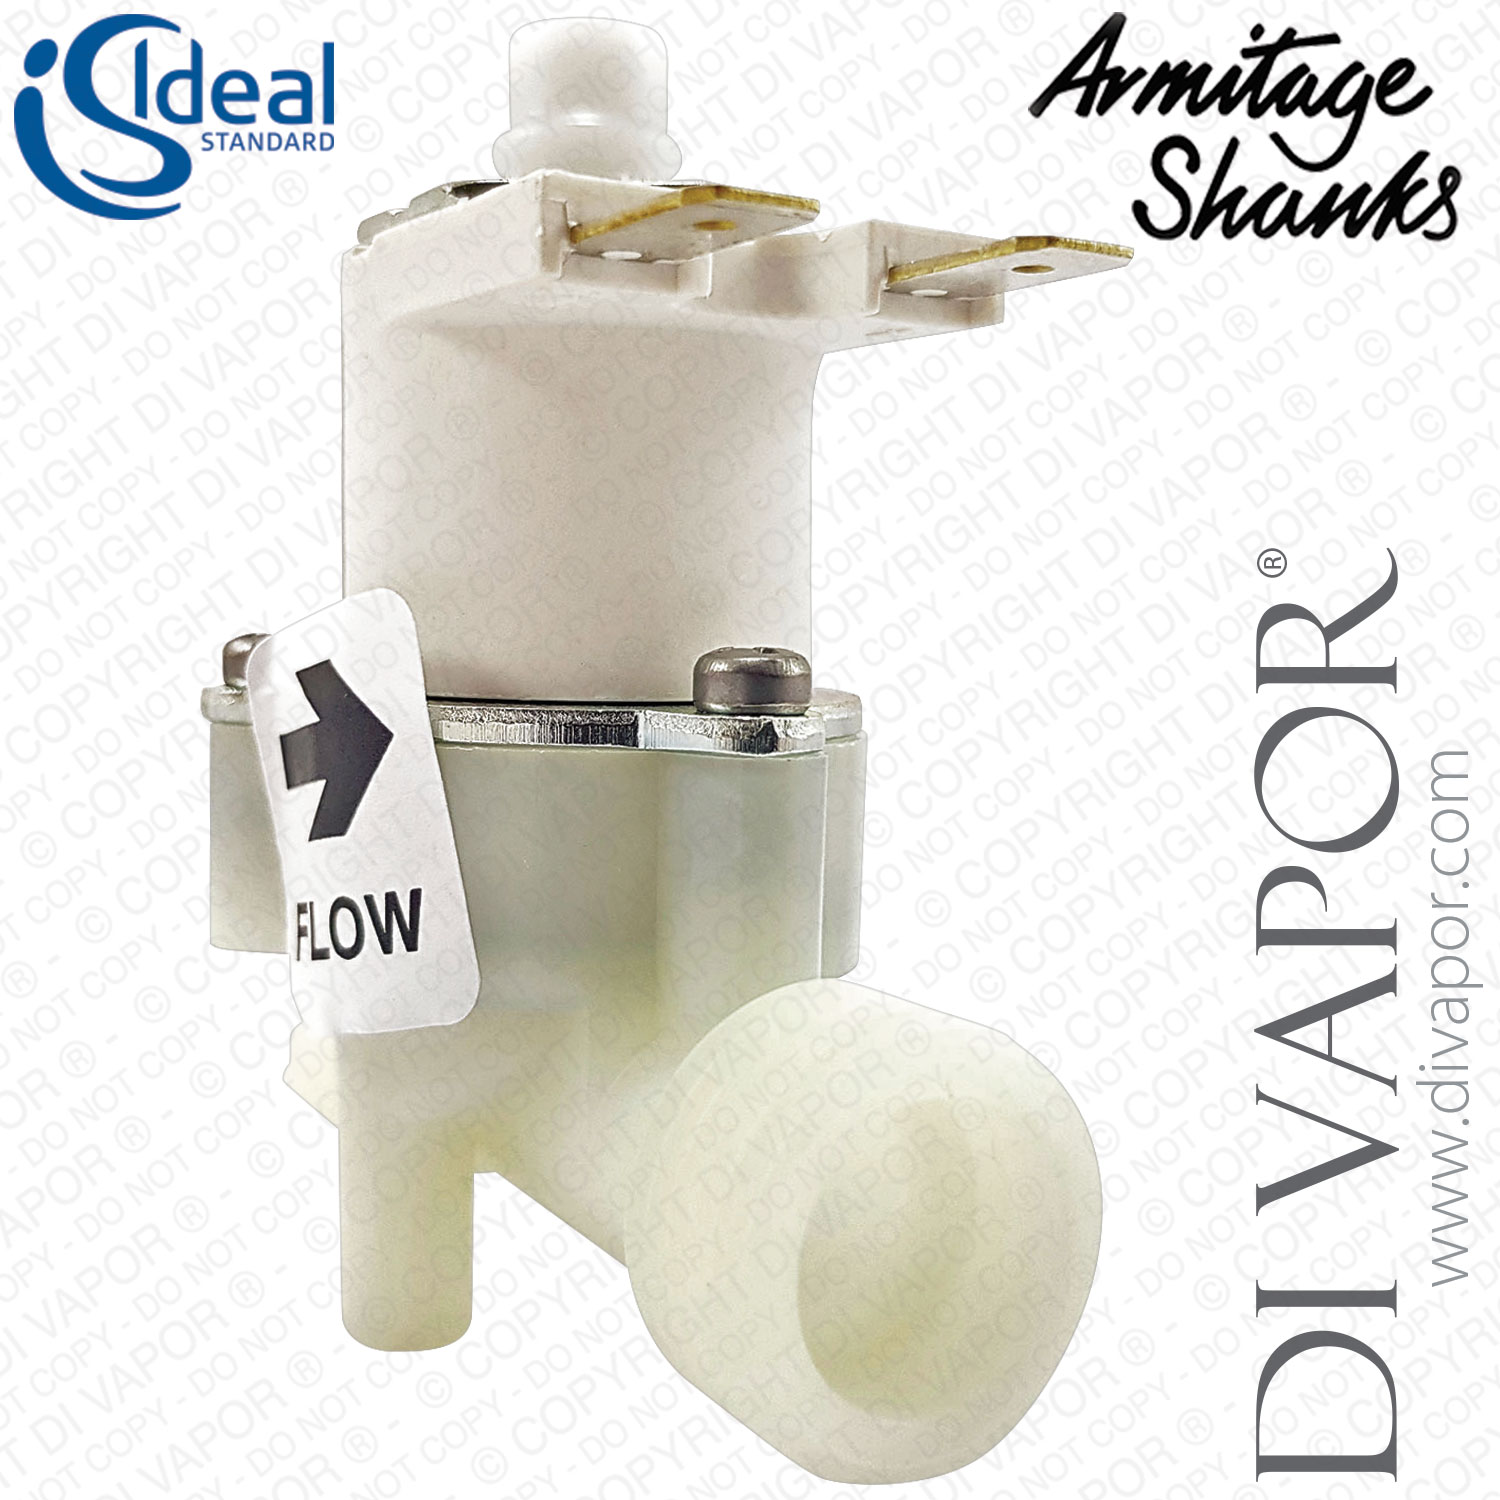
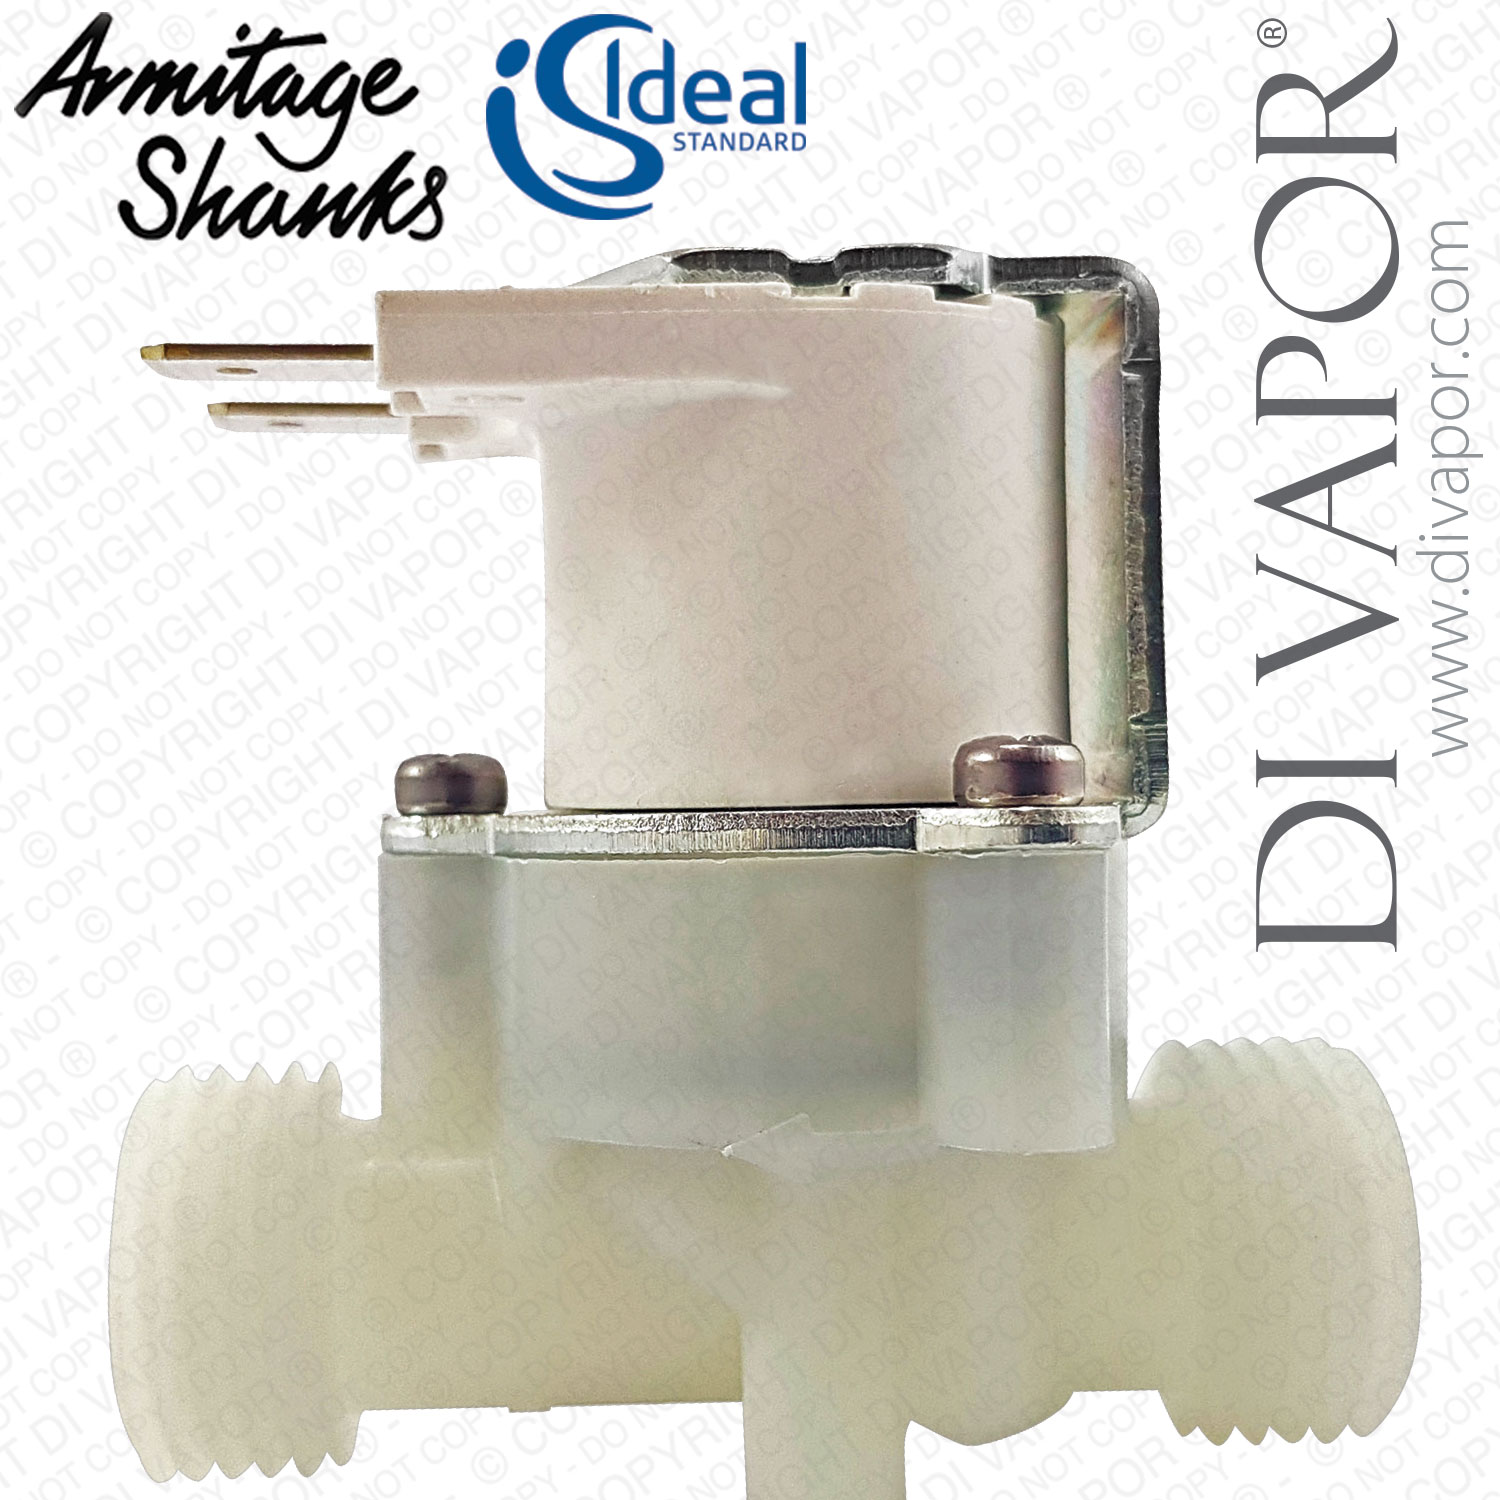
Armitage Shanks A962478NU 6V G1/2 Solenoid Valve for Sensorflow 21 and Markwik Taps
Armitage Shanks A962478NU complete G1/2 solenoid valve for the Sensorflow 21 and Markwik electronic tap models listed below. This 6V latching valve controls water flow in response to the tap's electronic sensor system. It is not suitable for Sensorflow Solo or Sensorflow 2.
The solenoid opens and closes the water path; it does not sense hand movement or regulate the mixed-water temperature. The infrared sensor, control board, power-supply case, service valve and connection couplers are separate components. The valve is used in specified battery-powered, mains-powered and linked-unit installations, but must not be connected directly to mains electricity.
Technical Details
| Part type | complete inline solenoid valve with seals |
|---|---|
| Connection | G1/2 |
| Electrical operation | 6V latching, also described as bistable |
| Materials | plastic and stainless steel |
| Valve markings | Serie R, Latching 6V and Bistabile |
Before Ordering
Check the exact tap model, production version, installed valve markings, water connections and electrical terminals. Do not select this valve from the Sensorflow or Markwik range name or G1/2 connection alone. Older installations should be checked against their original electrical arrangement. Some Markwik mixers use two solenoid valves, so check how many valves require attention rather than assuming that one valve serves the complete mixer.
Confirmed Compatible Models
Sensorflow 21 Basin Spouts
- Armitage Shanks A4122AA Sensorflow 21 standard basin spout - battery-powered
- Armitage Shanks A4171AA Sensorflow 21 standard basin spout - mains-powered
- Armitage Shanks A4172AA Sensorflow 21 standard basin spout - linked unit
- Armitage Shanks A4664AA Sensorflow 21 compact basin spout - battery-powered
- Armitage Shanks A4798AA Sensorflow 21 compact basin spout - mains-powered
- Armitage Shanks A4799AA Sensorflow 21 compact basin spout - linked unit
Sensorflow 21 Wall Spouts with Separate Sensor
- Armitage Shanks A4126AA Sensorflow 21 wall spout with separate sensor - 150mm reach - battery-powered
- Armitage Shanks A4180AA Sensorflow 21 wall spout with separate sensor - 150mm reach - mains-powered
- Armitage Shanks A4181AA Sensorflow 21 wall spout with separate sensor - 150mm reach - linked unit
- Armitage Shanks A4182AA Sensorflow 21 wall spout with separate sensor - 230mm reach - battery-powered
- Armitage Shanks A4183AA Sensorflow 21 wall spout with separate sensor - 230mm reach - mains-powered
- Armitage Shanks A4184AA Sensorflow 21 wall spout with separate sensor - 230mm reach - linked unit
Sensorflow 21 Wall Spout with Integral Sensor
Sensorflow 21 Compact Panel-Mounted Spouts
- Armitage Shanks A4845AA Sensorflow 21 compact panel-mounted spout - 150mm reach - battery-powered
- Armitage Shanks A4846AA Sensorflow 21 compact panel-mounted spout - 150mm reach - mains-powered
- Armitage Shanks A4847AA Sensorflow 21 compact panel-mounted spout - 150mm reach - linked unit
- Armitage Shanks A4848AA Sensorflow 21 compact panel-mounted spout - 230mm reach - battery-powered
- Armitage Shanks A4849AA Sensorflow 21 compact panel-mounted spout - 230mm reach - mains-powered
- Armitage Shanks A4850AA Sensorflow 21 compact panel-mounted spout - 230mm reach - linked unit
Markwik 21 and Markwik 21+
- Armitage Shanks A4554AA GEN1 Markwik 21 wall-mounted electronic thermostatic basin/sink mixer
- Armitage Shanks A4555AA Markwik 21 electronic thermostatic basin/sink mixer with timed-flow sensor
- Armitage Shanks A4555AA GEN1 Markwik 21 wall-mounted electronic thermostatic basin/sink mixer
- Armitage Shanks A6061AA GEN1 Markwik 21 panel-mounted thermostatic mixer with proximity sensor
- Armitage Shanks A6062AA GEN1 Markwik 21 panel-mounted thermostatic mixer with timed-flow sensor
- Armitage Shanks A6244AA Markwik 21 integral-thermostat tap
- Armitage Shanks A6245AA Markwik 21 demountable panel mixer with flow sensor
- Armitage Shanks A6684AA Markwik 21+ panel-mounted timed-flow mixer with detachable spout
- Armitage Shanks A6737AA Markwik 21+ panel-mounted timed-flow mixer with fixed spout
Troubleshooting
Symptom: Water continues running when the tap should stop. Likely Cause: Debris obstructing the diaphragm pilot hole or valve seat, a damaged diaphragm, or incorrect assembly following servicing. Solution: Have the valve inspected and serviced, replacing the damaged diaphragm or complete valve as required.
Symptom: The tap does not deliver water when activated. Likely Cause: A water-supply, filter, power-supply, sensor, connection or solenoid fault. Solution: Check these components before assuming that the solenoid valve needs replacing.
Installation Notes
Isolate the water and electrical supplies before servicing. Flush debris from the pipework, check the upstream filter and install the valve in the direction shown by its flow arrow. Reconnect the electrical terminals with the correct polarity and test for leaks and correct shut-off after fitting. Work on mains-powered installations should be carried out by a suitably qualified person.
Related Spares You May Need
Select associated parts for the exact tap model, sensor generation and power-supply version. Proximity and timed-flow sensor housings are different parts. The following items are sold separately and are not all required for every installation.
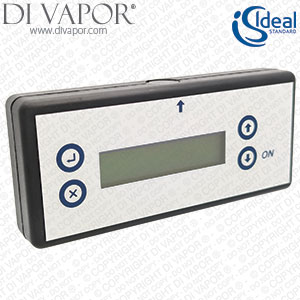
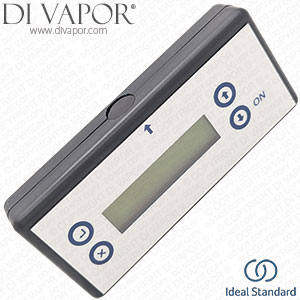
- F960970NU sensor programmer 2013
- E960619AA chrome proximity-sensor housing
- A962881NU complete mains power-supply case - type A950628NU
- A961765NU infrared remote programmer
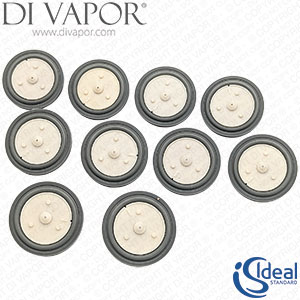
- A960224NU solenoid diaphragm with insert - pack of 10 - diaphragm service pack rather than a complete valve
- A960161NU Sensorflow battery
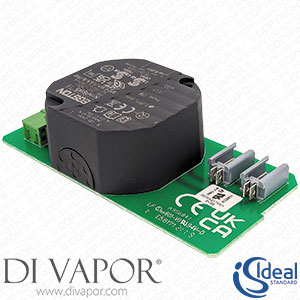
- A960159NU AC control board with transformer - distinct from the complete power-supply case
- A860704NU electrical-box mounting pad kit
- A962499NU short straight couplers - pair
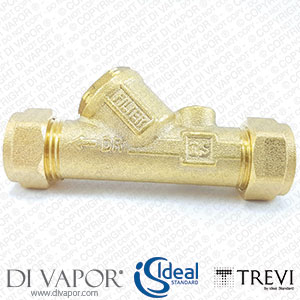
- E960086NU service valve and inline filter
- A962477NU 500mm solenoid connecting cable
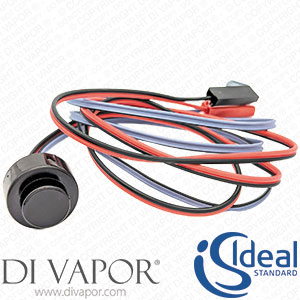
- A960219NU infrared sensor with connection wires - 16.230902974
- A962345NU O-ring 8.1 x 1.6 - model-specific associated seal
- A962346AA chrome escutcheon with O-ring
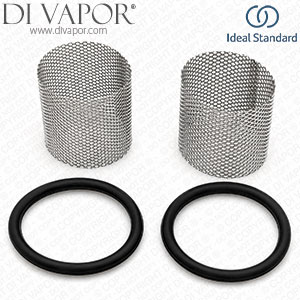
- A861284NU service-valve strainer and O-ring kit - pair
- E960620AA chrome timed-flow sensor housing
Use the Di Vapor part identification service if you need help finding the right part.
Fast delivery
- UK delivery: £5.95 incl. VAT for this small packet item.
- For all in-stock spare parts the typical UK delivery timescale is 2-5 working days.
- If you need a part urgently then we can provide a next-day (delivered Mon-Fri) UK delivery service for all in-stock small parcels ordered before 3.00pm, Monday - Friday.
- Next day delivery is available to select at an additional charge during the checkout.
- Worldwide delivery available — see our delivery page for details.
Returns
- 14 days 'risk-free' returns.
- Start a return within 14 days of receiving your order by calling 0121 705 0866 or using our contact page.
- Full returns information is available in our terms and conditions.
Payment methods
We accept the following payment methods:

- Card payments: Visa, Mastercard, Maestro, Discover, JCB, Diners Club and EnRoute
- PayPal
- American Express: available via PayPal guest checkout only
- BACS bank transfer
- Cheque: dispatch takes place once payment has cleared
Security
We use industry-standard payment systems to help keep your payment information secure. Our website and payment processes are regularly checked to maintain PCI security standards.
- Secure SSL encryption
- Your personal and payment details are protected
- Regularly checked for PCI security standards