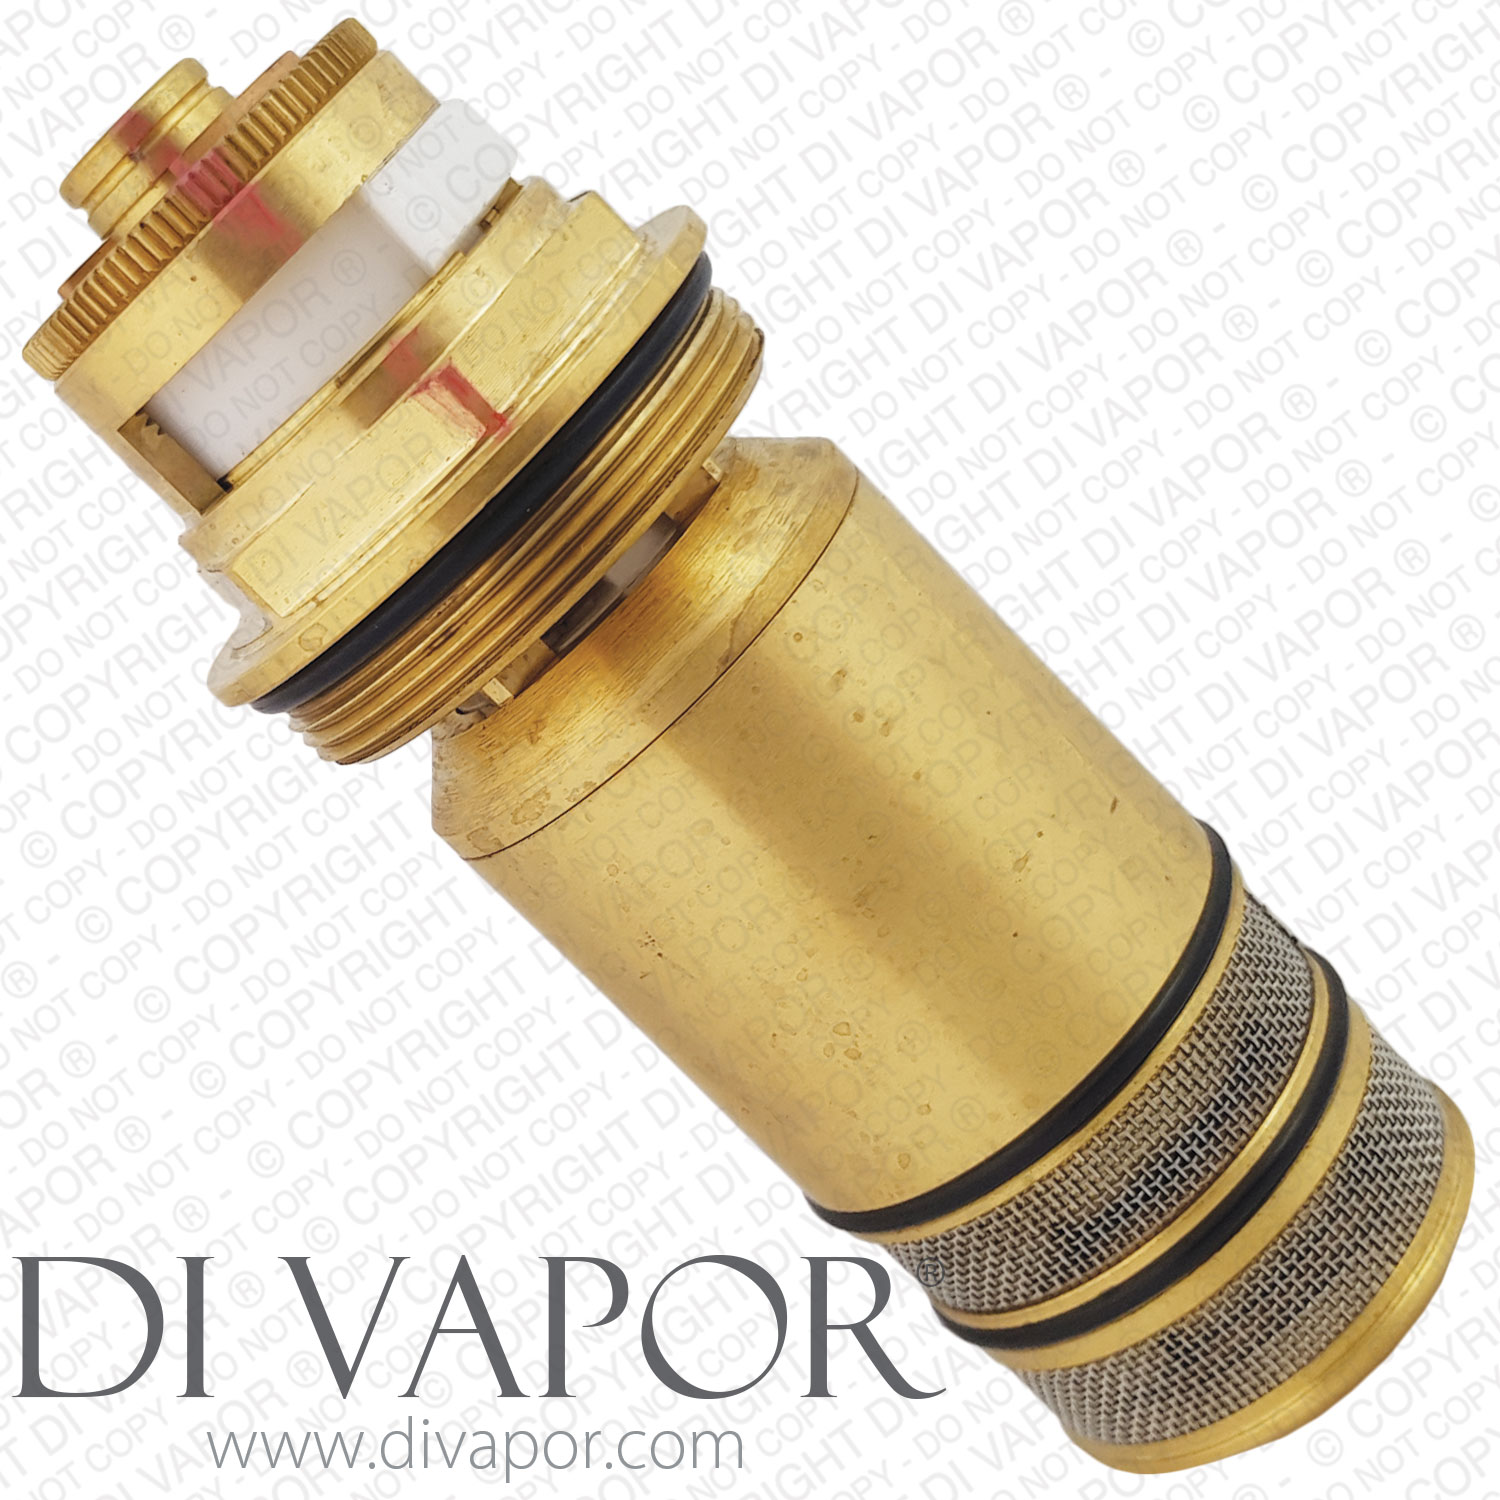
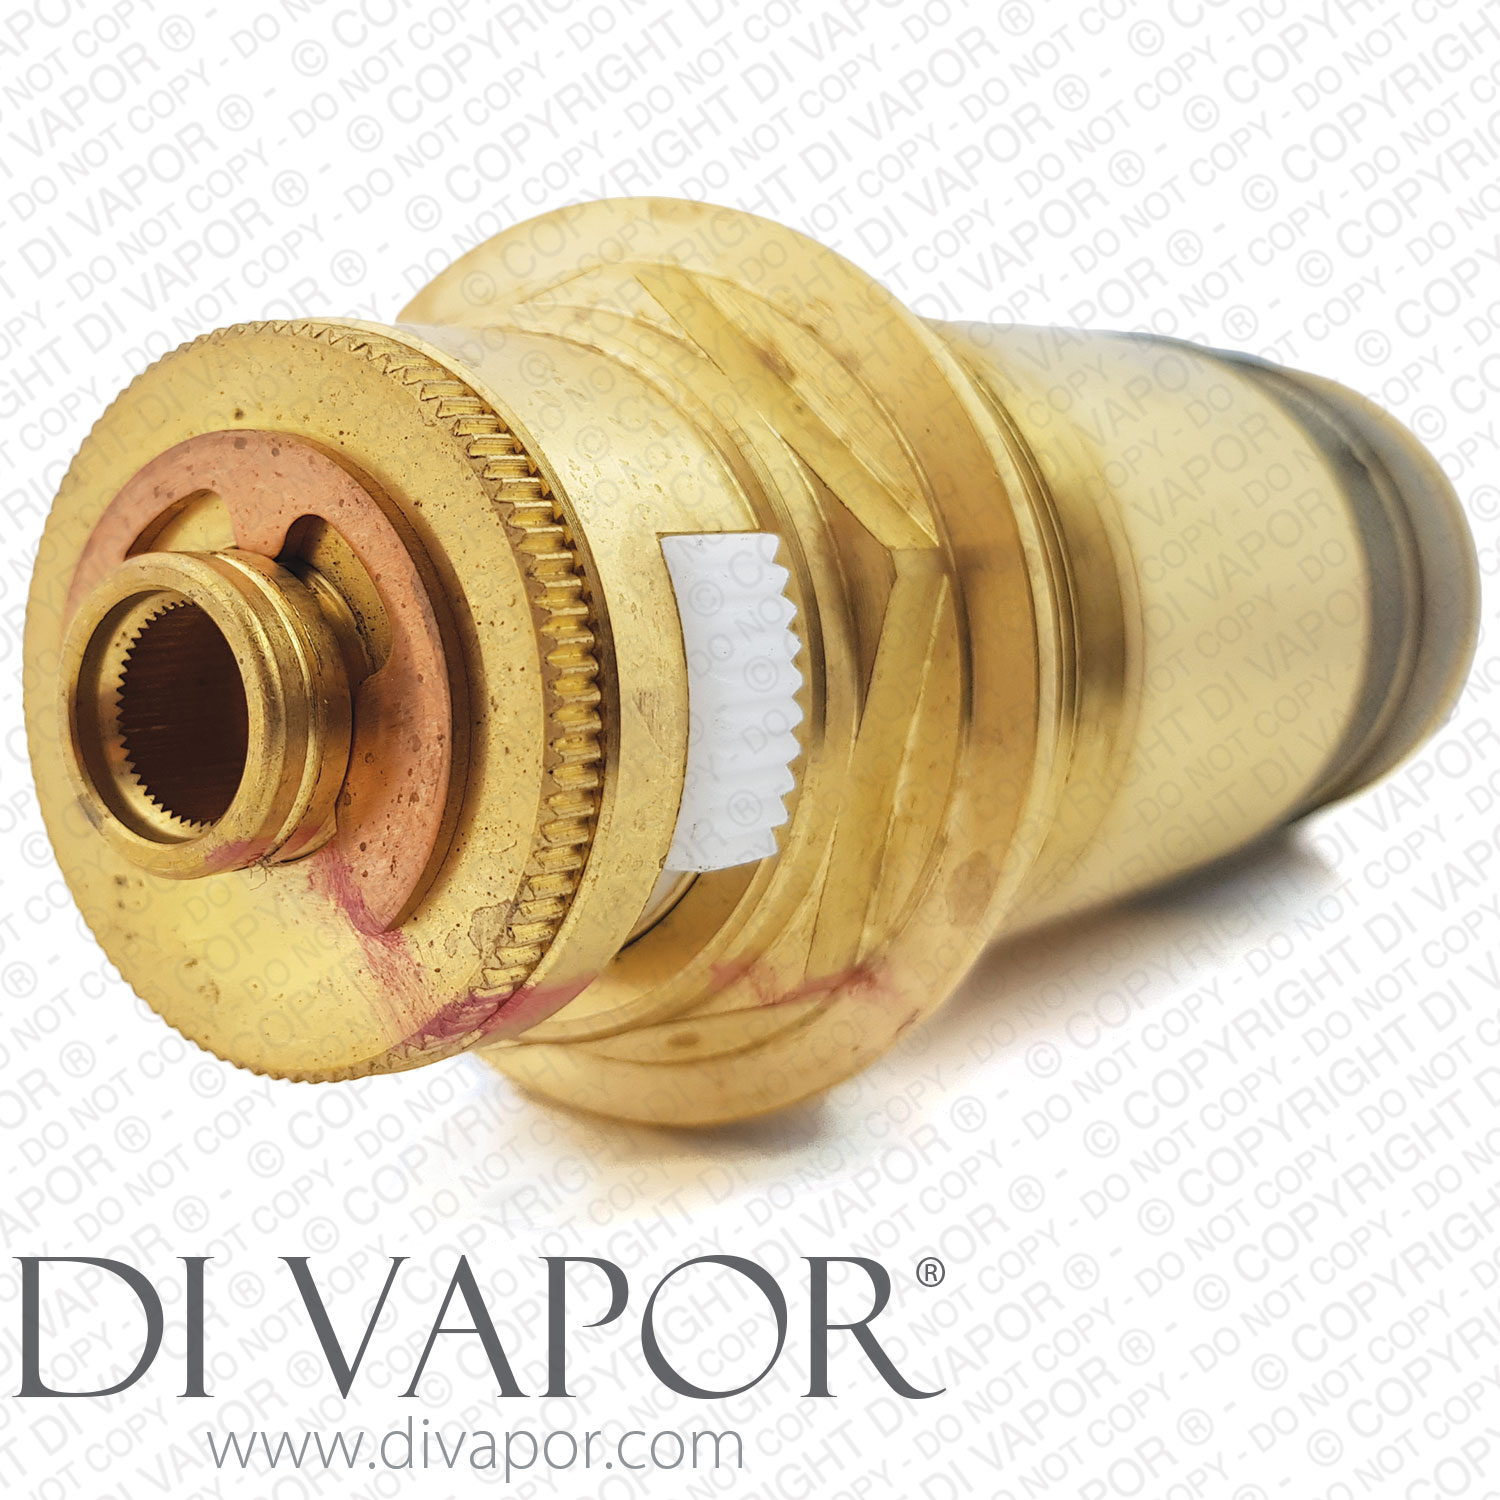
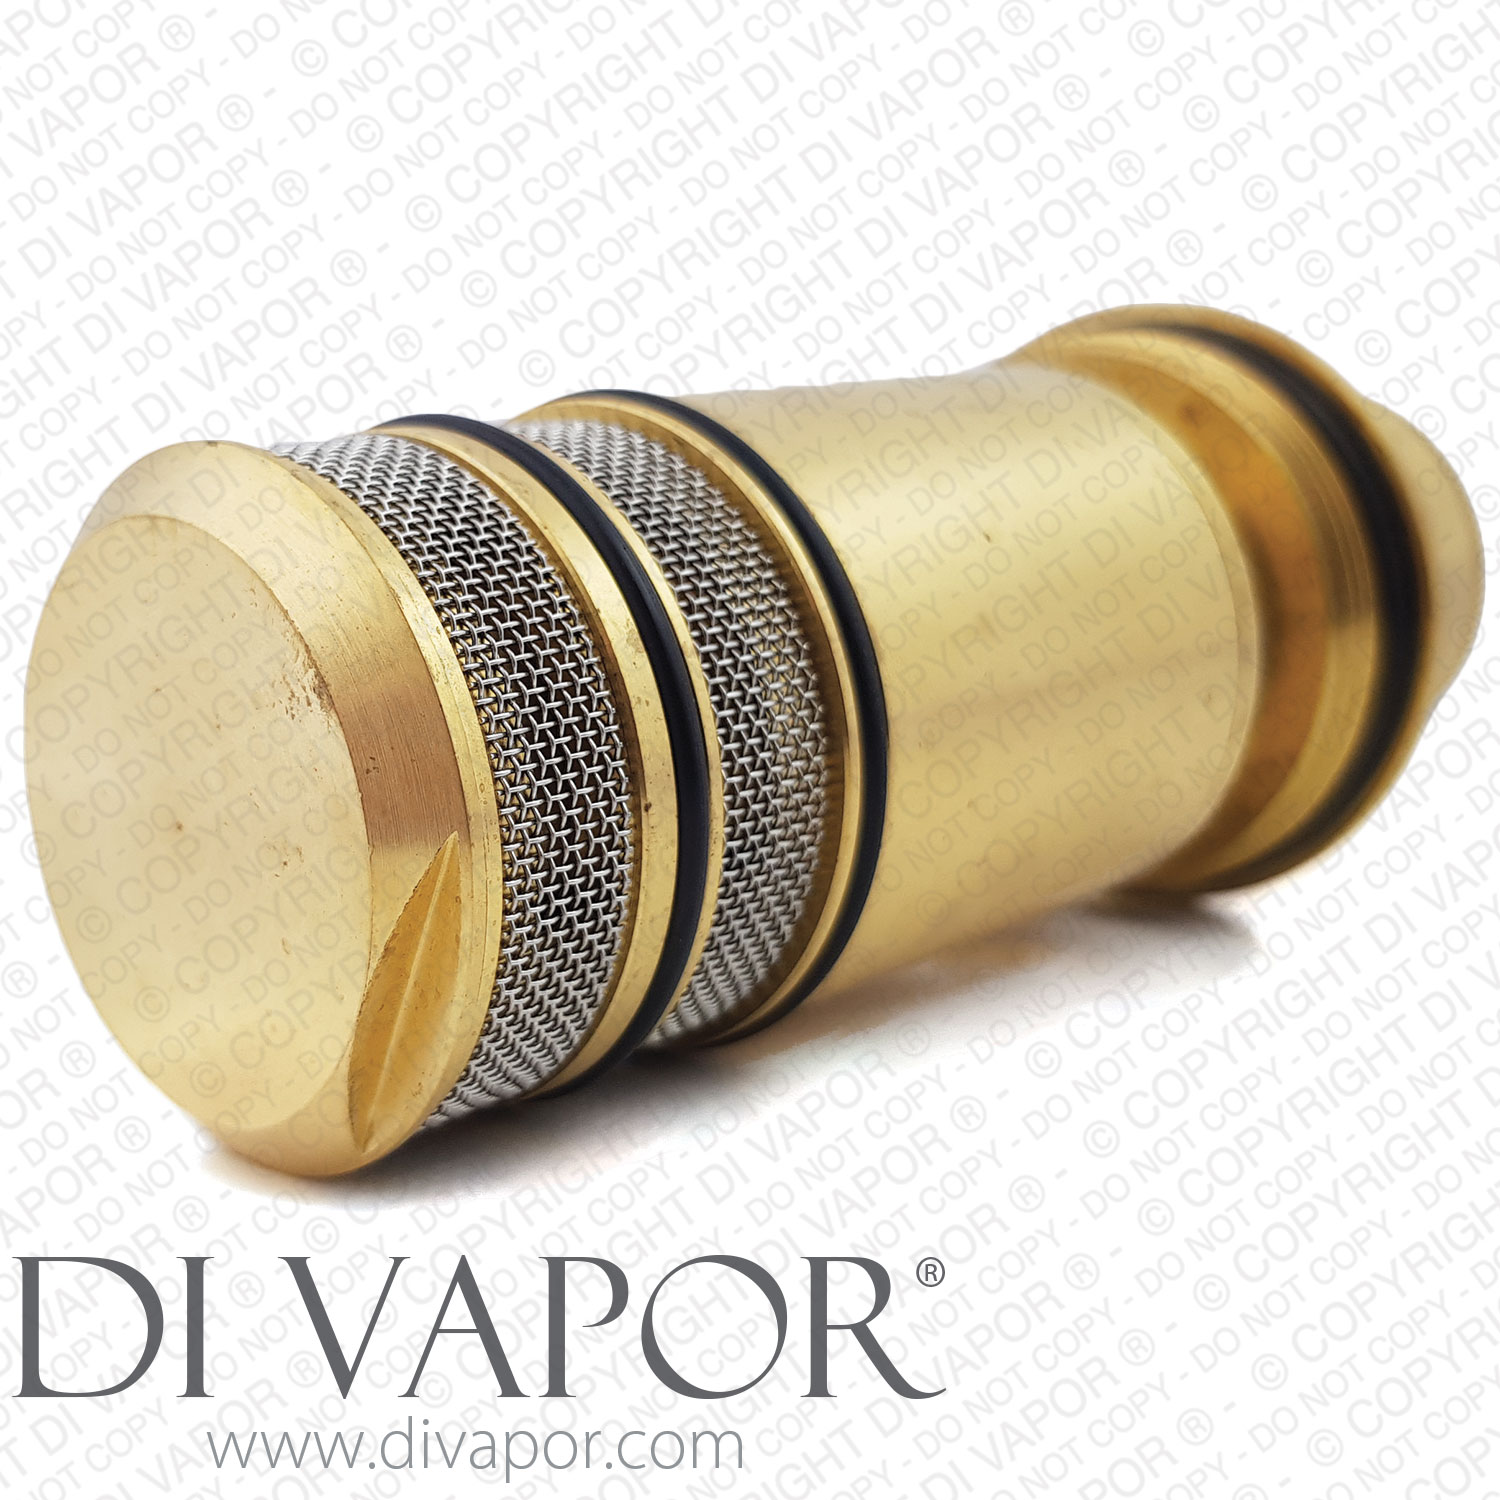
Ideal Standard A952538NU11 Thermostatic Cartridge - Compatible Replacement - A952538NU11-CP


Send a photo of your item and we'll help confirm it.
Summary
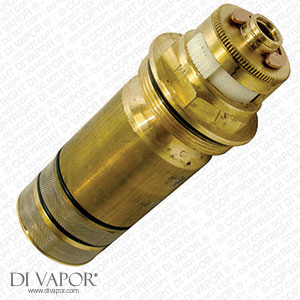
Ideal Standard A952538NU11 Thermostatic Cartridge - Compatible Replacement
Cartridge Measurements:
| Total Length | 123mm |
|---|---|
| Diameter at Widest Point | 48mm |
| Top Spline Diameter (inner measurement) | 9mm |
| Wider Spline Diameter | 32.6mm |
| Barrel Diameter at middle O'ring | 41mm |
| Thread Diameter | 44mm |
| Upper Thread Diameter | 24mm |
| Cartridge Compatibility | Trevi Thermostatic Shower Mixers |
| Spare Part | Thermostatic Cartridge |
| Installation | Screw Fit |
| Material | Brass |
| Number of External O-Rings | 3 |
| Number of Gauzing | 2 |
This spare part is a lower price alternative to the original A952538NU11 Ideal Standard Idealux thermostatic cartridge. It is suitable for Ideal Standard/Trevi valves:
- Idealux Recessed (175) and Exposed (172) Thermostatic Valves
- Lux Recessed Thermostatic Valve
The genuine Ideal Standard Idealux A952538NU11 cartridge can be found here.
The American Standard version compatible replacement part can be found here.
How-to: Ideal Standard/Trevi Idealux 175 and 172 Thermostatic Cartridge Replacement
Before attempting to replace the A952538NU11 Ideal Standard Idealux cartridge in your Trevi Idealux shower, please see the section below for a few safety reminders.
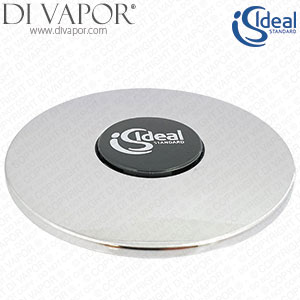
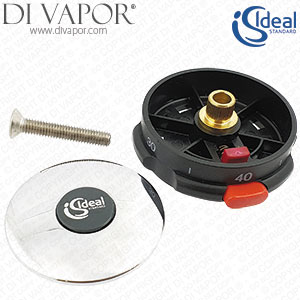
1. Remove the center decorative button. The head of a screw is now visible.
2. Loosen the screw to remove the cap and the ring under it.
3. Slide the chrome volume control out.
4. For the Trevi Idealux 175 (built-in thermostatic valve): Unscrew the two screws holding the faceplate. Remove the faceplate and the cover sleeve.
For the Trevi Idealux 172 (exposed thermostatic valve): Please proceed to the next step.
5. Using a spanner on the cartridge hex head nut, turn it anticlockwise to release the cartridge from the shower valve.
6. Scan the valve seat for any sign of debris, grit, or dirt. Clean it if dirt is present.
7. Coat all three of the new Ideal Standard Idealux A952538NU11 compatible cartridge’s outer O-rings with plumbing grease.
8. Install the cartridge in the valve housing and tighten utilizing a spanner.
| 9. For the Trevi 175 | Restore the cover sleeve. Redo the two screws to fasten the faceplate. |
|---|---|
| For the Trevi 172 | Please jump to step 10. |
10. Slip the chrome volume control back.
11. Slide the fixing ring in. Return the cap above it and secure the screw.
12. Refit the decorative button.
13. Test to see if DIY repair is successful by turning the bath tap/shower on.
Shower Repair Safety Reminders
Before taking the first step in replacing the Ideal Standard Idealux A952538NU11 compatible thermostatic cartridge, there are a few safety precautions you need to be aware of. These will prevent avoidable injuries or the unintended loss of spare parts.
1. Hot and cold water supplies leading to the bath filler must be shut off. This is done to avert scalding or cold shock if water suddenly flows out of the outlet. Test if the water supply is effectually cut by opening the tap.
2. Put a stopper on your bath’s water drain. This is a proactive measure that will preempt tiny parts from rolling into it – in case any of it falls while you are in the middle of repairing.
3. After you have succeeded in installing the new cartridge, do not forget to check the water temperature. This can be done with the aid of a handheld thermometer. If water temperature is too hot or too cold, you can adjust it by turning the splines anticlockwise to up the temperature or turning it clockwise to reduce it.
Fast delivery
- UK delivery: £5.95 incl. VAT for this small packet item.
- For all in-stock spare parts the typical UK delivery timescale is 2-5 working days.
- If you need a part urgently then we can provide a next-day (delivered Mon-Fri) UK delivery service for all in-stock small parcels ordered before 3.00pm, Monday - Friday.
- Next day delivery is available to select at an additional charge during the checkout.
- Worldwide delivery available — see our delivery page for details.
Returns
- 14 days 'risk-free' returns.
- Start a return within 14 days of receiving your order by calling 0121 705 0866 or using our contact page.
- Full returns information is available in our terms and conditions.
Payment methods
We accept the following payment methods:

- Card payments: Visa, Mastercard, Maestro, Discover, JCB, Diners Club and EnRoute
- PayPal
- American Express: available via PayPal guest checkout only
- BACS bank transfer
- Cheque: dispatch takes place once payment has cleared
Security
We use industry-standard payment systems to help keep your payment information secure. Our website and payment processes are regularly checked to maintain PCI security standards.
- Secure SSL encryption
- Your personal and payment details are protected
- Regularly checked for PCI security standards