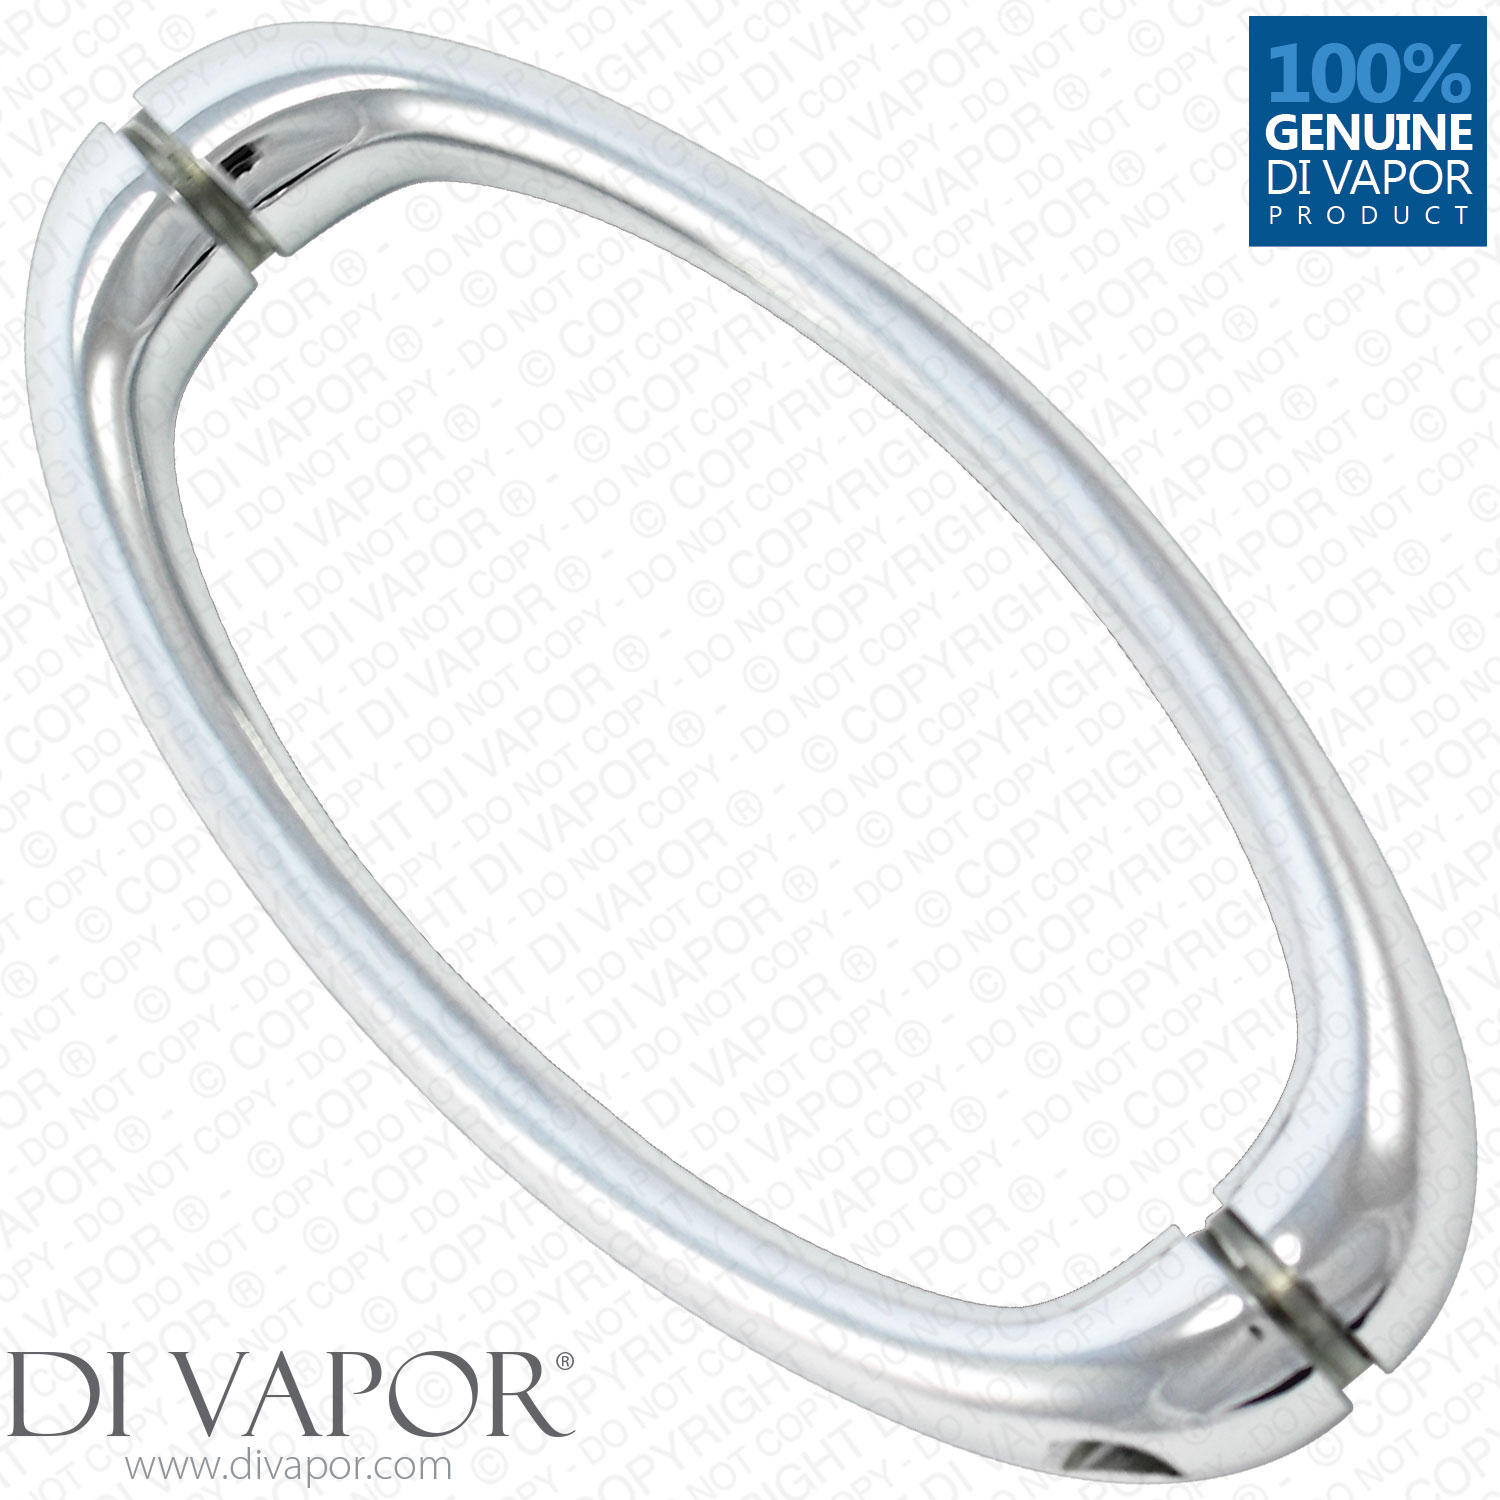
145mm Replacement Shower Door Handles | 14.5cm Hole to Hole | Metal


Send a photo of your item and we'll help confirm it.
Summary
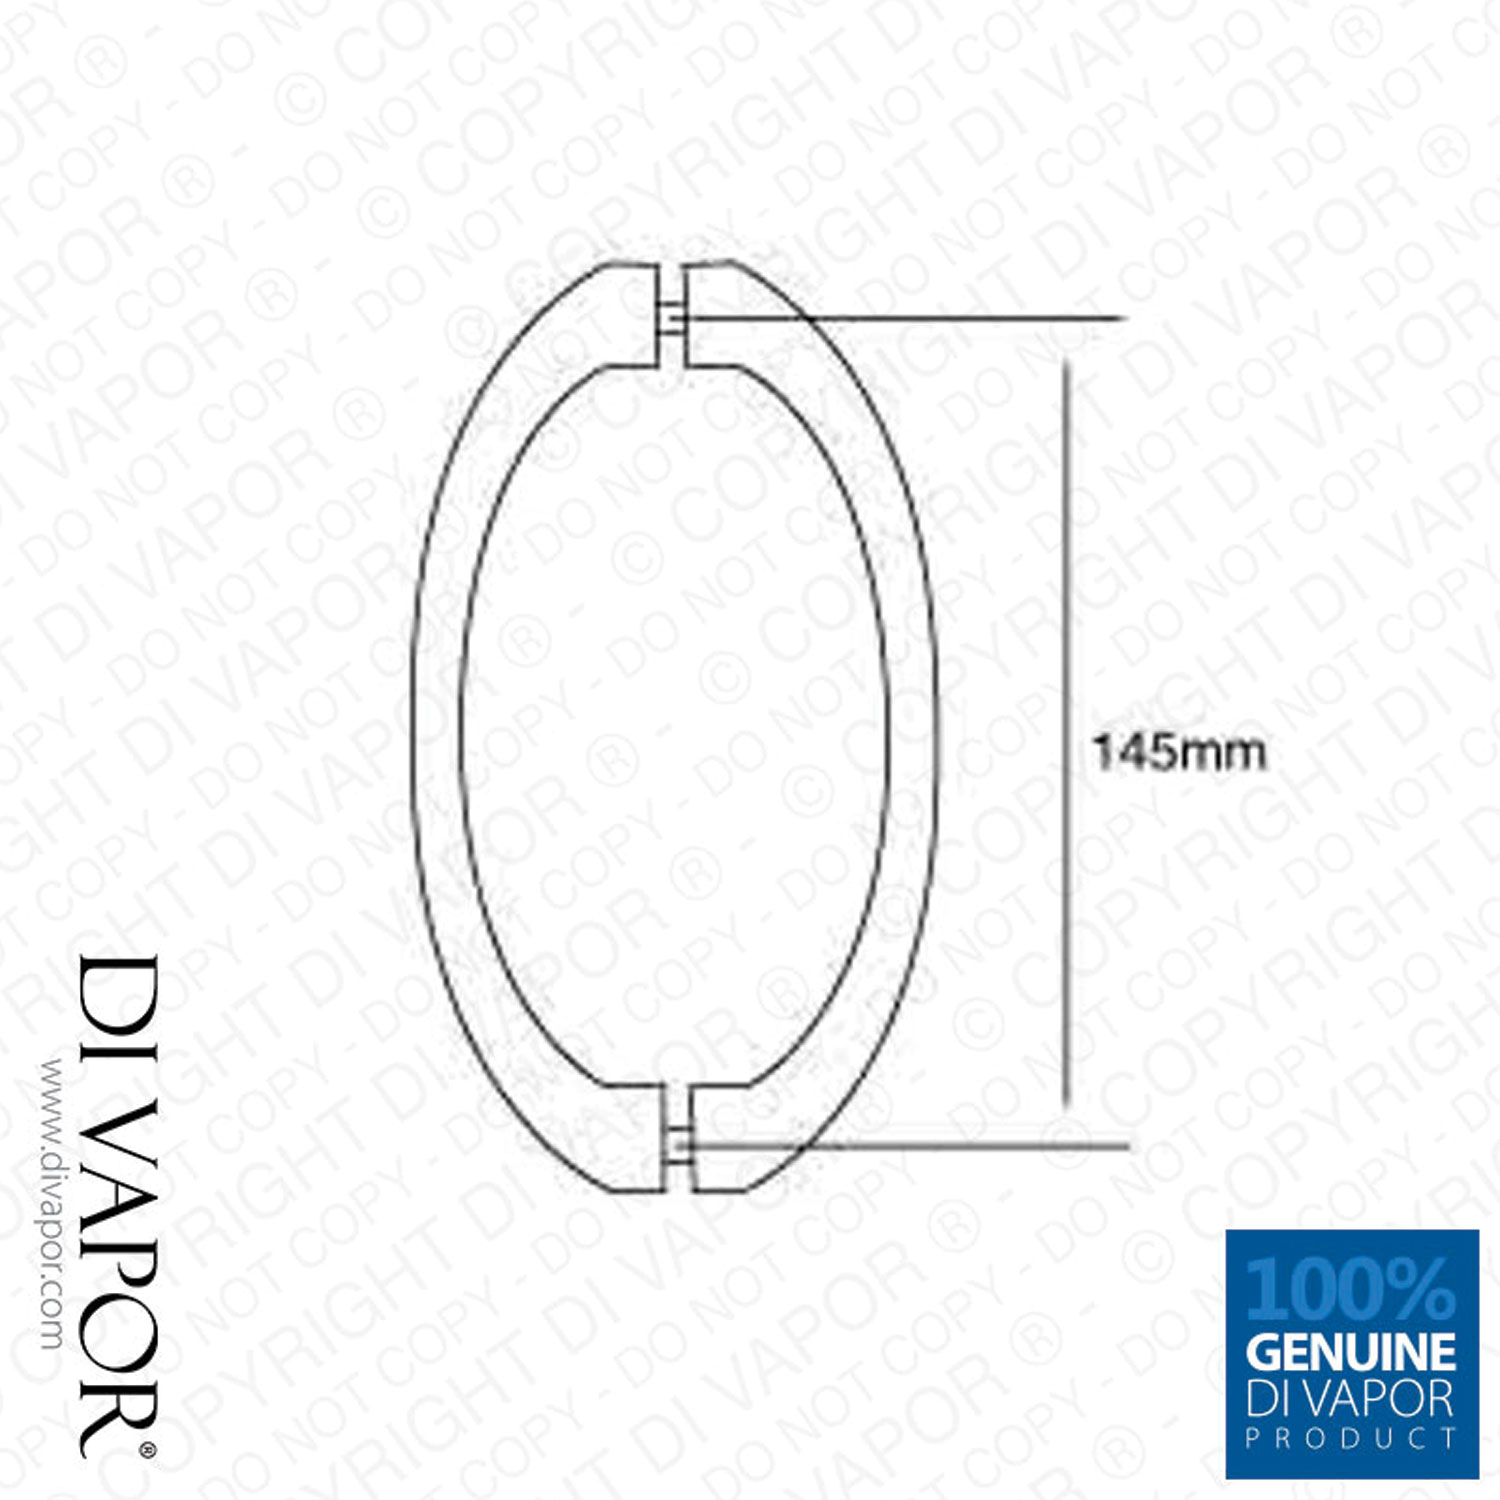
Please note that only one pair of door handles is included suitable for one door. If you have two shower doors, please order two handles. Mounting hole is 5mm - Please cut 6mm or higher for slight clearance.
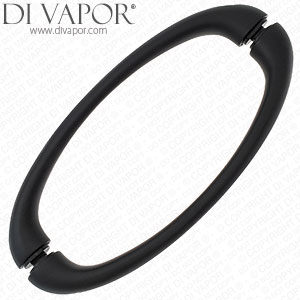
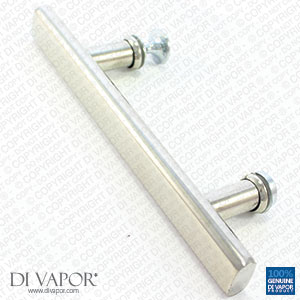
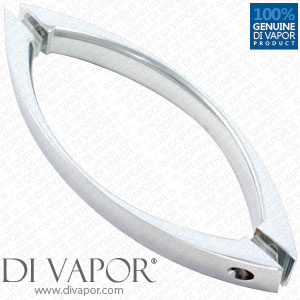
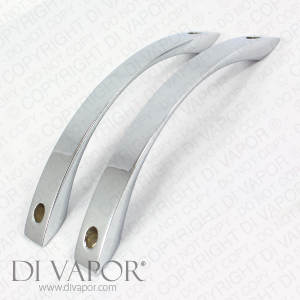
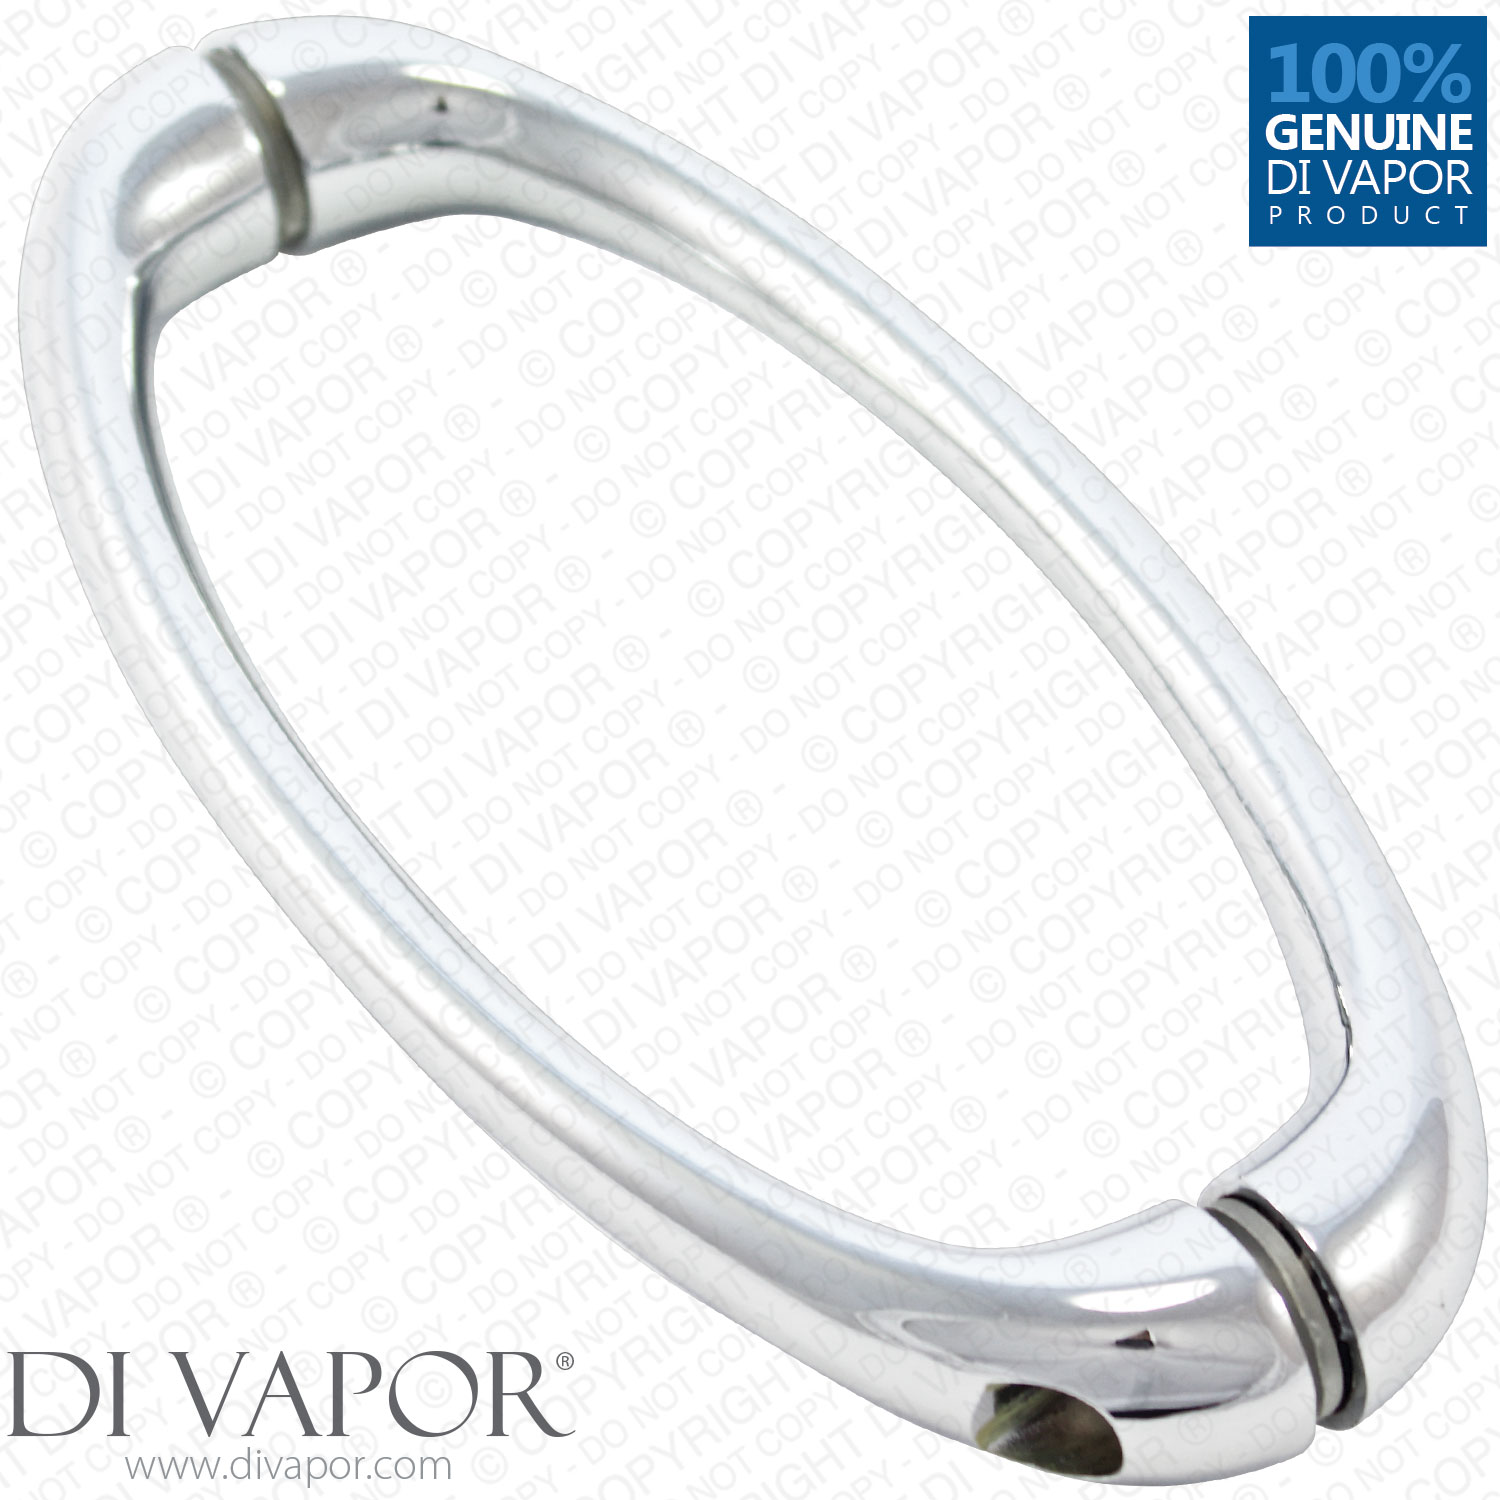
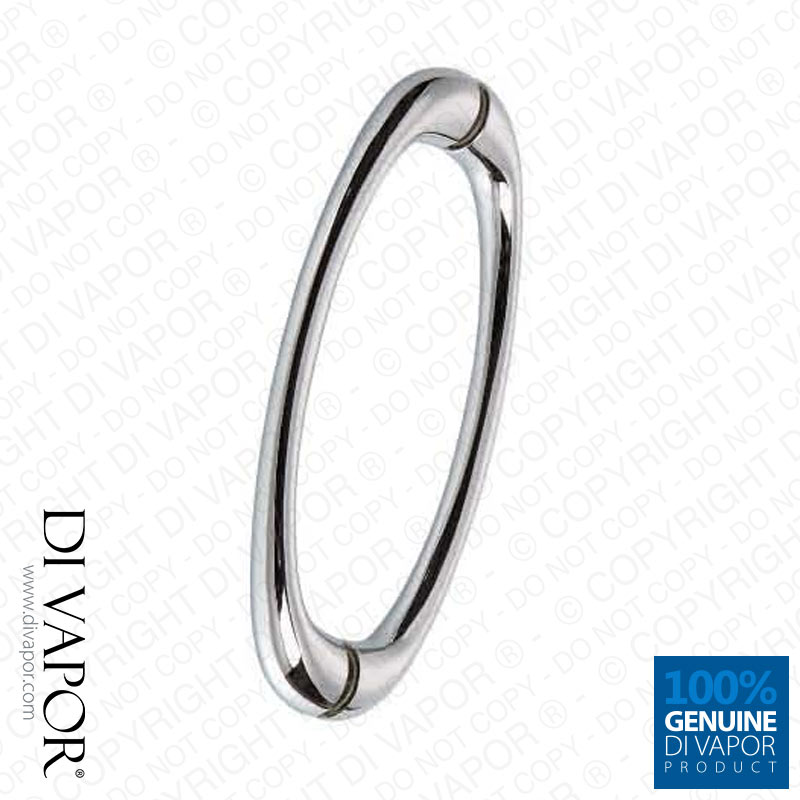
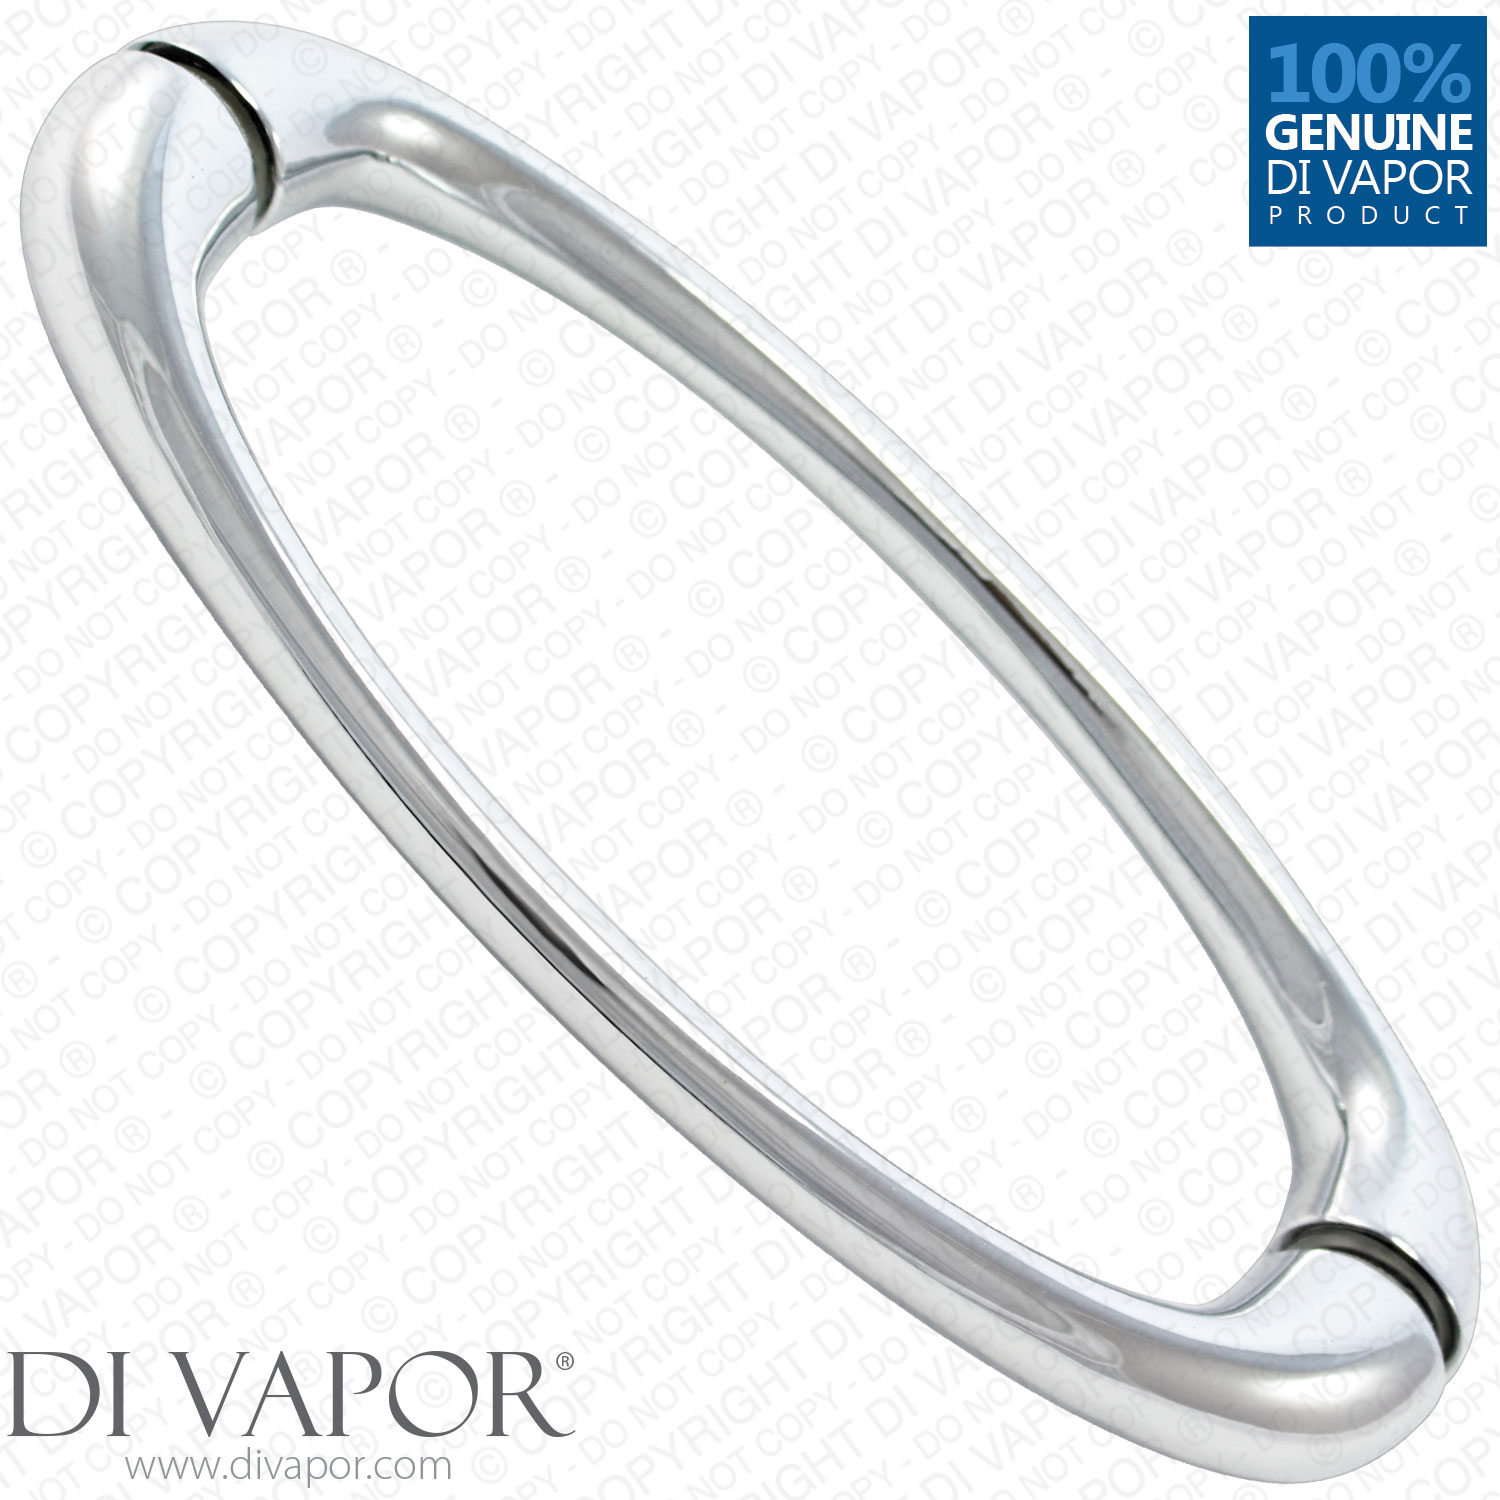
This shower door replacement handle (as seen in photo) will fit a shower door which has fixing holes 145mm (14.5) apart. This is a robust, high quality handle which would be ideal for heavy glass doors, sliding and fixed.
The handle is back to back, which means the the outer and inner handle are exactly the same.
What's included?
- As you can see in the photo which is one side of the handle which will be on the exterior of the shower door and the other side of the handle which will go on the interior of the handle.
- Caps to cover the screw holes (which aren't shown in the photo).
How to install this shower door handle
In terms of fitting something, this is one of the easiest DIY jobs you'll probably face in the bathroom. Just follow the simple, step by step instructions outlined below and you'll have the old handle taken off and the new one put on in less than 10 minutes.
Step 1 - This is probably the trickiest part of the entire process and that's removing the caps on the handle which is currently on your shower enclosure's door. It's simply a matter of prising the caps out, which is often easier said than done as they fit so tightly into the screw holes. To do this you'll need a sharp object of your choosing (please be careful). Try to slip the sharp object in-between the handle and the cap and then try to pop the cap out. If the old handle is being thrown away you don't have to worry about the aesthetics of the handle and can therefore be much less careful and forceful with this point. Again, please be very careful not to hurt yourself with the sharp object while applying pressure to it.
Step 2 - Now that the caps are off, unscrew the screws at the top and the bottom of the handle with either a flat head or cross head screwdriver, which ever is applicable. While unscrewing the second screw, do make sure you are holding the handle on the other side of the door, otherwise it will fall to the ground. The last thing you want to have happen is for your bathroom tiles to be chipped while replacing a shower handle!
Step 3 - Once the old handle is off, place the new handle in its place. This is a preferential option, however the side of the handle with the external holes for the screws usually goes on the inside of the shower, but this is purely for appearance purposes only. Now, using a cross head Phillips screwdriver with the 2176HAS shower handle, put the screw in while tightening them to a point where they are tight but the handle can still be adjusted.
Step 4 - Adjust the handle so it is visually straight and looks good, then tighten the screws.
Step 5 - Open and close the shower door to make sure the handle is nice and sturdy.
Step 6 - Put the screw caps in the two holes by simply pushing them in. Friction will hold them in.
Step 7 - Fitting complete.
Order before 2.30pm for same day dispatch.
Fast delivery
- UK delivery: £5.95 incl. VAT for this small packet item.
- For all in-stock spare parts the typical UK delivery timescale is 2-5 working days.
- If you need a part urgently then we can provide a next-day (delivered Mon-Fri) UK delivery service for all in-stock small parcels ordered before 3.00pm, Monday - Friday.
- Next day delivery is available to select at an additional charge during the checkout.
- Worldwide delivery available — see our delivery page for details.
Returns
- 14 days 'risk-free' returns.
- Start a return within 14 days of receiving your order by calling 0121 705 0866 or using our contact page.
- Full returns information is available in our terms and conditions.
Payment methods
We accept the following payment methods:

- Card payments: Visa, Mastercard, Maestro, Discover, JCB, Diners Club and EnRoute
- PayPal
- American Express: available via PayPal guest checkout only
- BACS bank transfer
- Cheque: dispatch takes place once payment has cleared
Security
We use industry-standard payment systems to help keep your payment information secure. Our website and payment processes are regularly checked to maintain PCI security standards.
- Secure SSL encryption
- Your personal and payment details are protected
- Regularly checked for PCI security standards